Author: Tyler Westbrook · Organization: Coolify
29 steps · generated 2026-11-05
Add ONLYOFFICE to an existing Seafile deployment managed through Coolify. Follow the recorded workflow to create the ONLYOFFICE service, configure Seafile with its URL and JWT secret, and open a document to check the integration.
I made this guide with StepForge, a free app I built that turns your clicks into guides like this one. I'm looking for testers, so if you're interested, give it a try and tell me what you think!
¶ 1. Create the ONLYOFFICE service
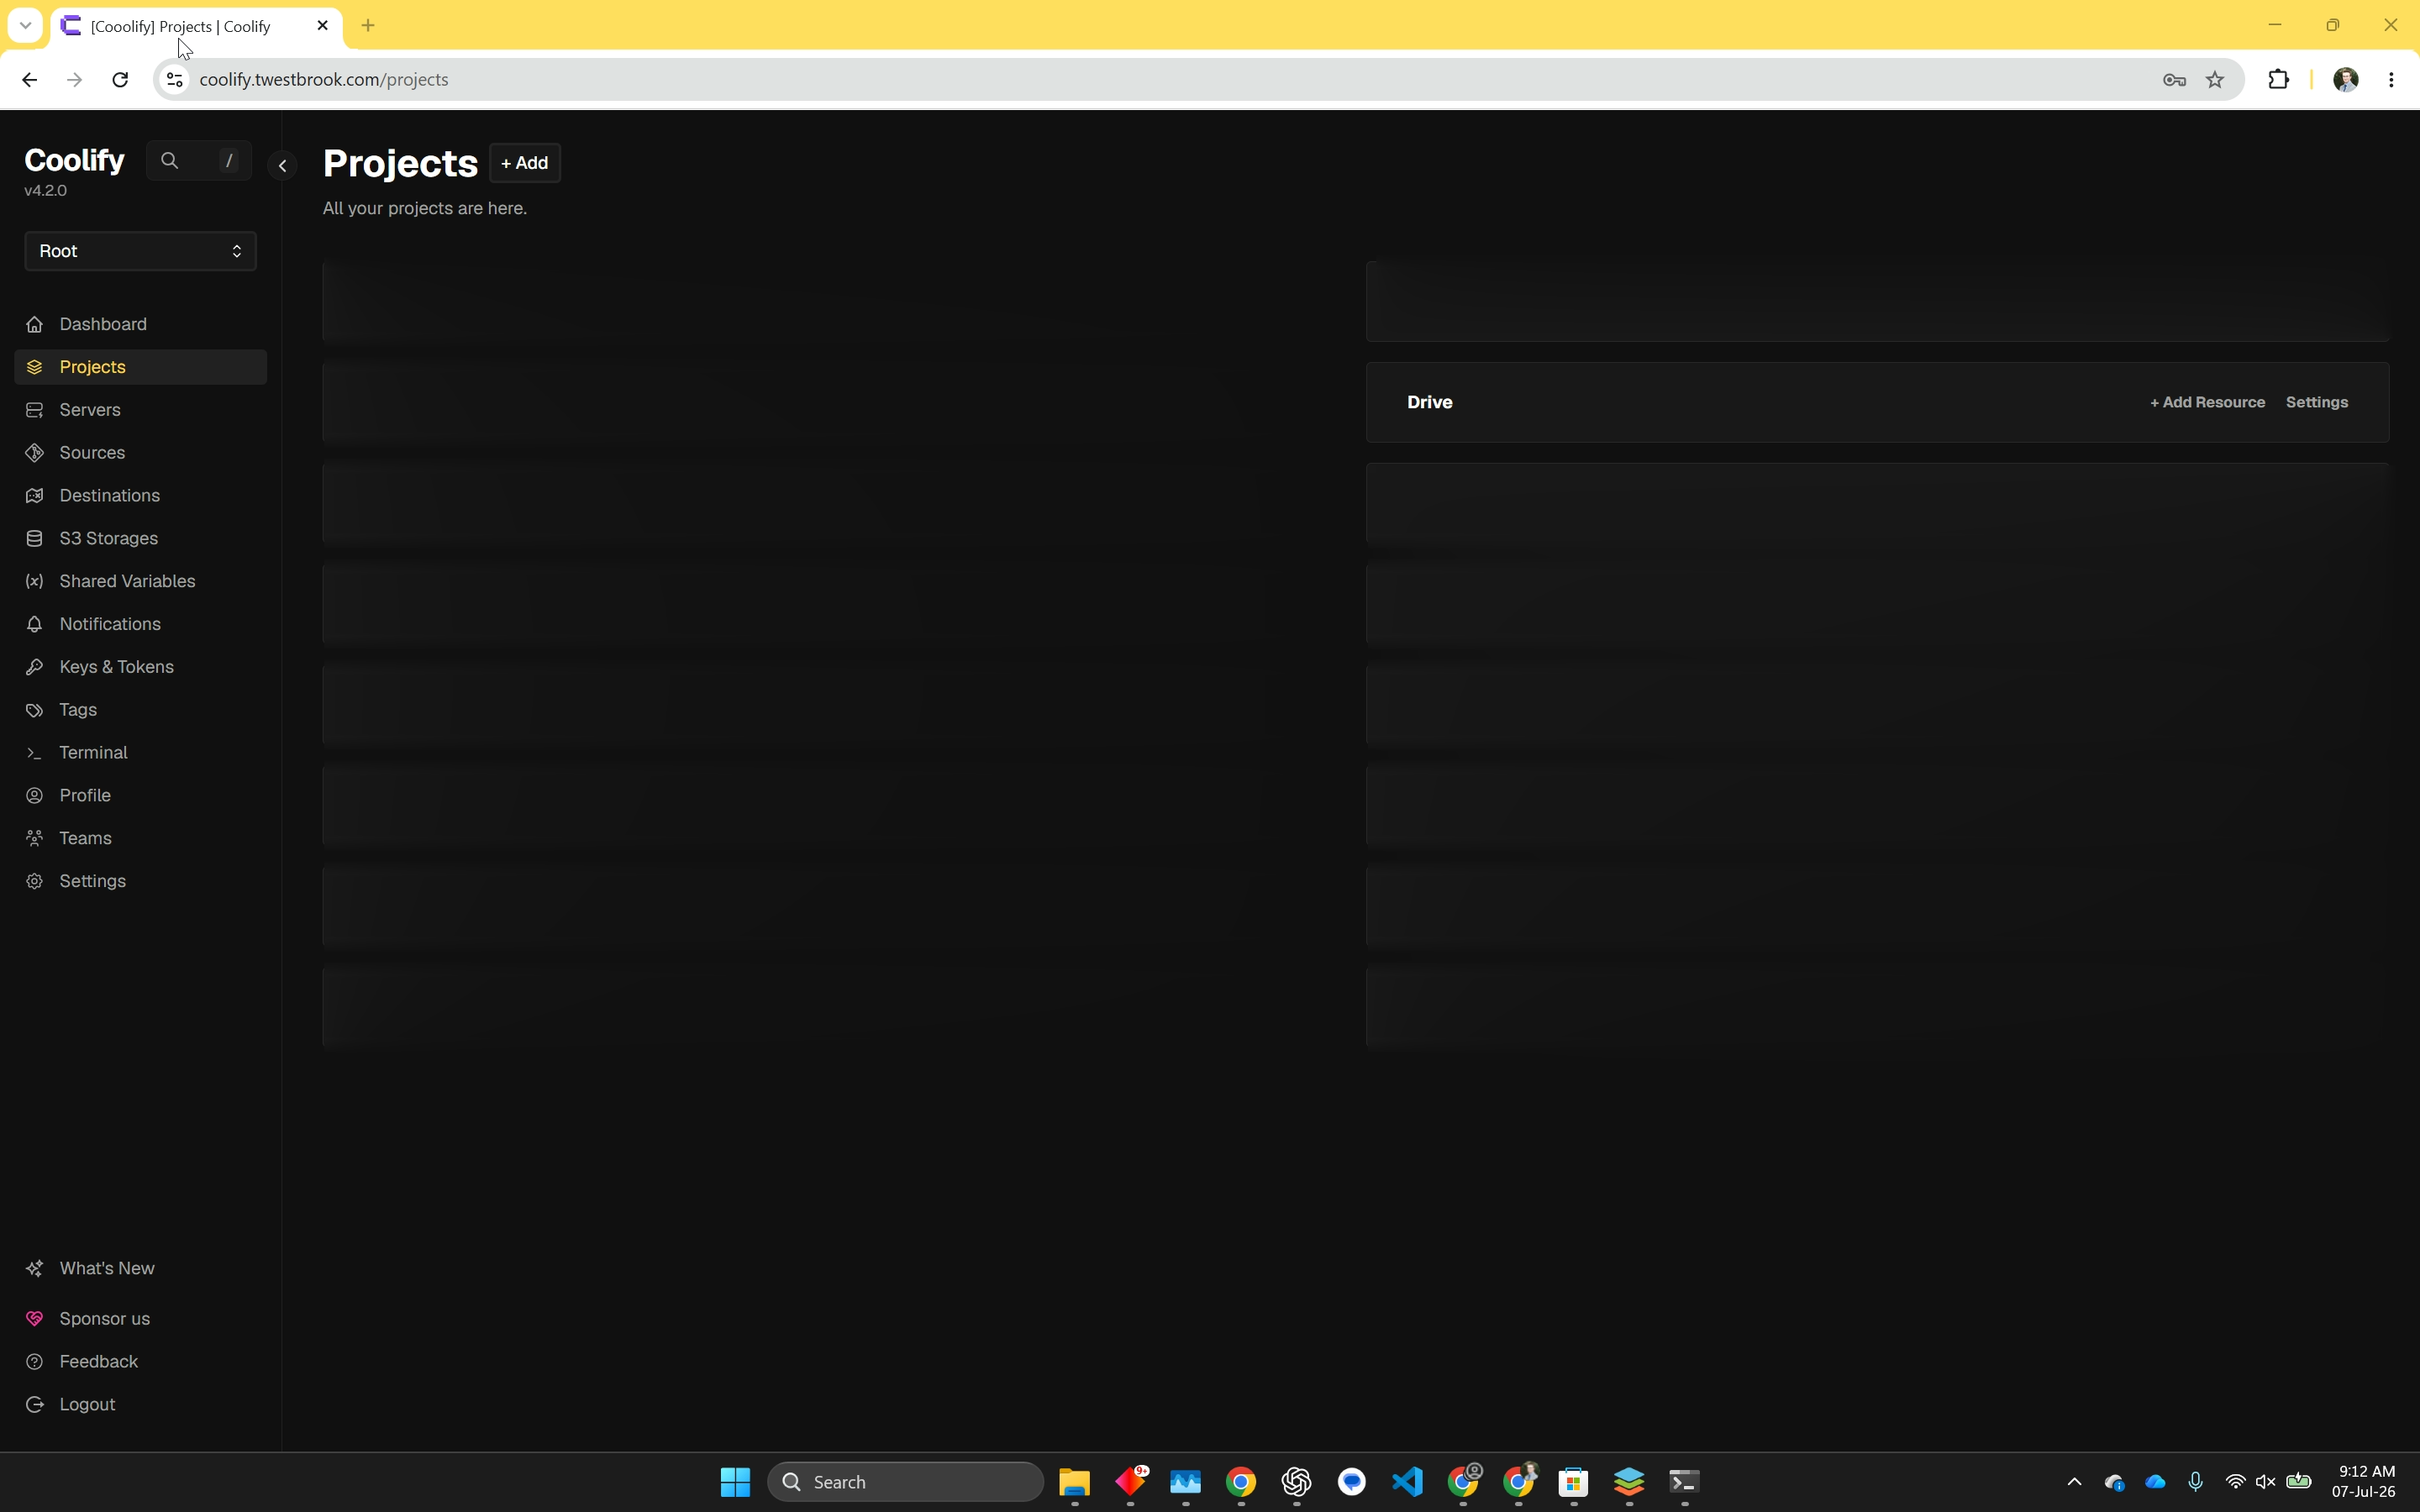
In Coolify, open Projects to begin adding ONLYOFFICE to your existing Seafile deployment.
¶ 1.1. Open the Seafile project
Select the project that contains your Seafile deployment. The recording uses the Drive project.
¶ 1.2. Create a new resource
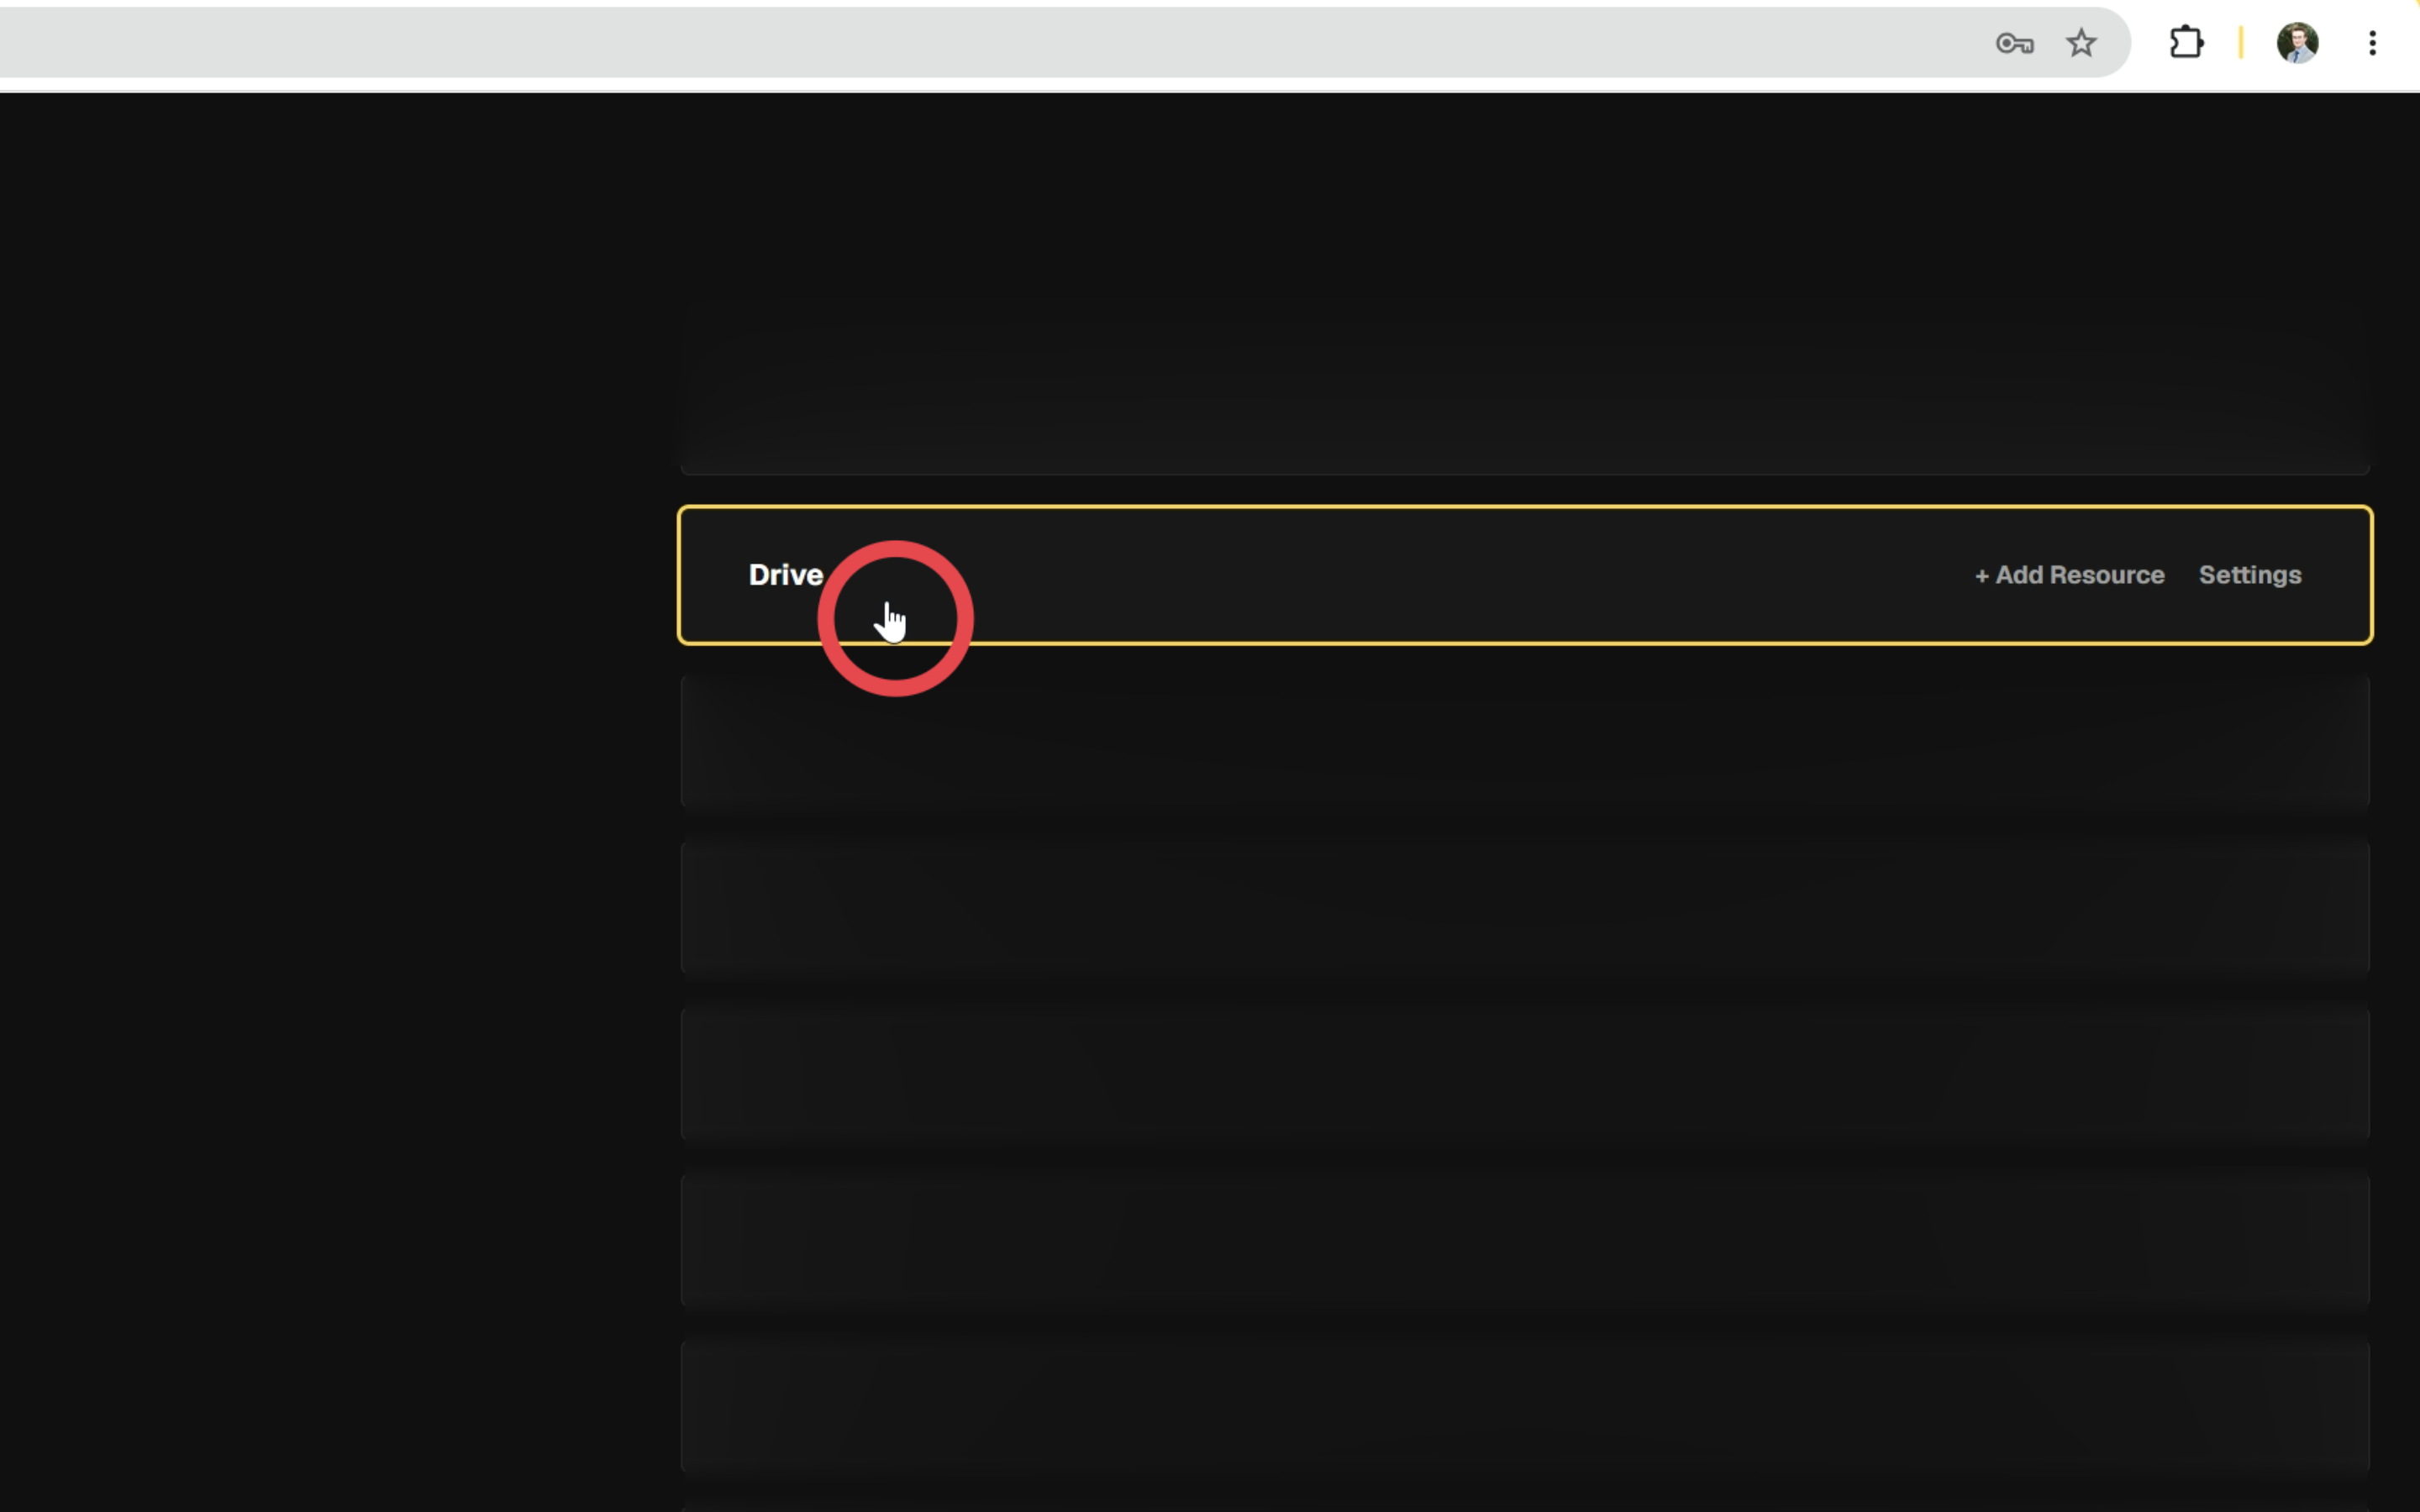
In the project’s environment, click + New to add a resource.
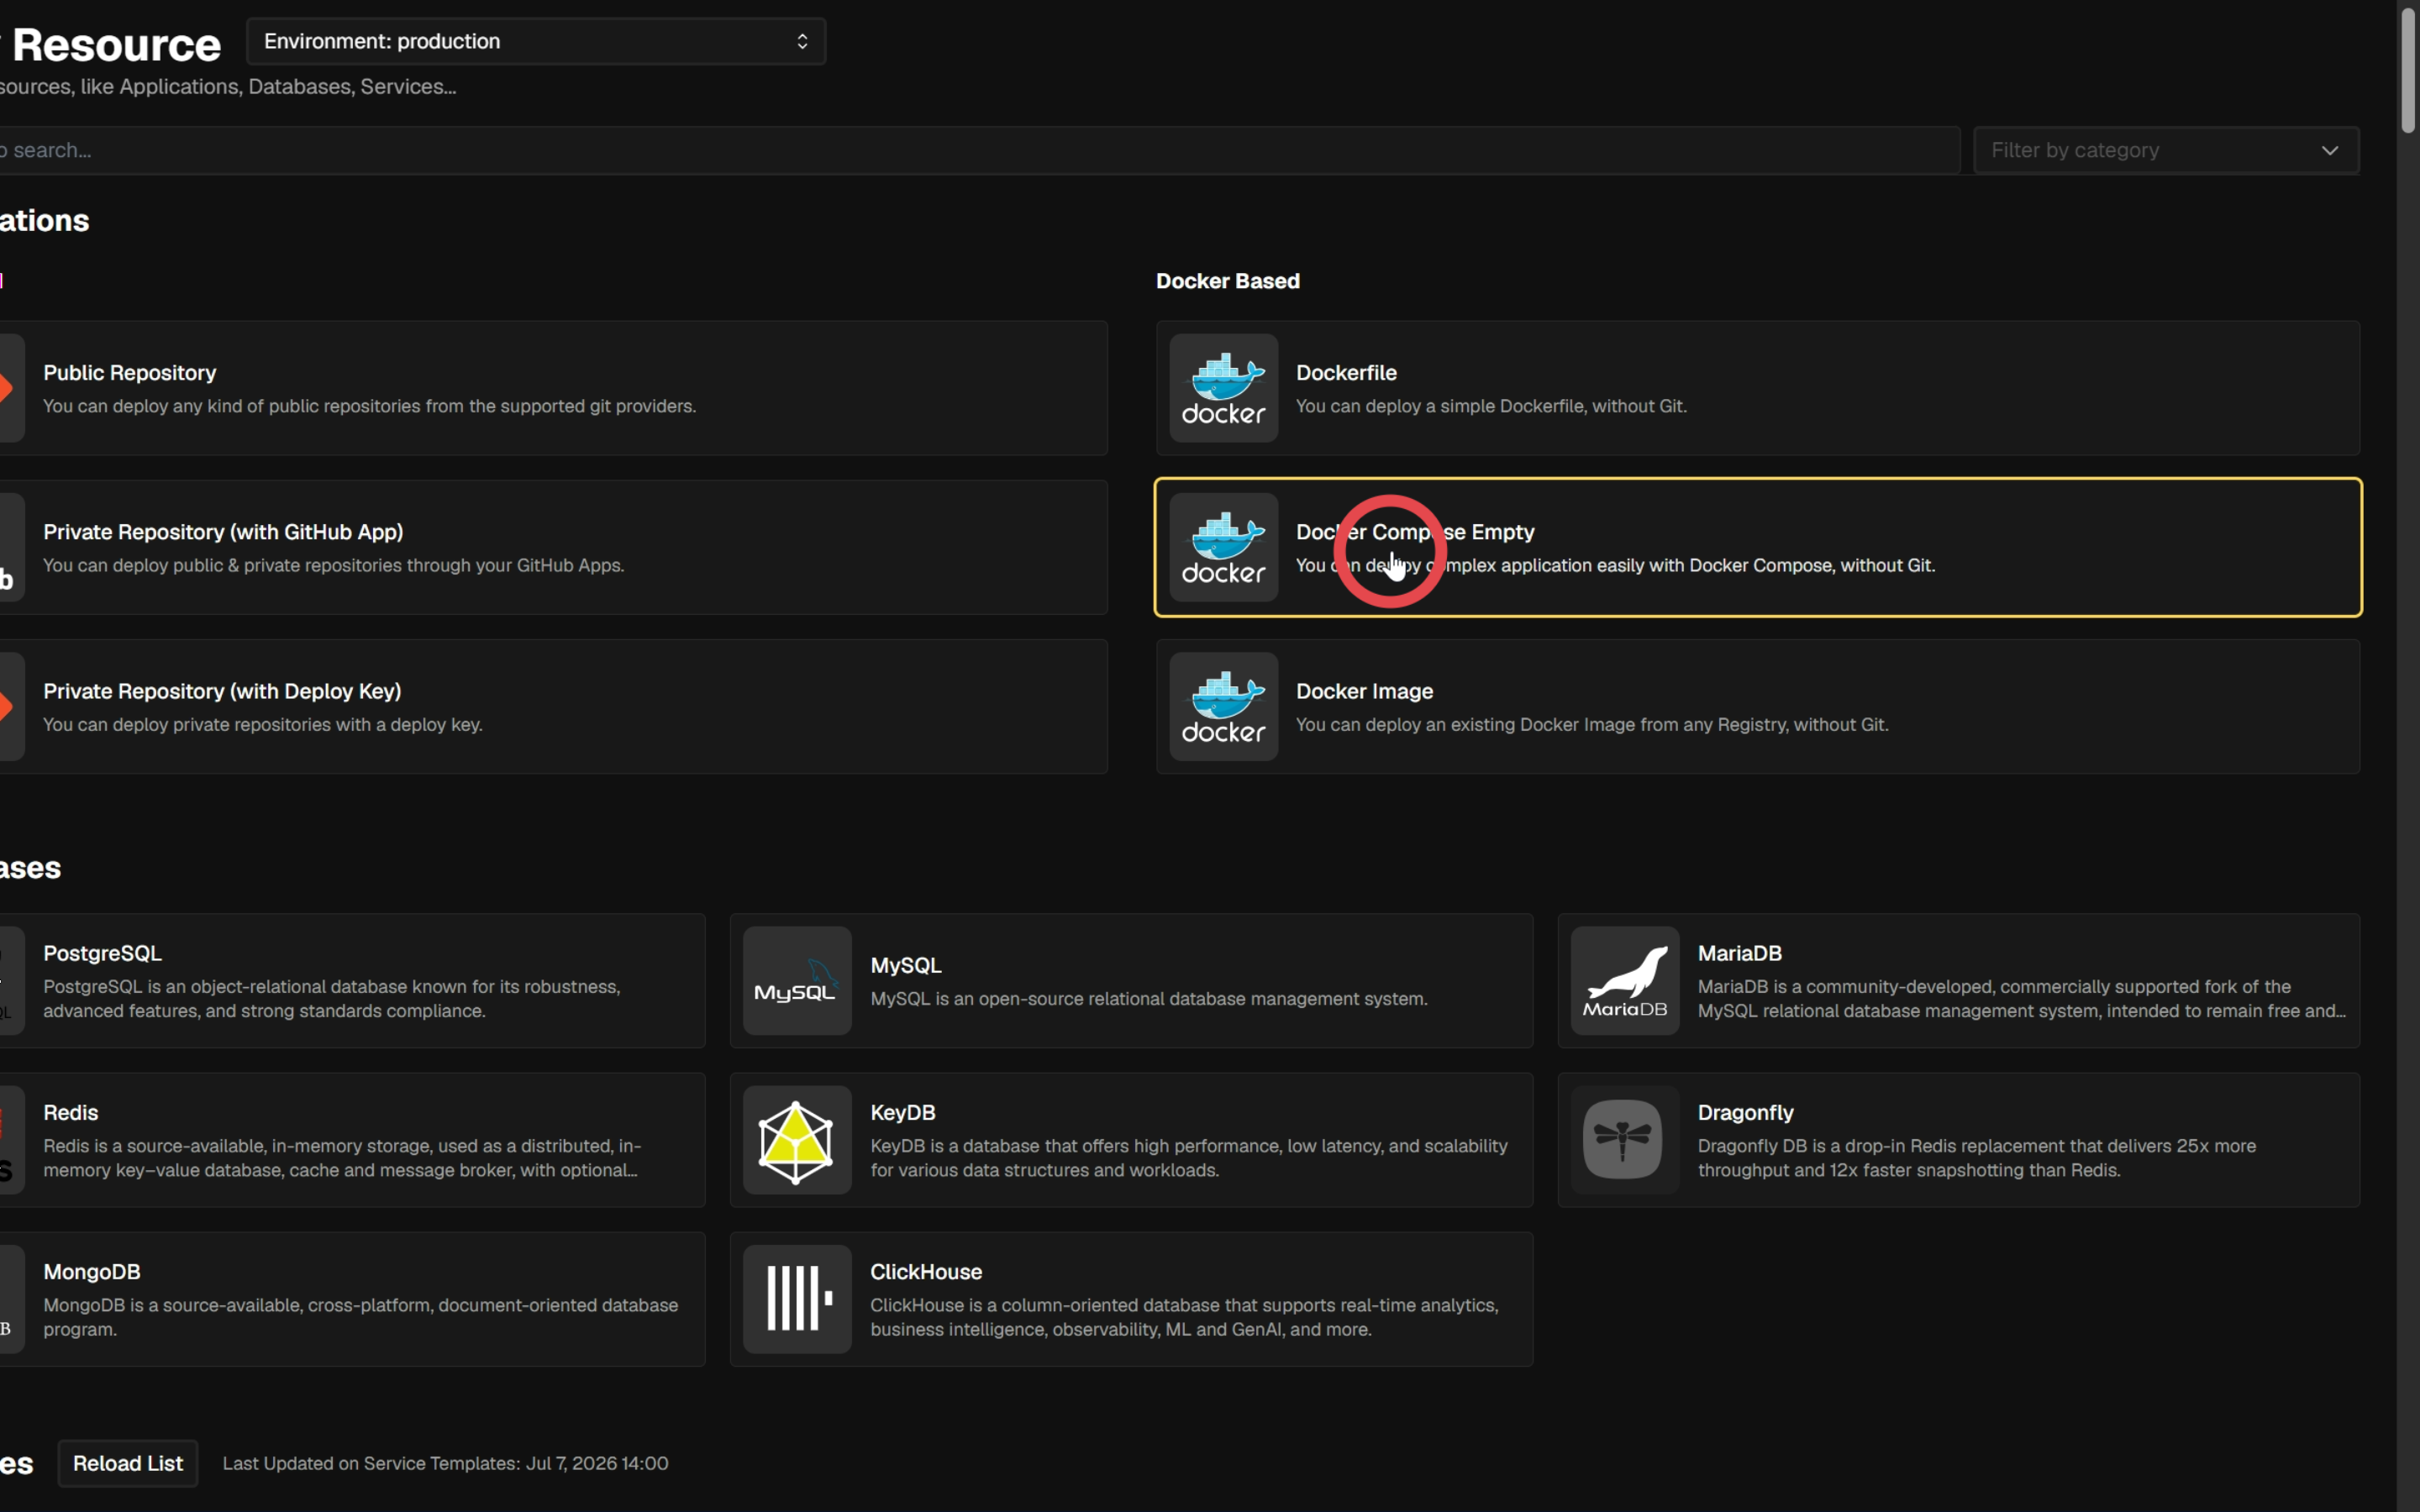
¶ 1.3. Choose Docker Compose
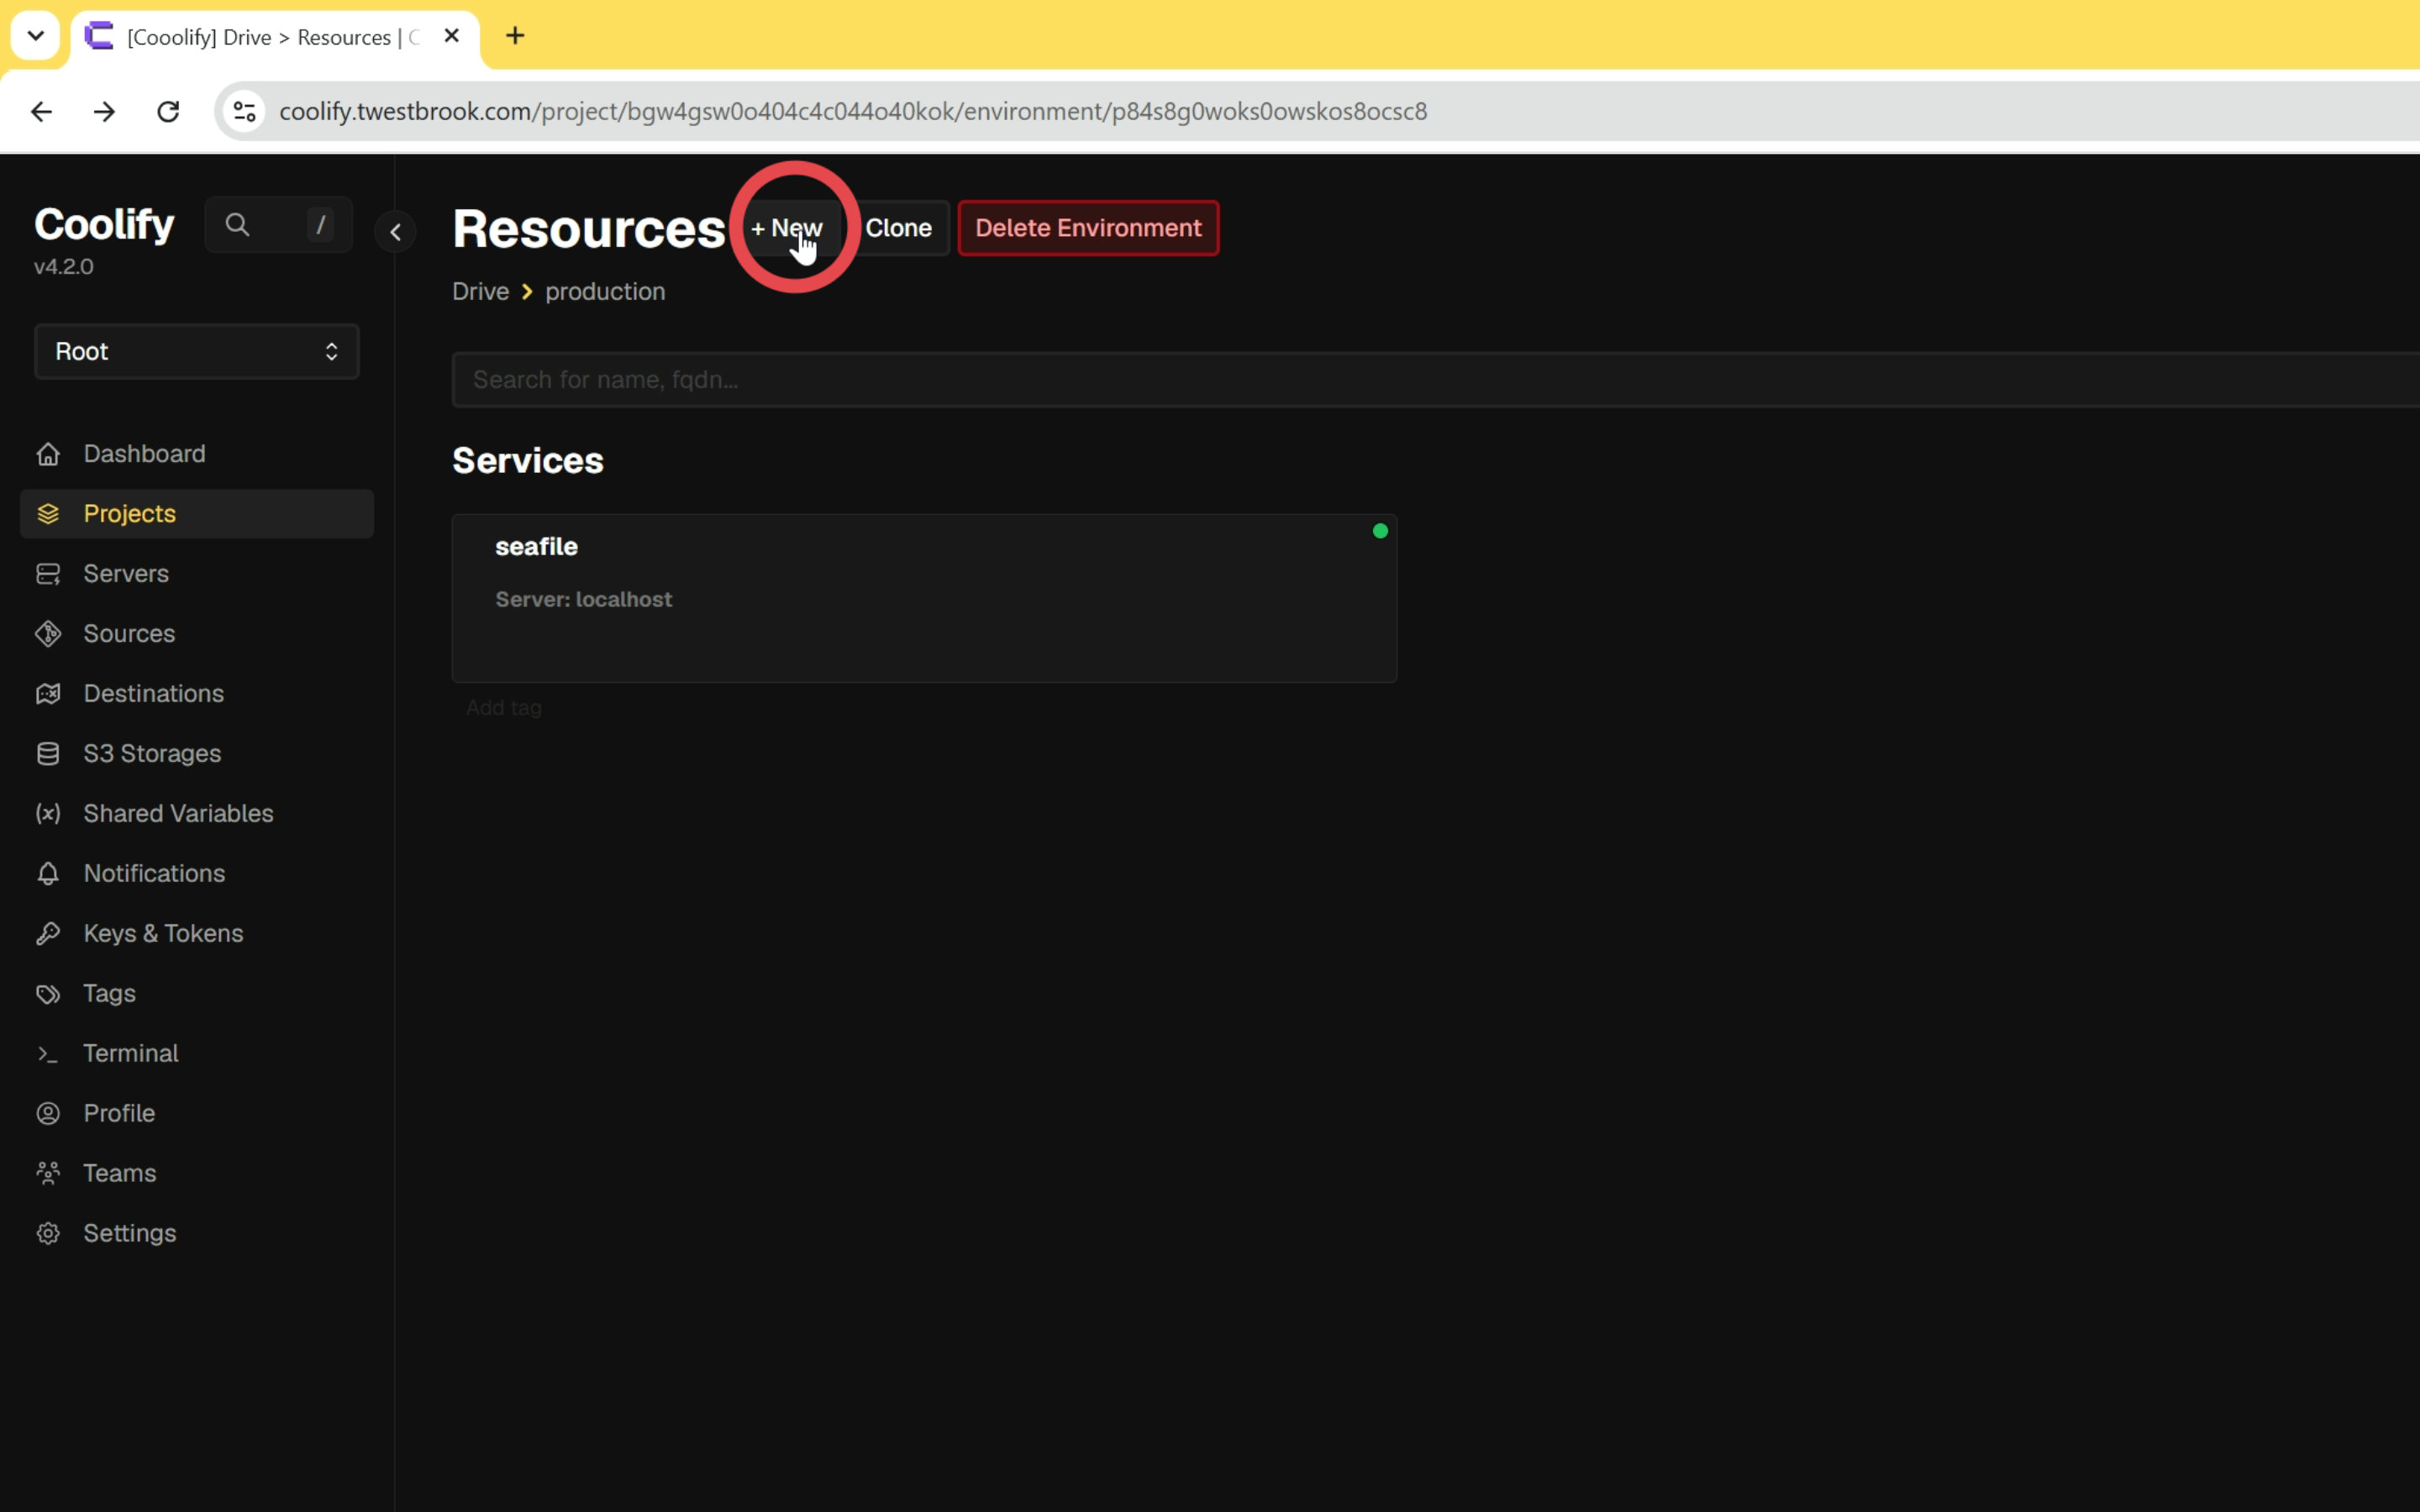
Under Docker Based, select Docker Compose Empty.
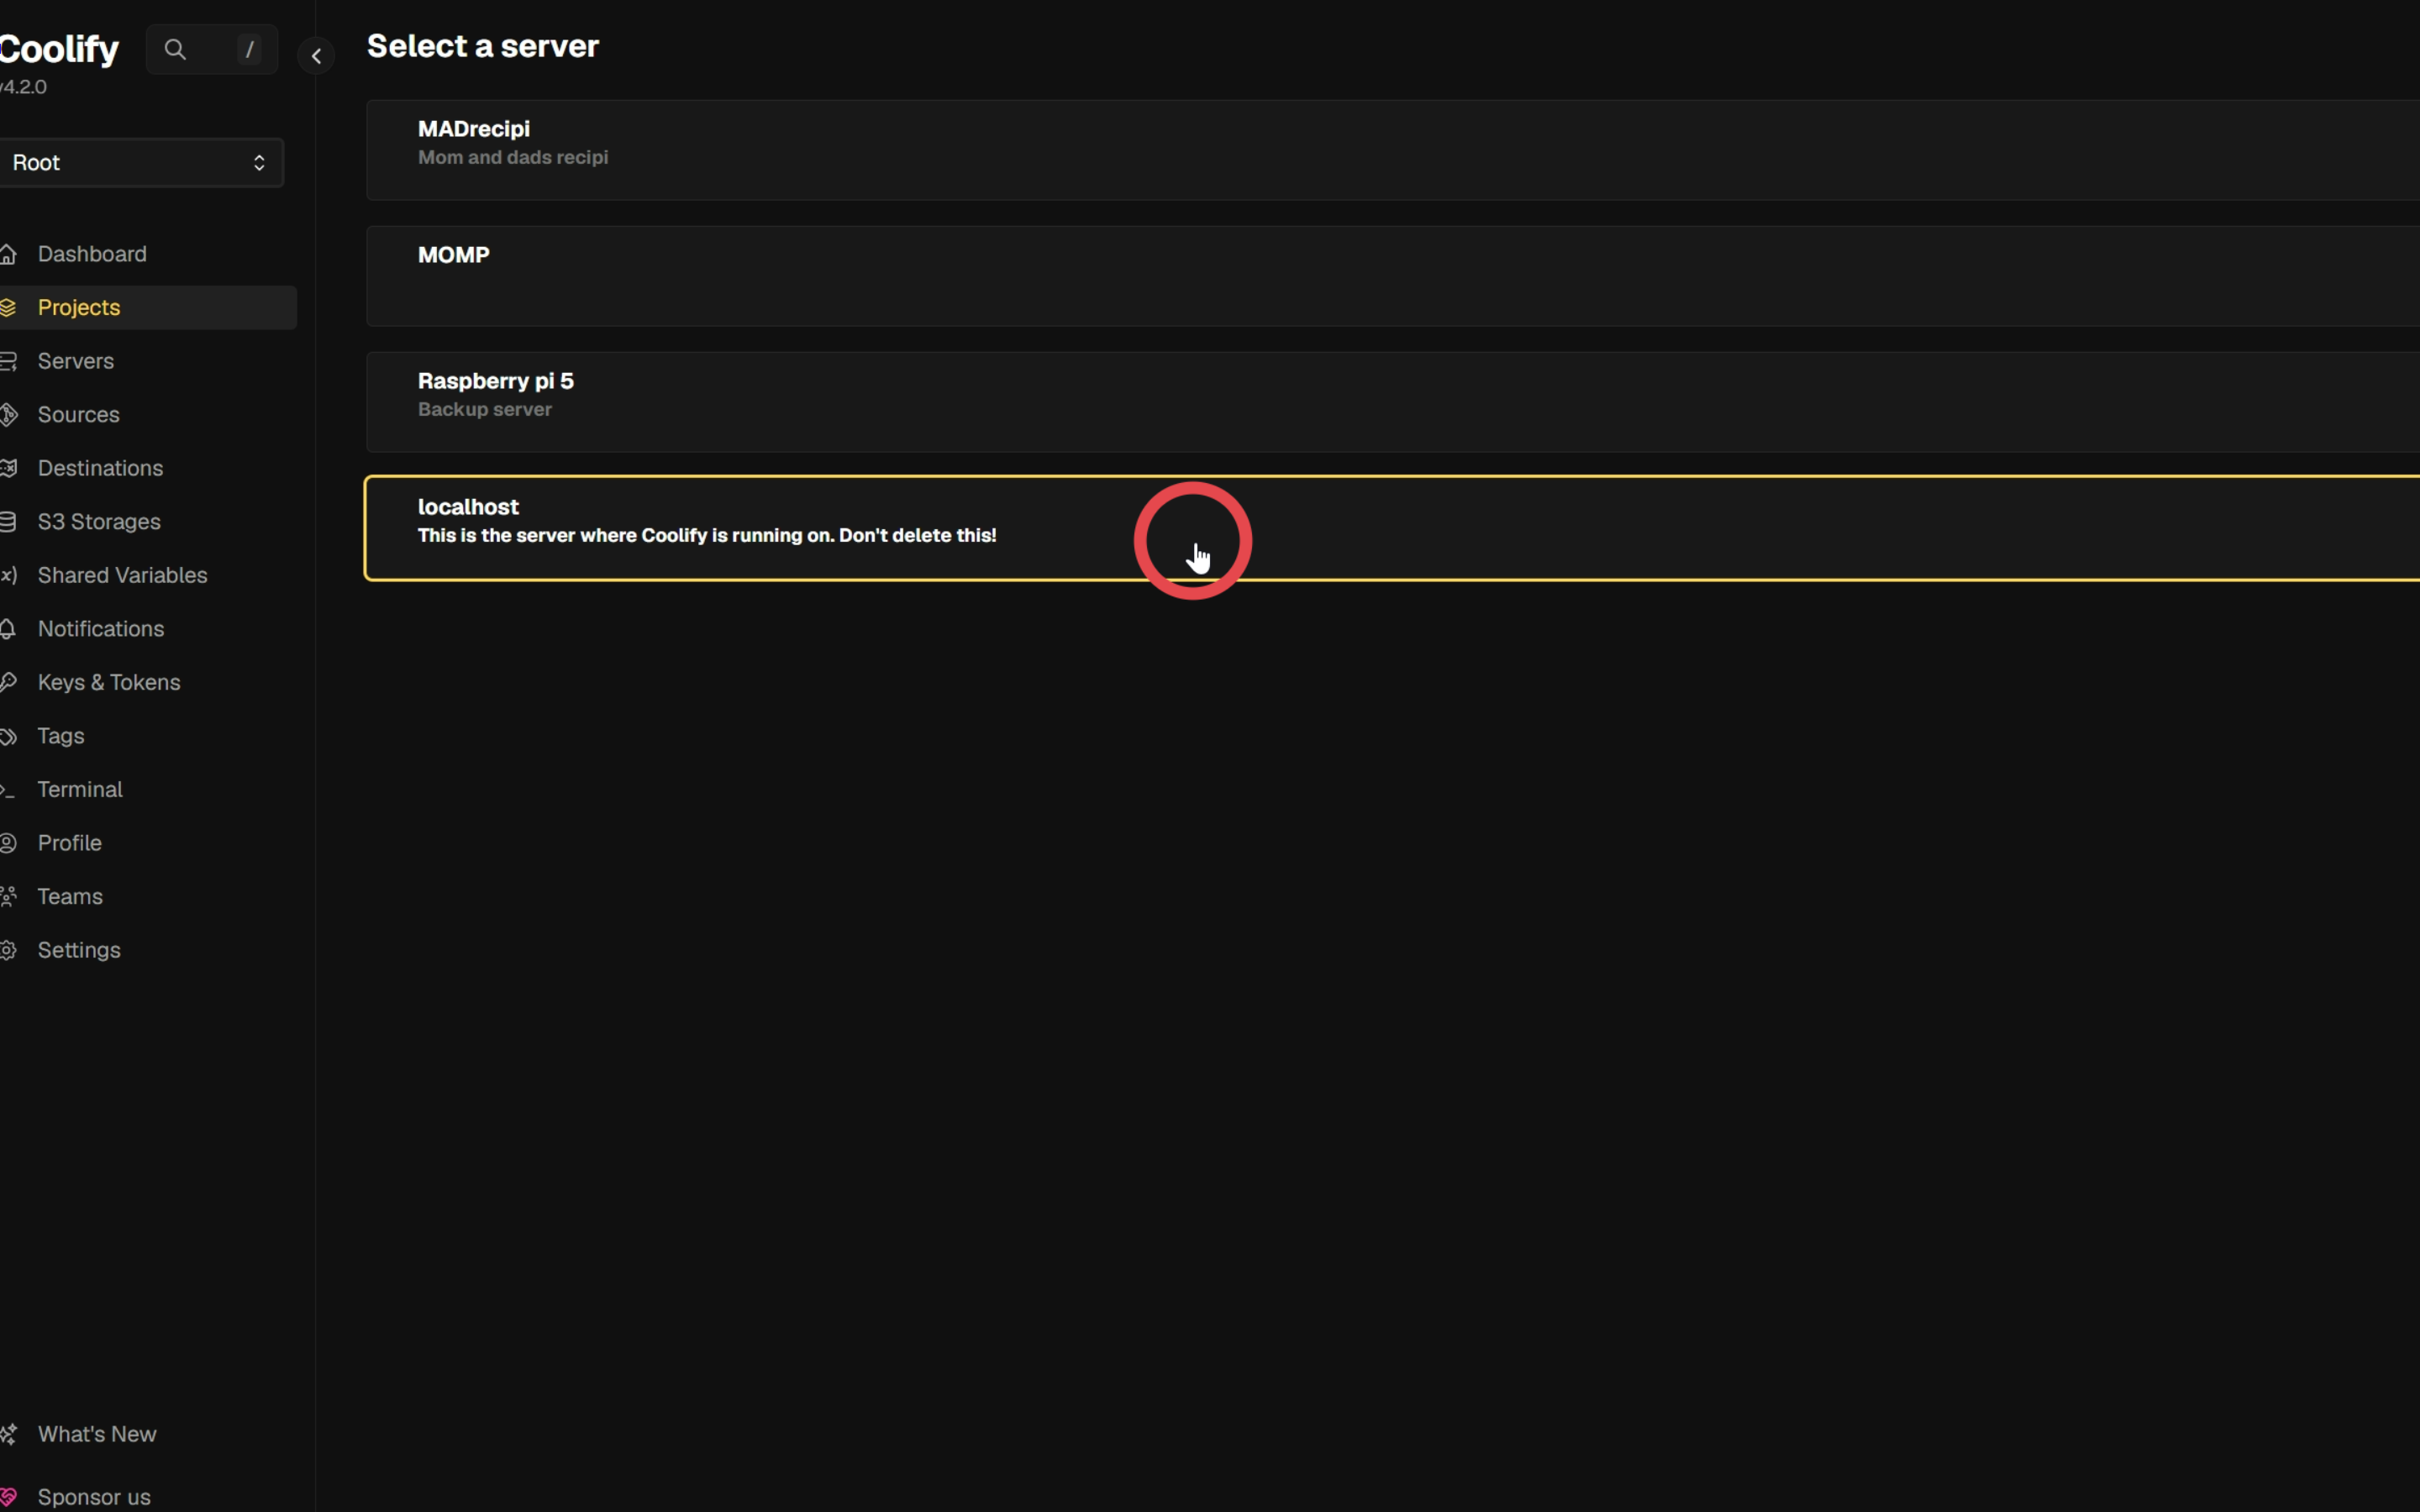
¶ 1.4. Select the deployment server
Choose the server where you want to deploy ONLYOFFICE. The recording selects localhost.
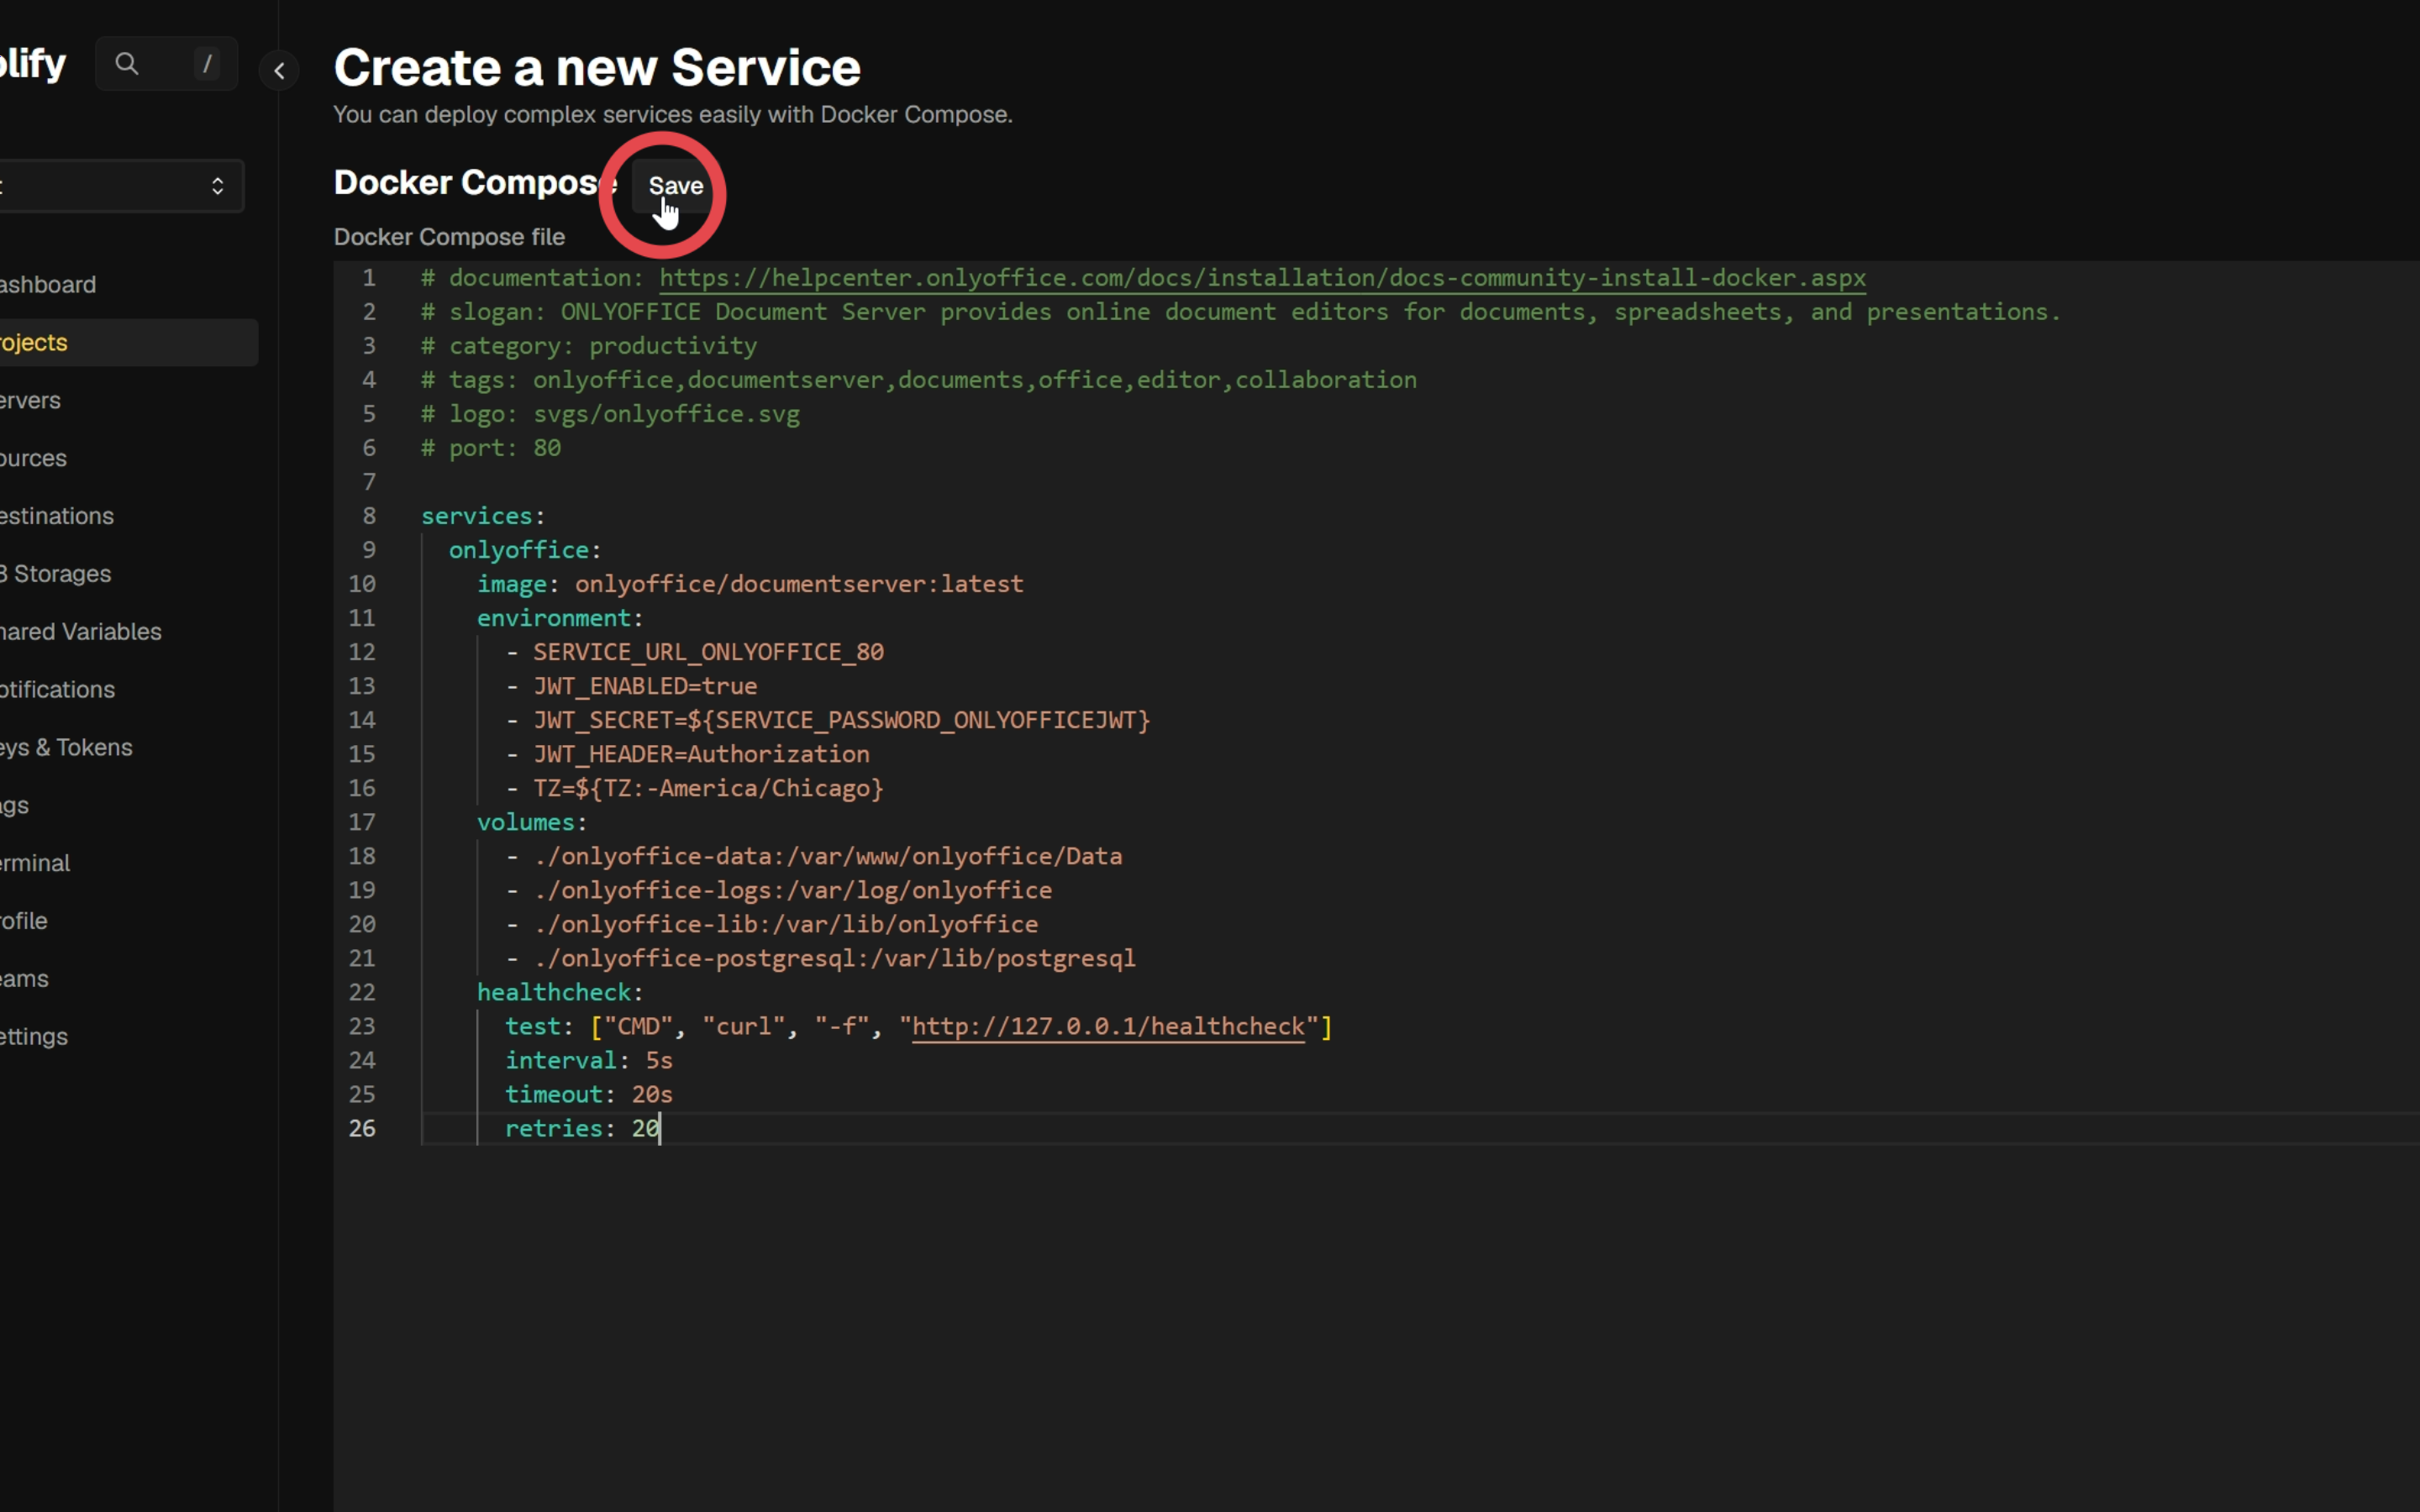
¶ 1.5. Save the Docker Compose file
Paste the Docker Compose configuration below into the editor, then click Save to create the service.
# documentation: https://helpcenter.onlyoffice.com/docs/installation/docs-community-install-docker.aspx
# slogan: ONLYOFFICE Document Server provides online document editors for documents, spreadsheets, and presentations.
# category: productivity
# tags: onlyoffice,documentserver,documents,office,editor,collaboration
# logo: svgs/onlyoffice.svg
# port: 80

services:
  onlyoffice:
    image: onlyoffice/documentserver:latest
    environment:
      - SERVICE_URL_ONLYOFFICE_80
      - JWT_ENABLED=true
      - JWT_SECRET=${SERVICE_PASSWORD_ONLYOFFICEJWT}
      - JWT_HEADER=Authorization
      - TZ=${TZ:-America/Chicago}
    volumes:
      - ./onlyoffice-data:/var/www/onlyoffice/Data
      - ./onlyoffice-logs:/var/log/onlyoffice
      - ./onlyoffice-lib:/var/lib/onlyoffice
      - ./onlyoffice-postgresql:/var/lib/postgresql
    healthcheck:
      test: ["CMD", "curl", "-f", "http://127.0.0.1/healthcheck"]
      interval: 5s
      timeout: 20s
      retries: 20
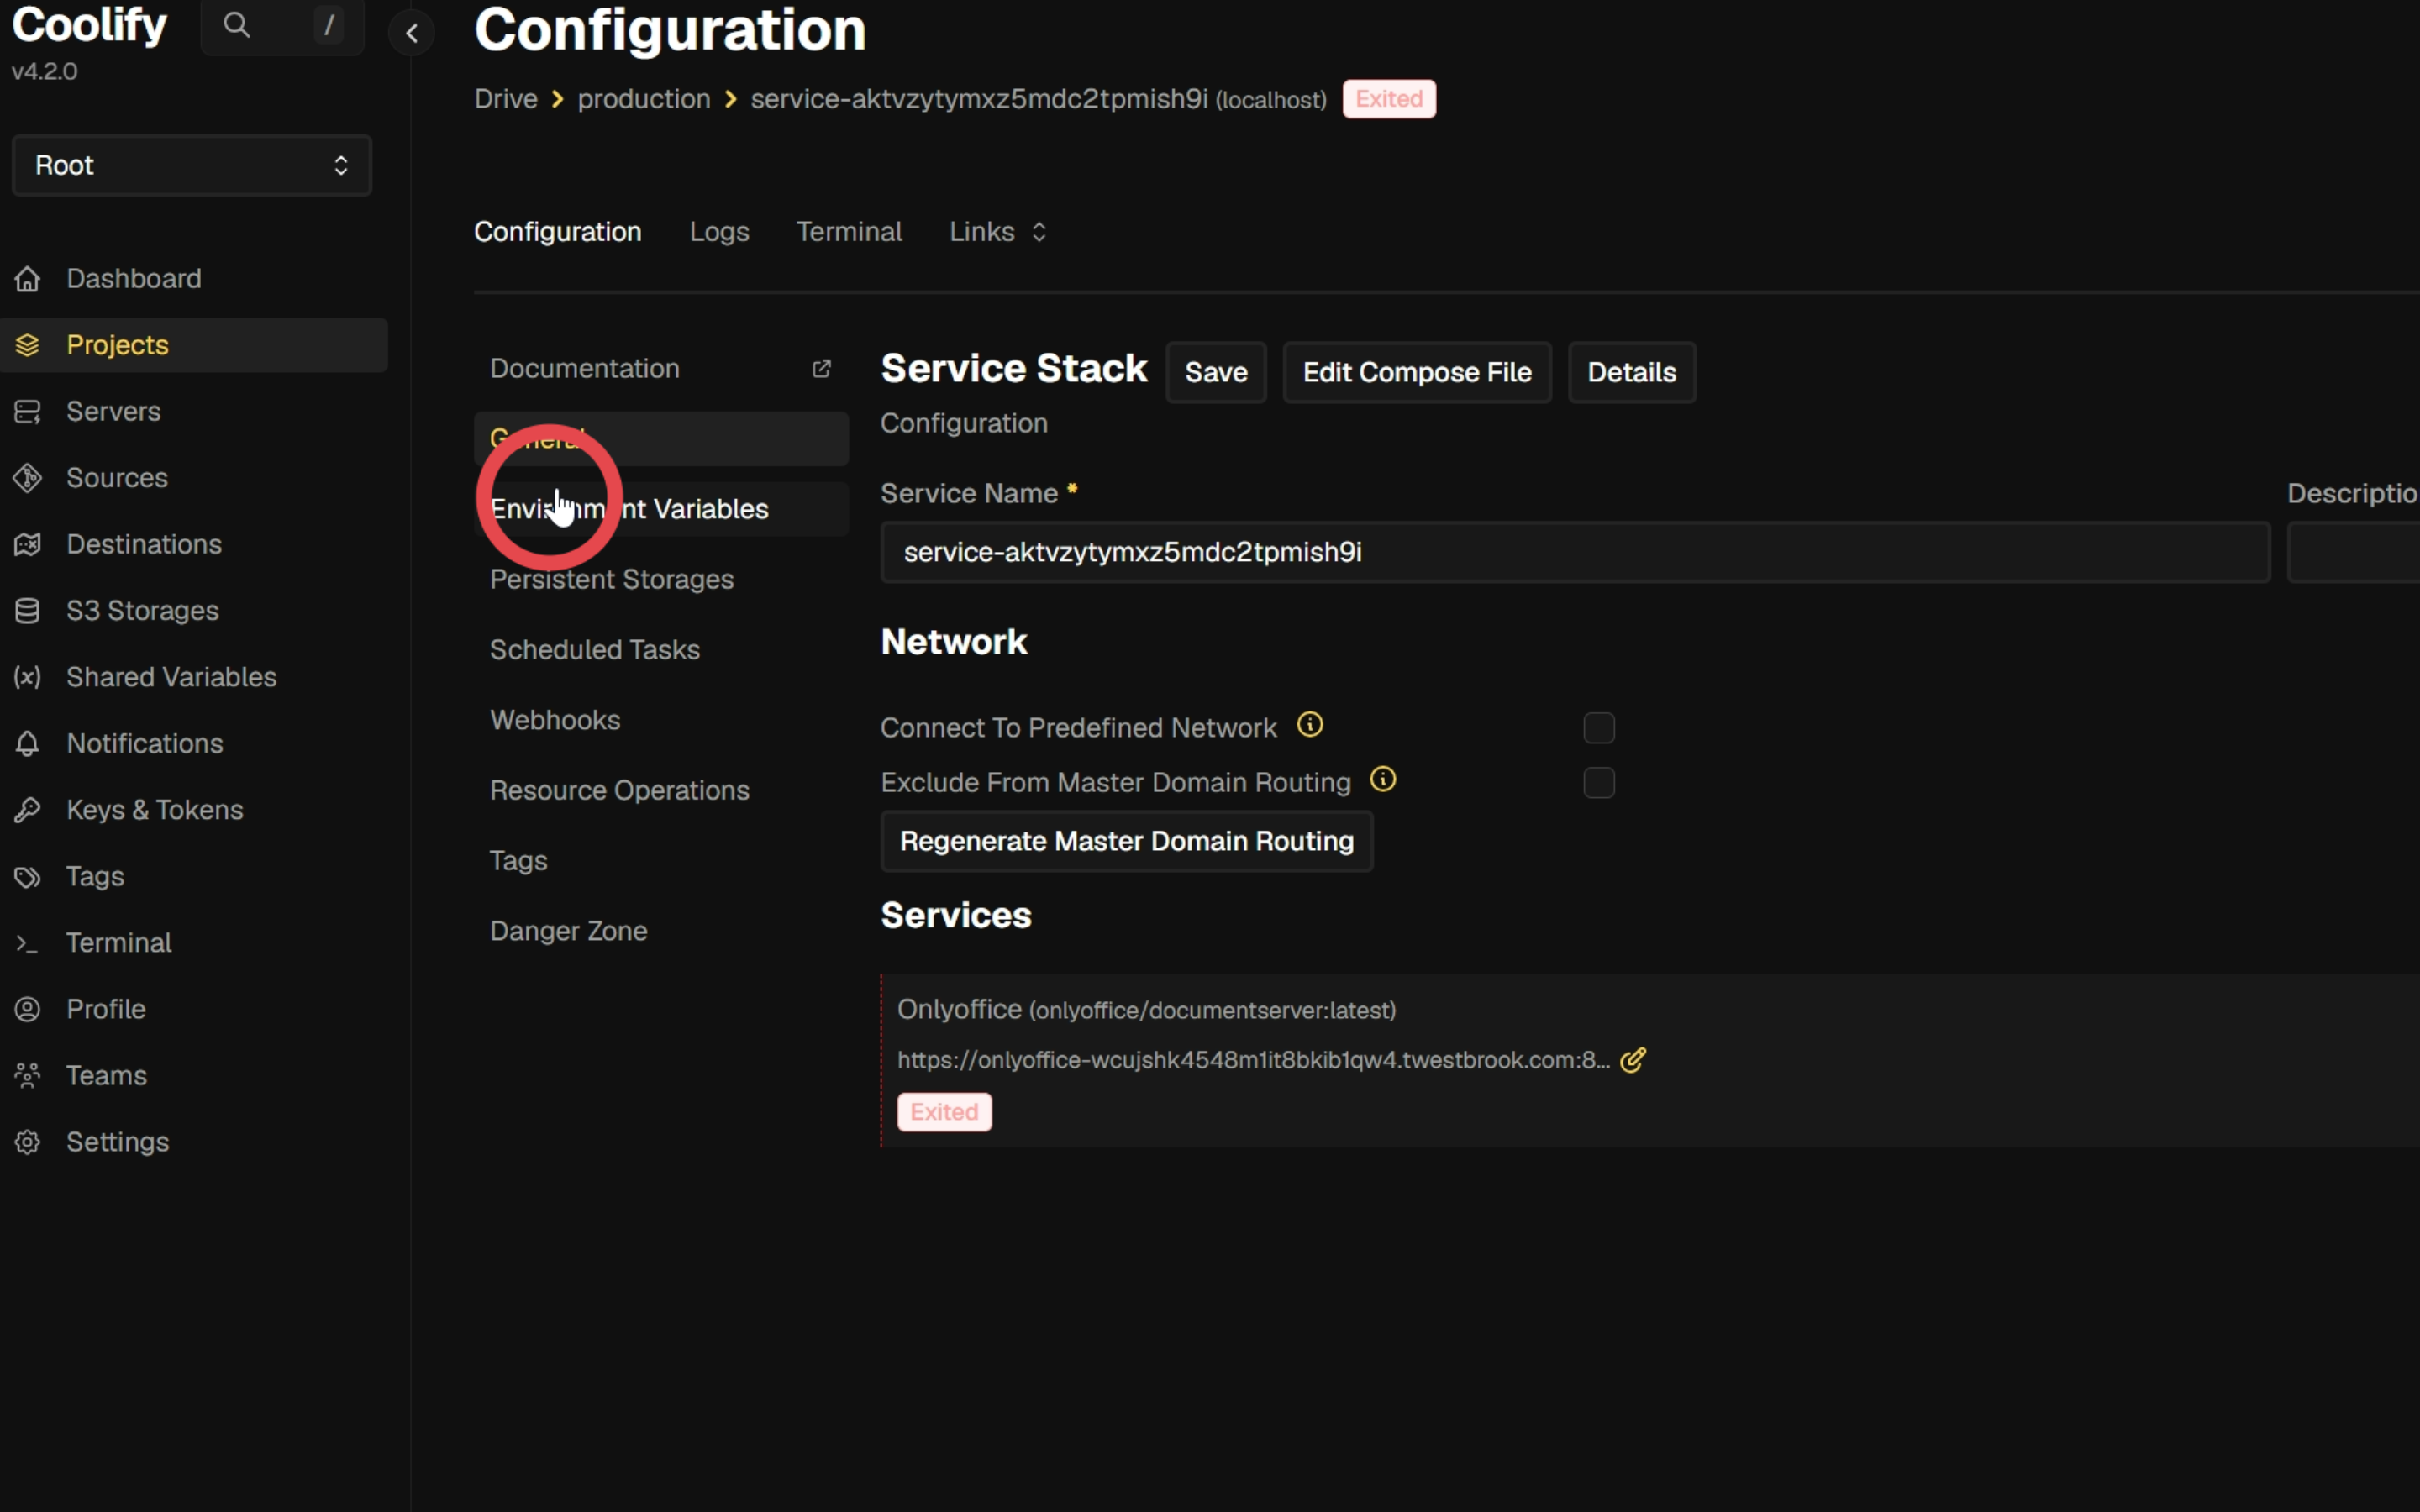
¶ 2. Configure and deploy ONLYOFFICE
On the new service’s configuration page, click Environment Variables to review its settings.
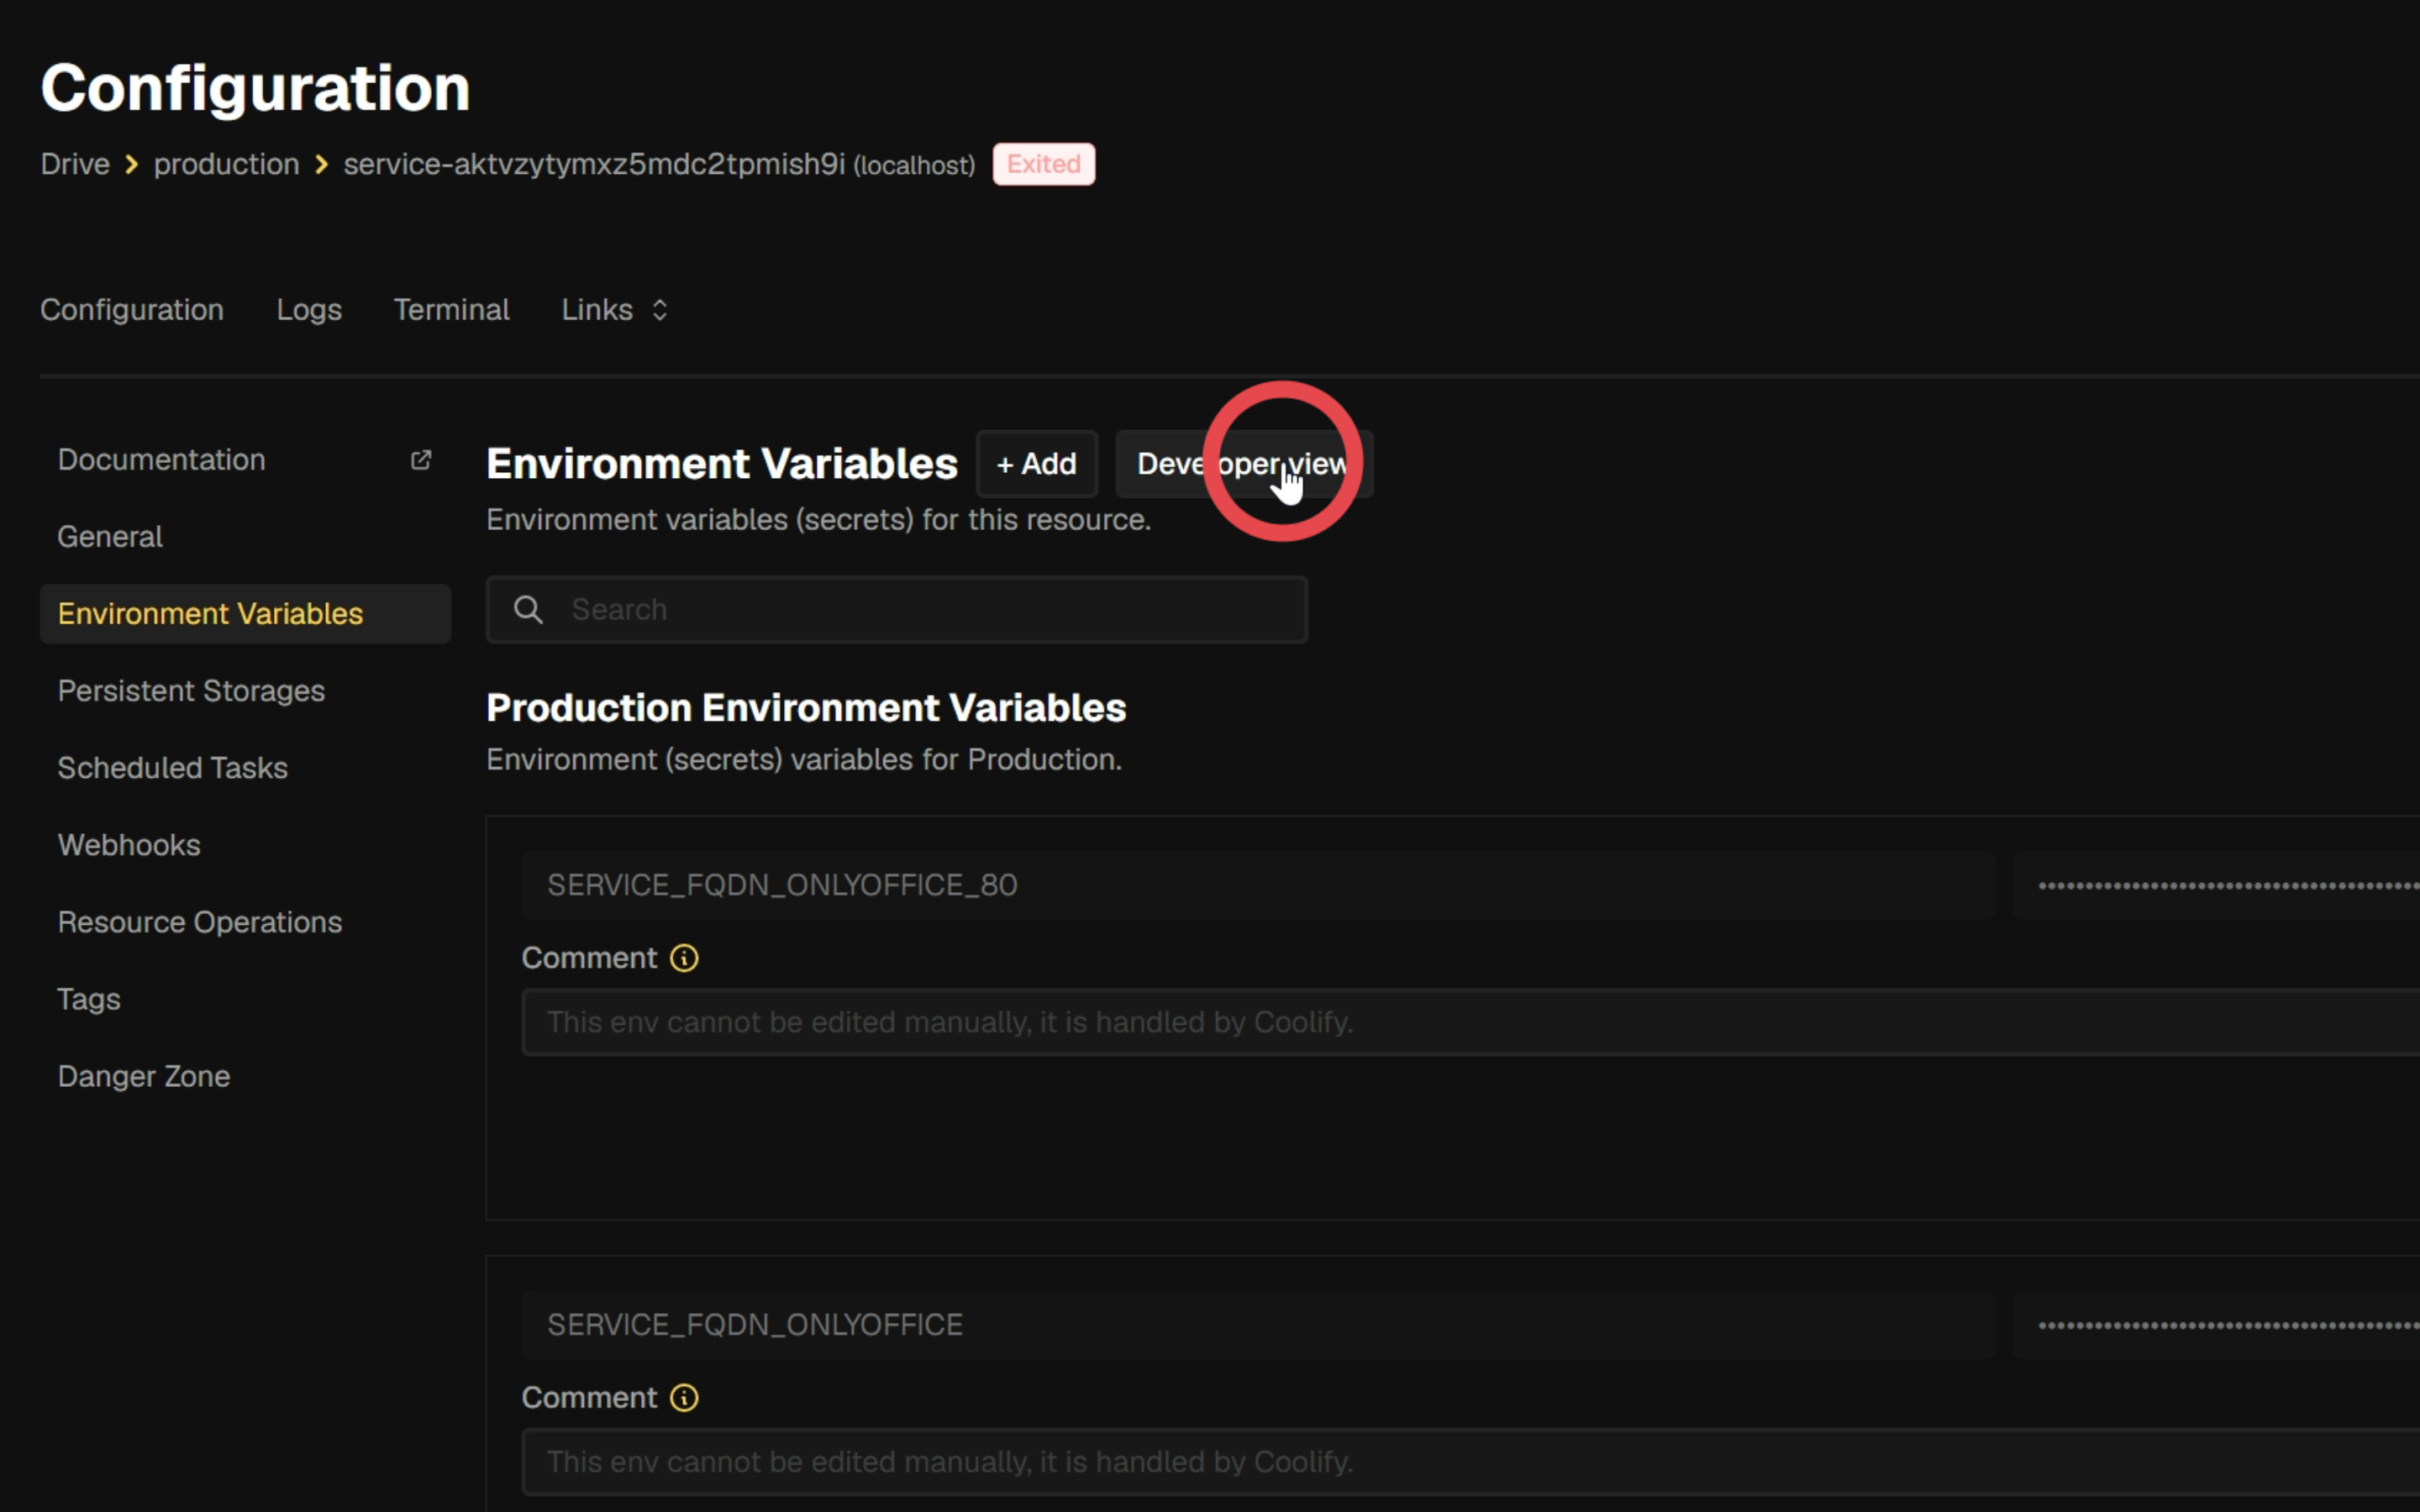
¶ 2.1. Switch to Developer view
Click Developer view to display the environment variables in a single editable field.
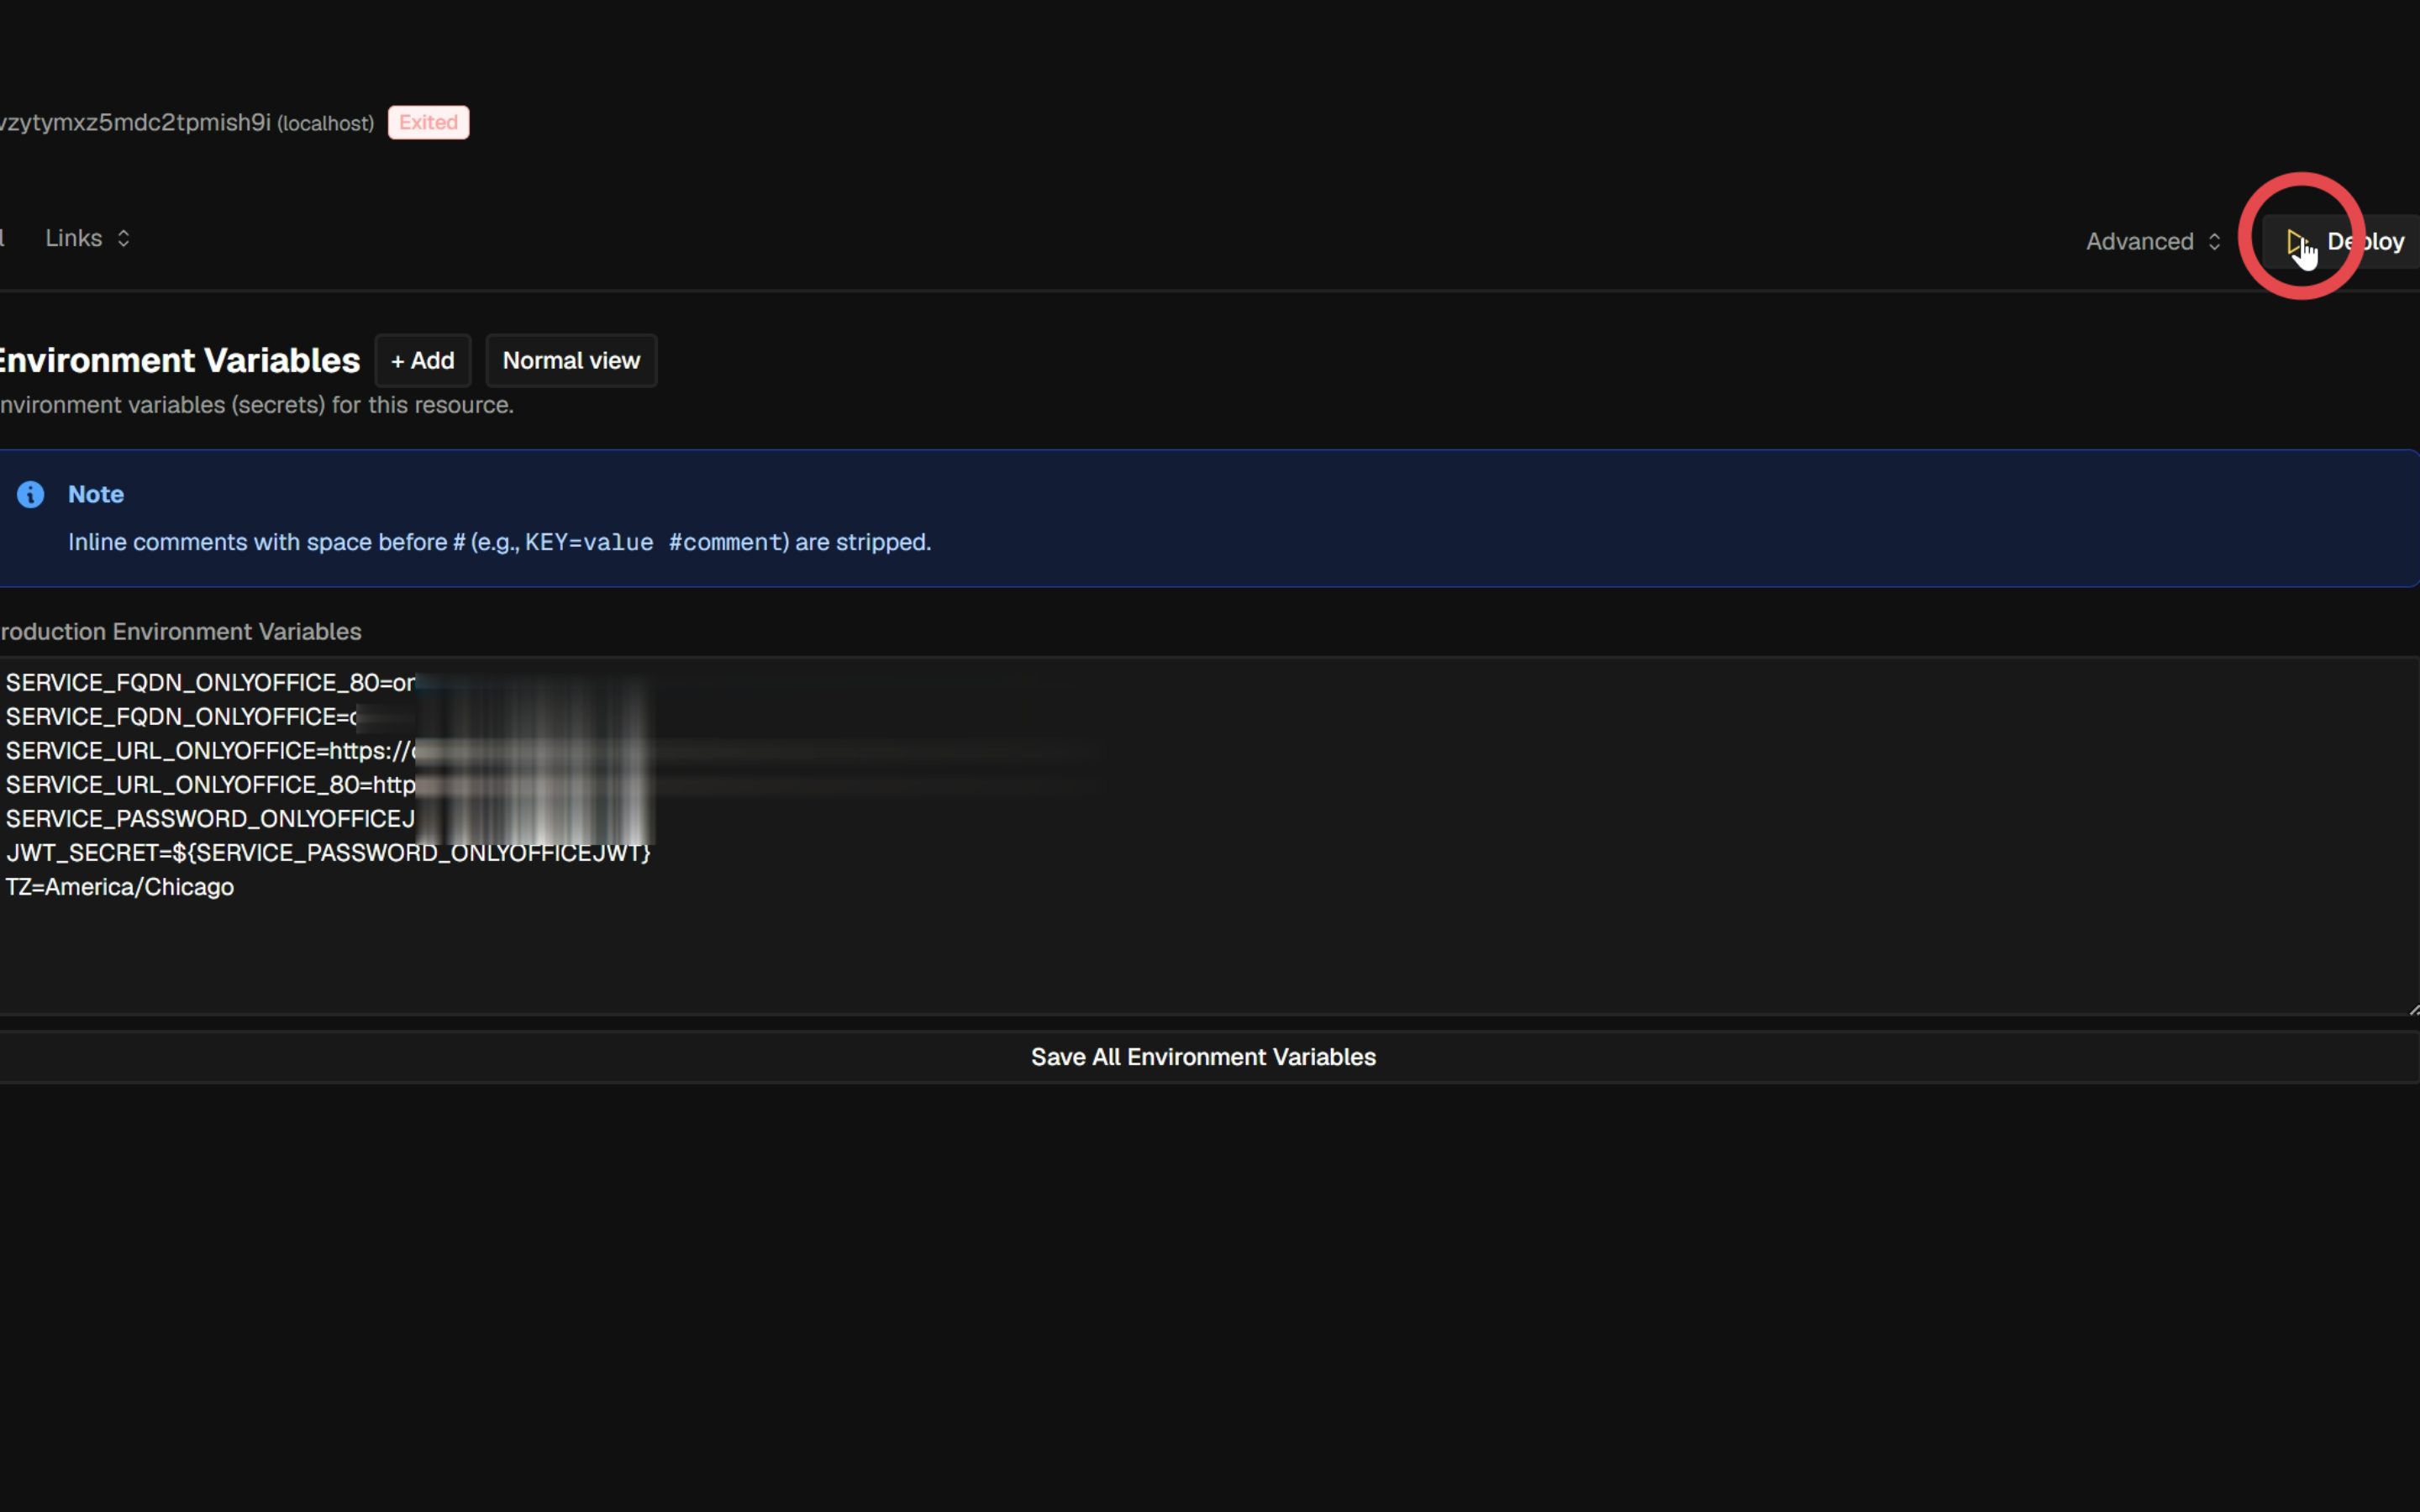
¶ 2.2. Review the environment variables
Make any required changes, then click Save All Environment Variables. Keep the JWT secret available for the Seafile configuration, then click Deploy.
Keep the JWT secret
Keep the ONLYOFFICE JWT secret available; you will need the same value when configuring Seafile.
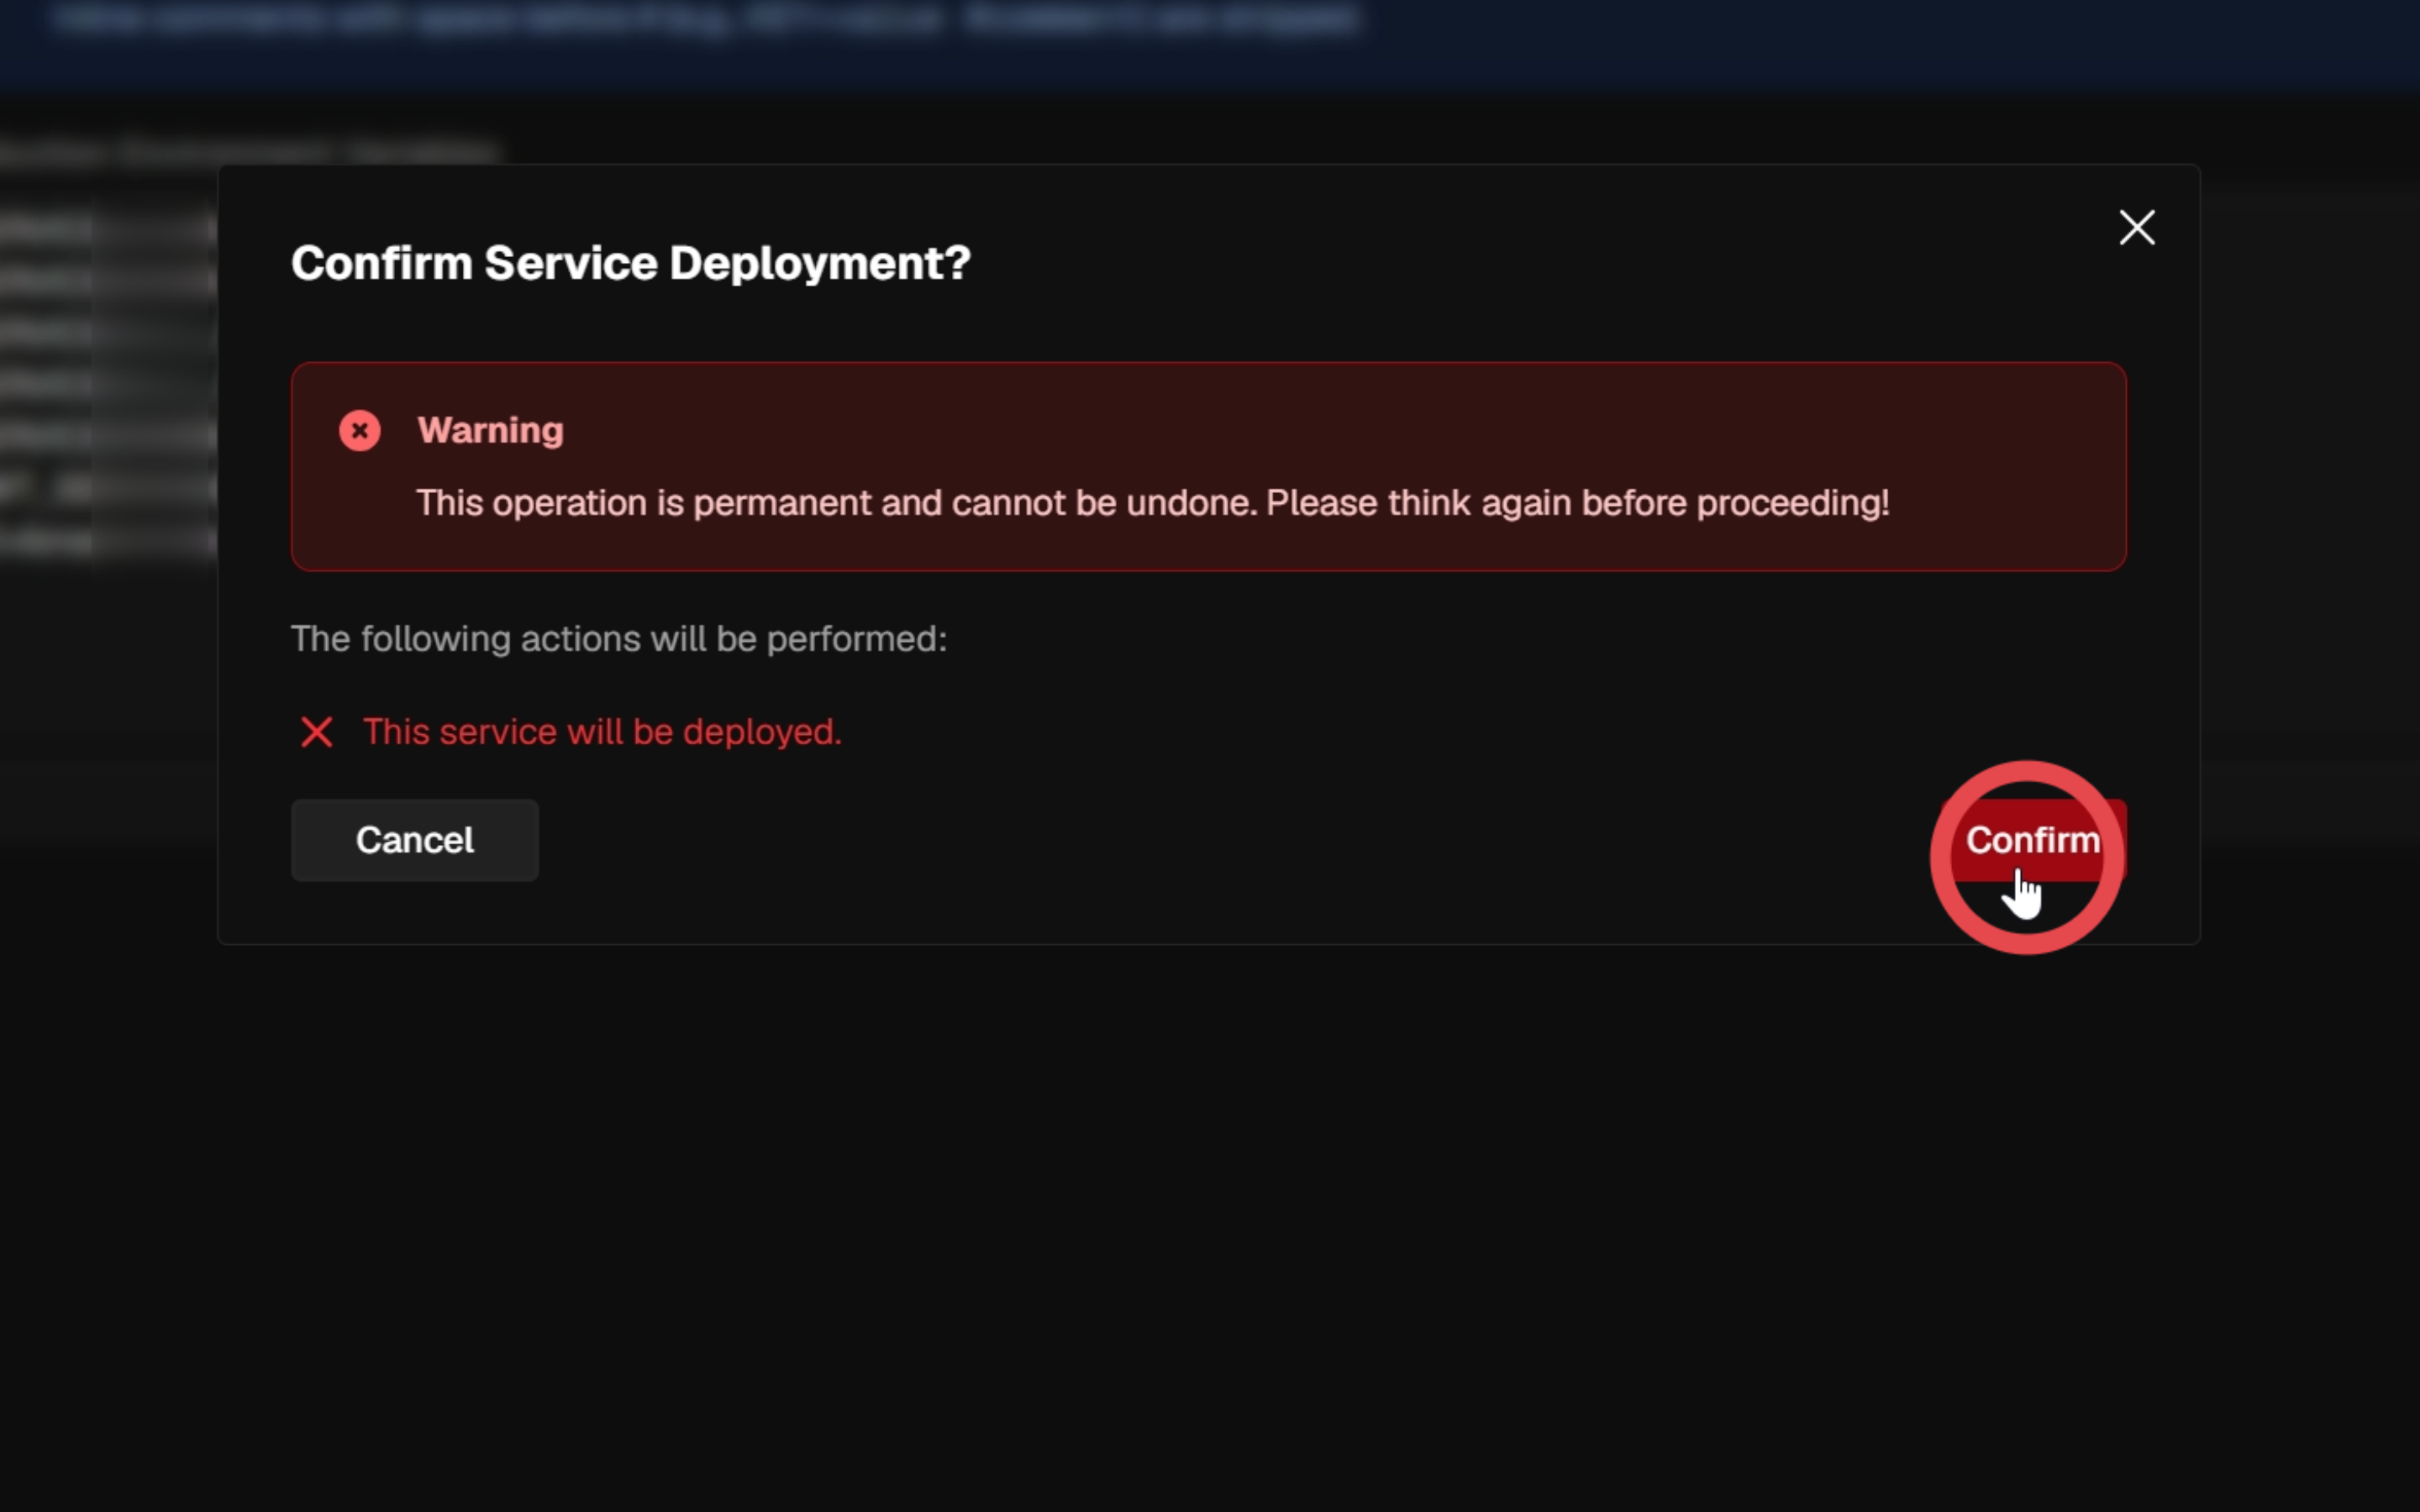
¶ 2.3. Confirm the deployment
In the Confirm Service Deployment? dialog, click Confirm to start deploying ONLYOFFICE.
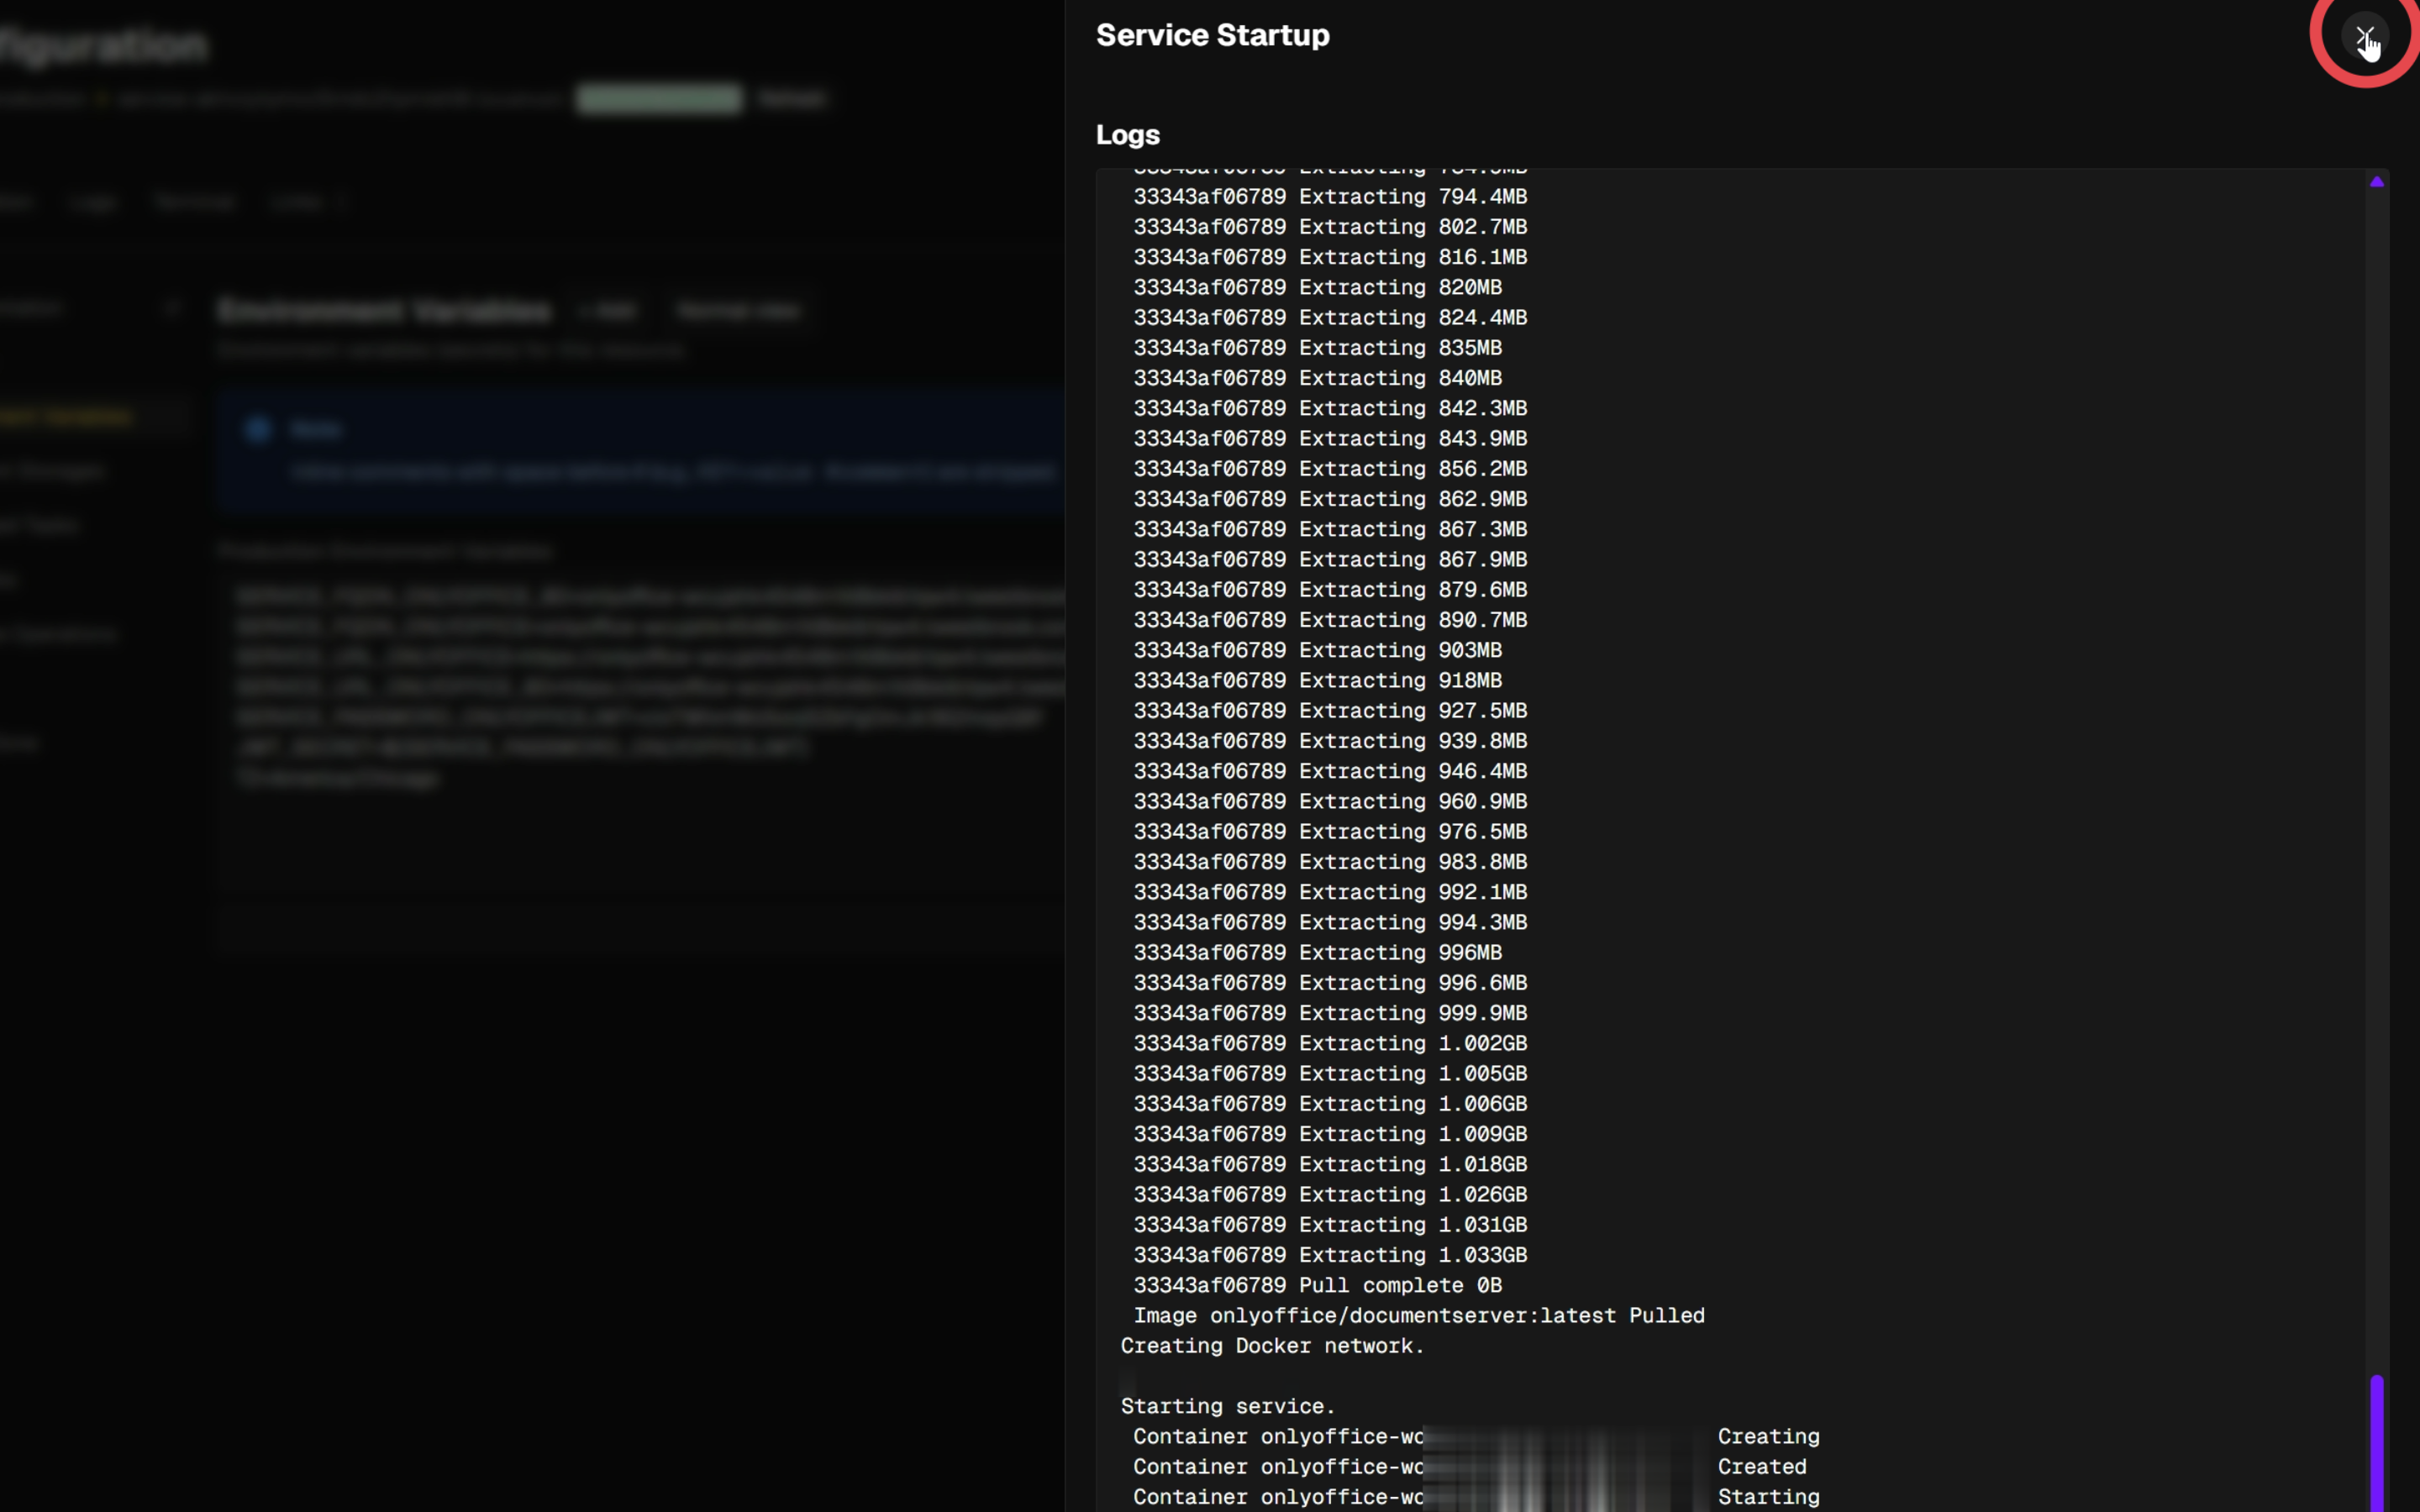
¶ 2.4. Check the startup logs
Wait for the startup logs to show that the ONLYOFFICE container has started. Close the Service Startup panel to return to the configuration page.
¶ 3. Check the ONLYOFFICE installation
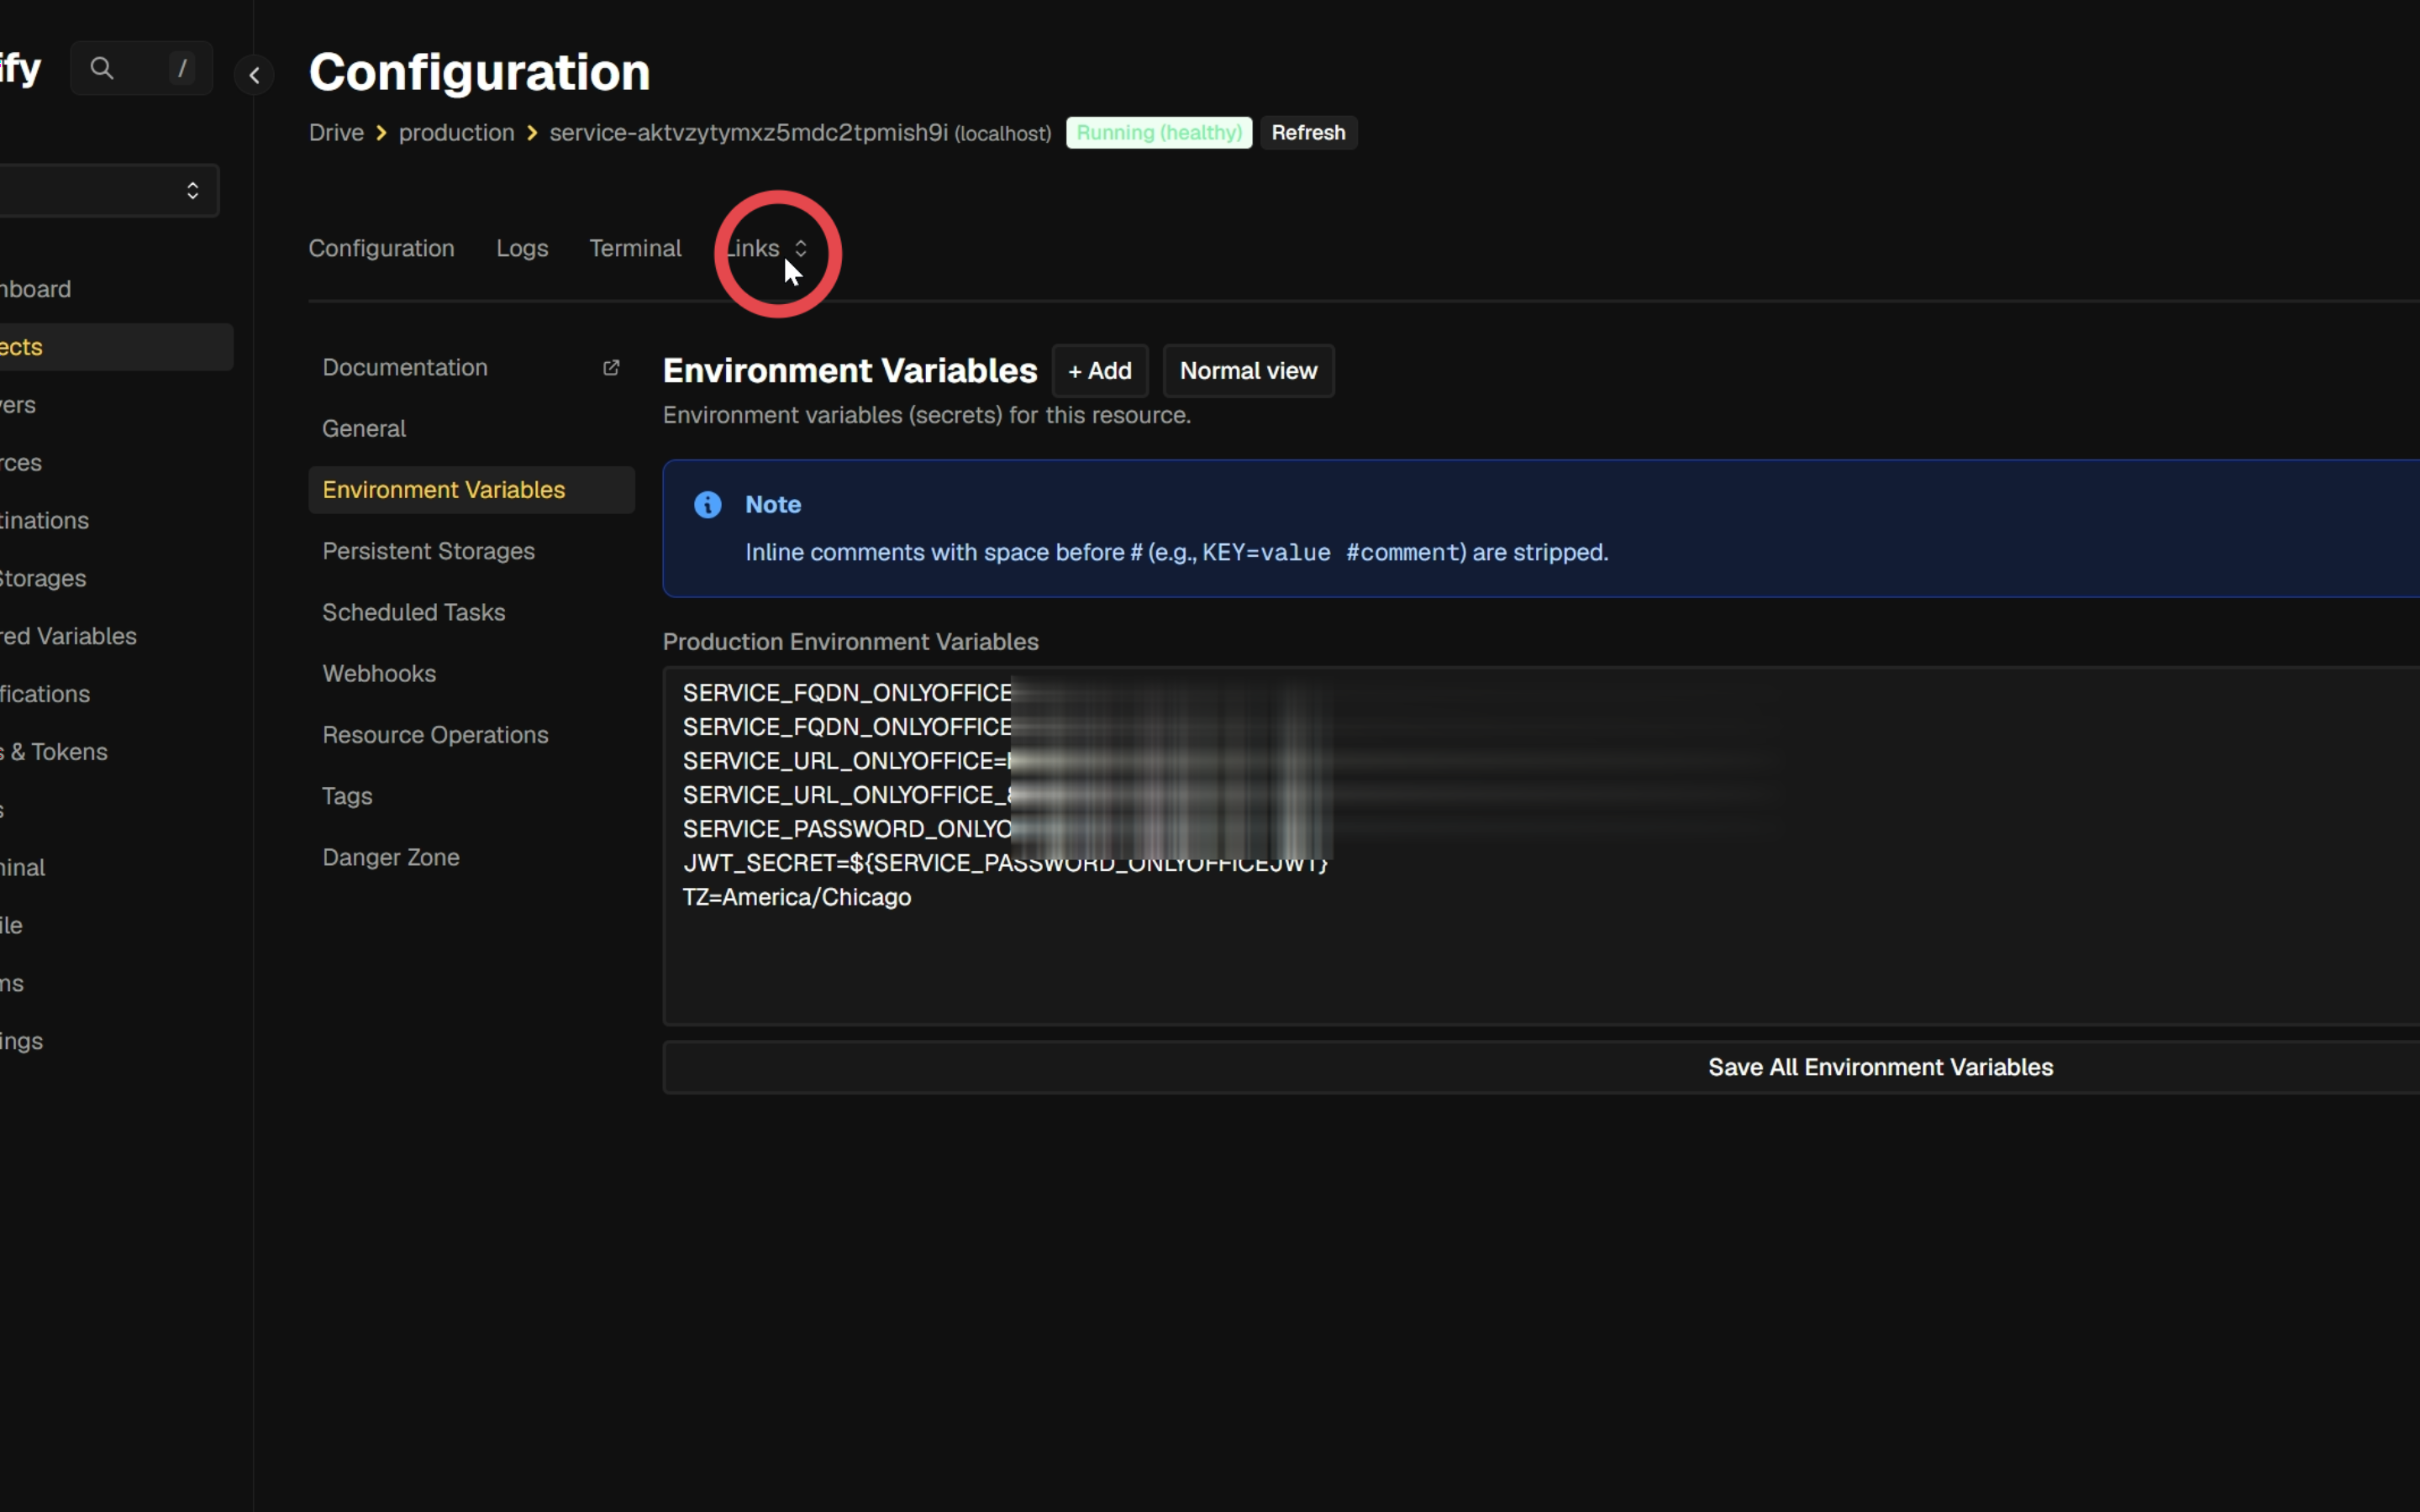
Confirm that the service shows Running (healthy), then open the Links menu.
¶ 3.1. Open the ONLYOFFICE URL
Click the generated ONLYOFFICE link to open the service in a new browser tab. Keep this URL available for the Seafile settings.
¶ 3.2. Verify the welcome page
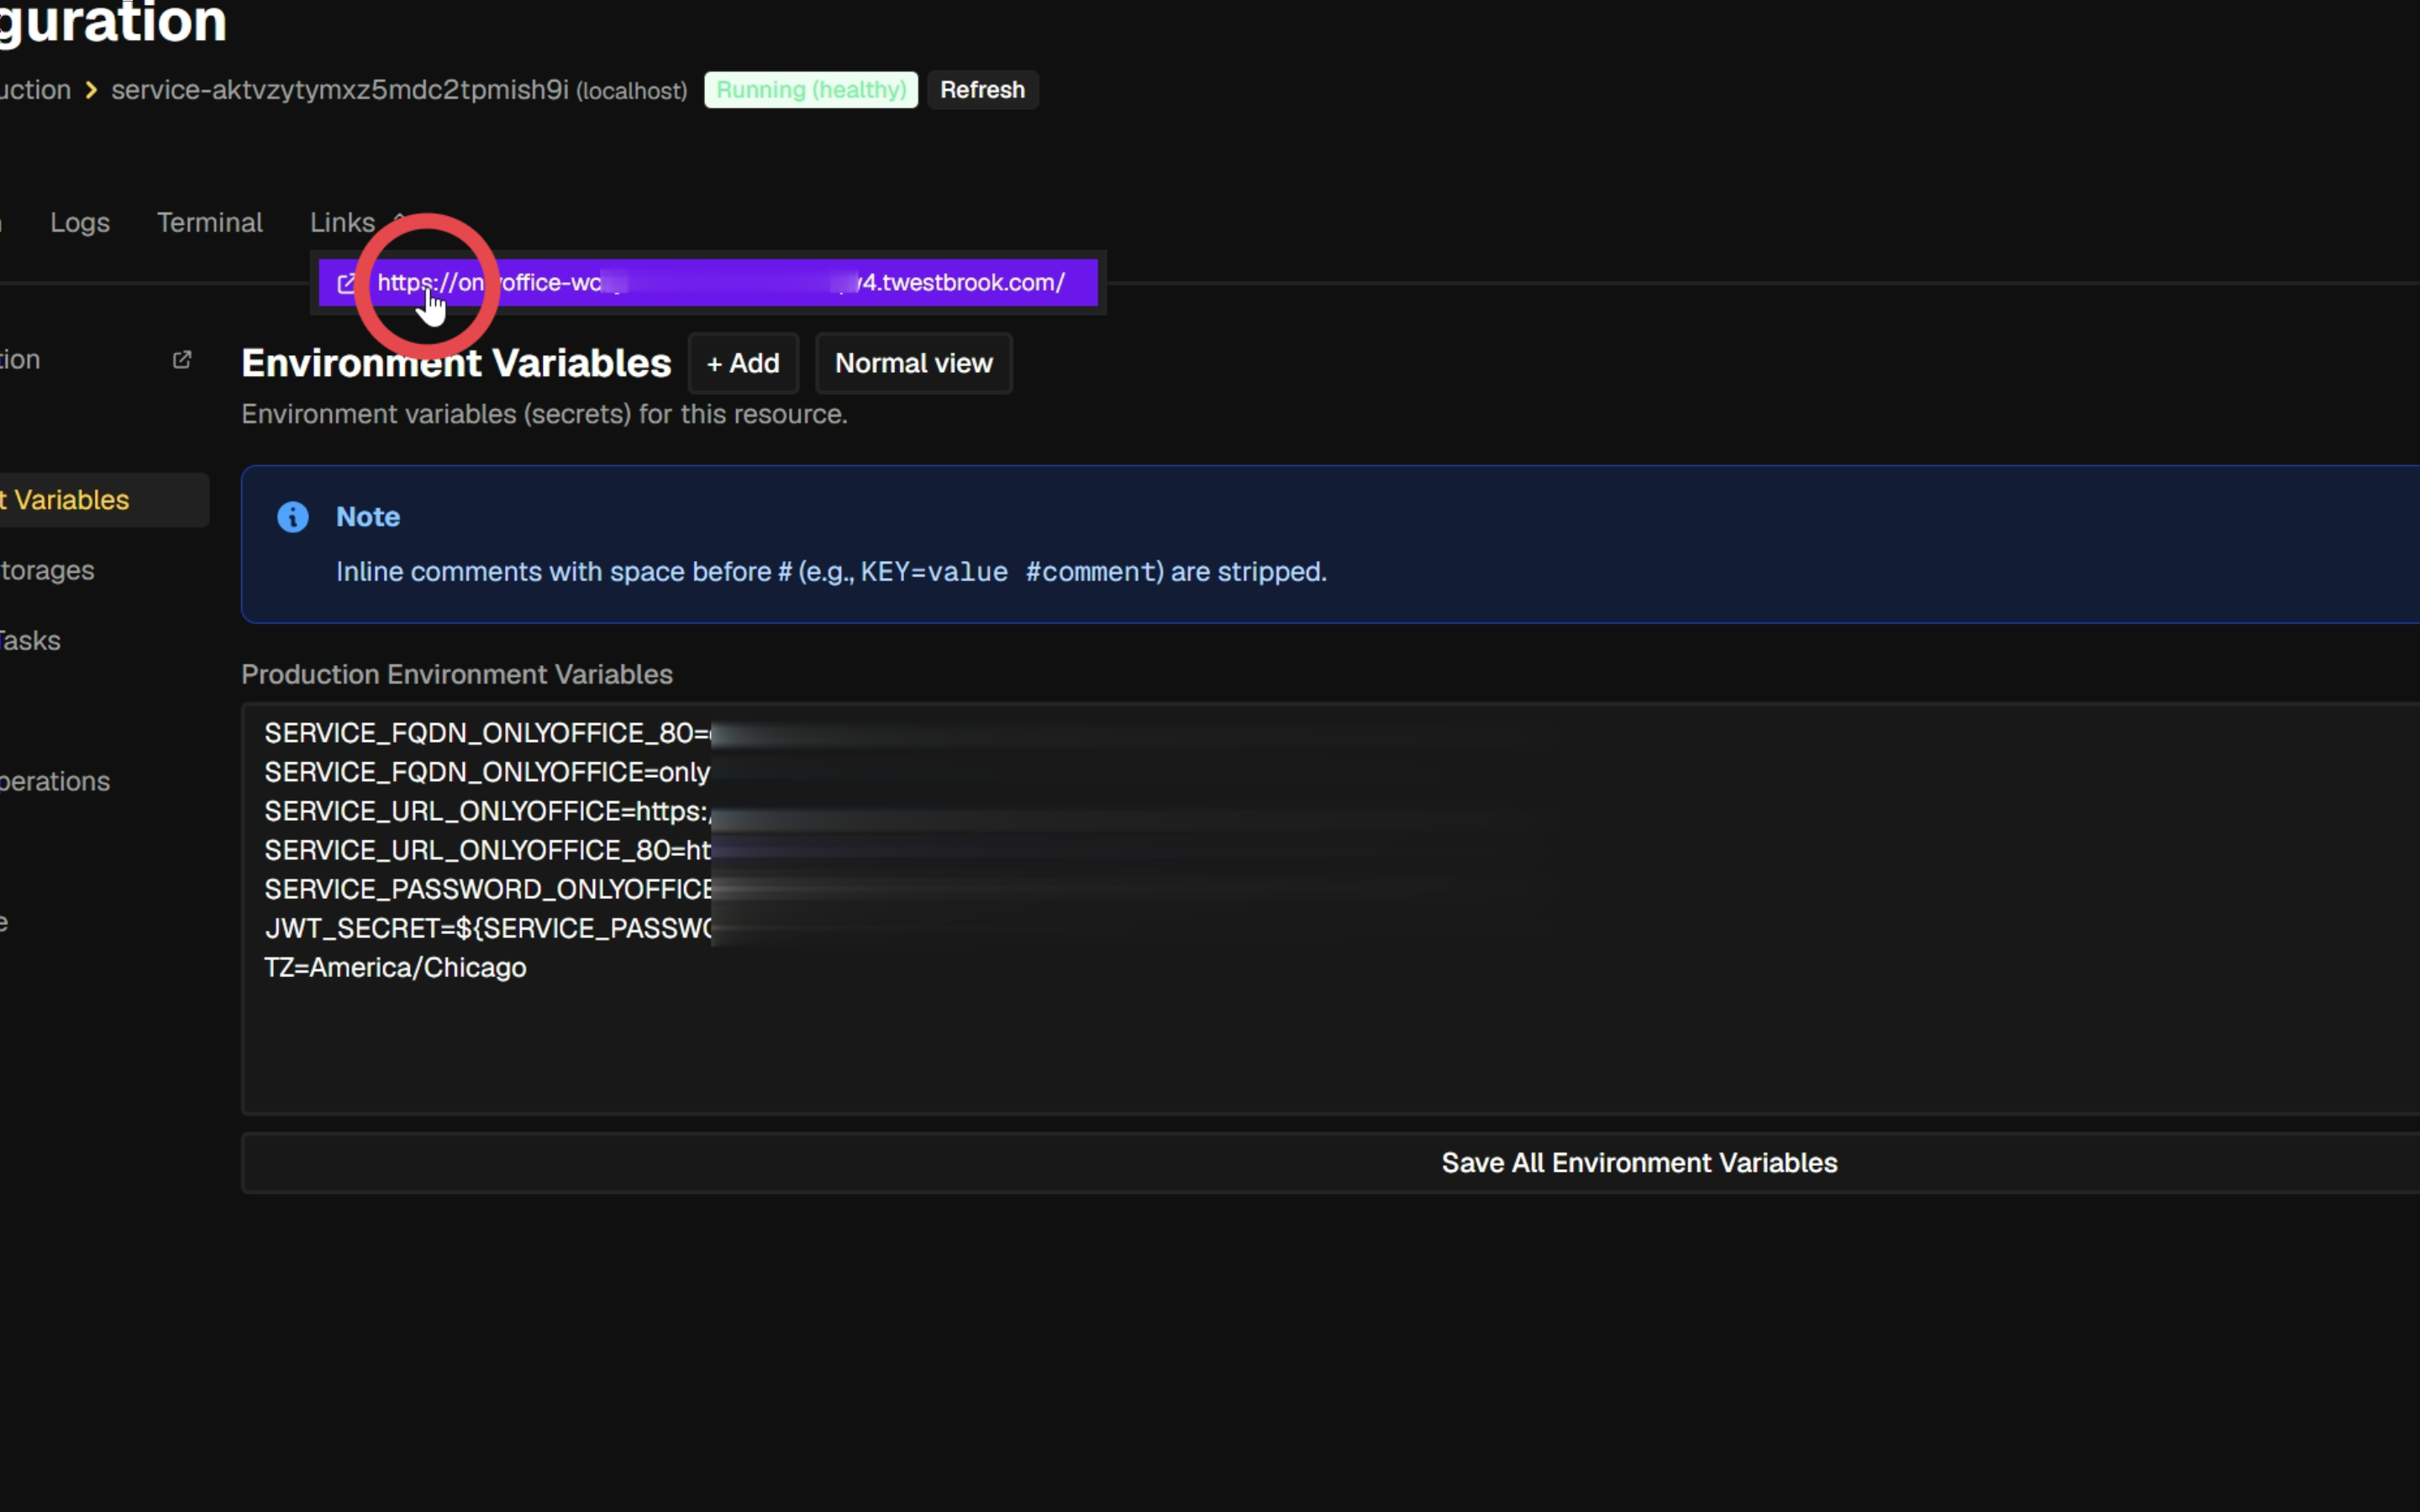
Check that the welcome page displays ONLYOFFICE Docs Community Edition installed. Return to the Coolify tab to continue.
¶ 4. Configure Seafile for ONLYOFFICE
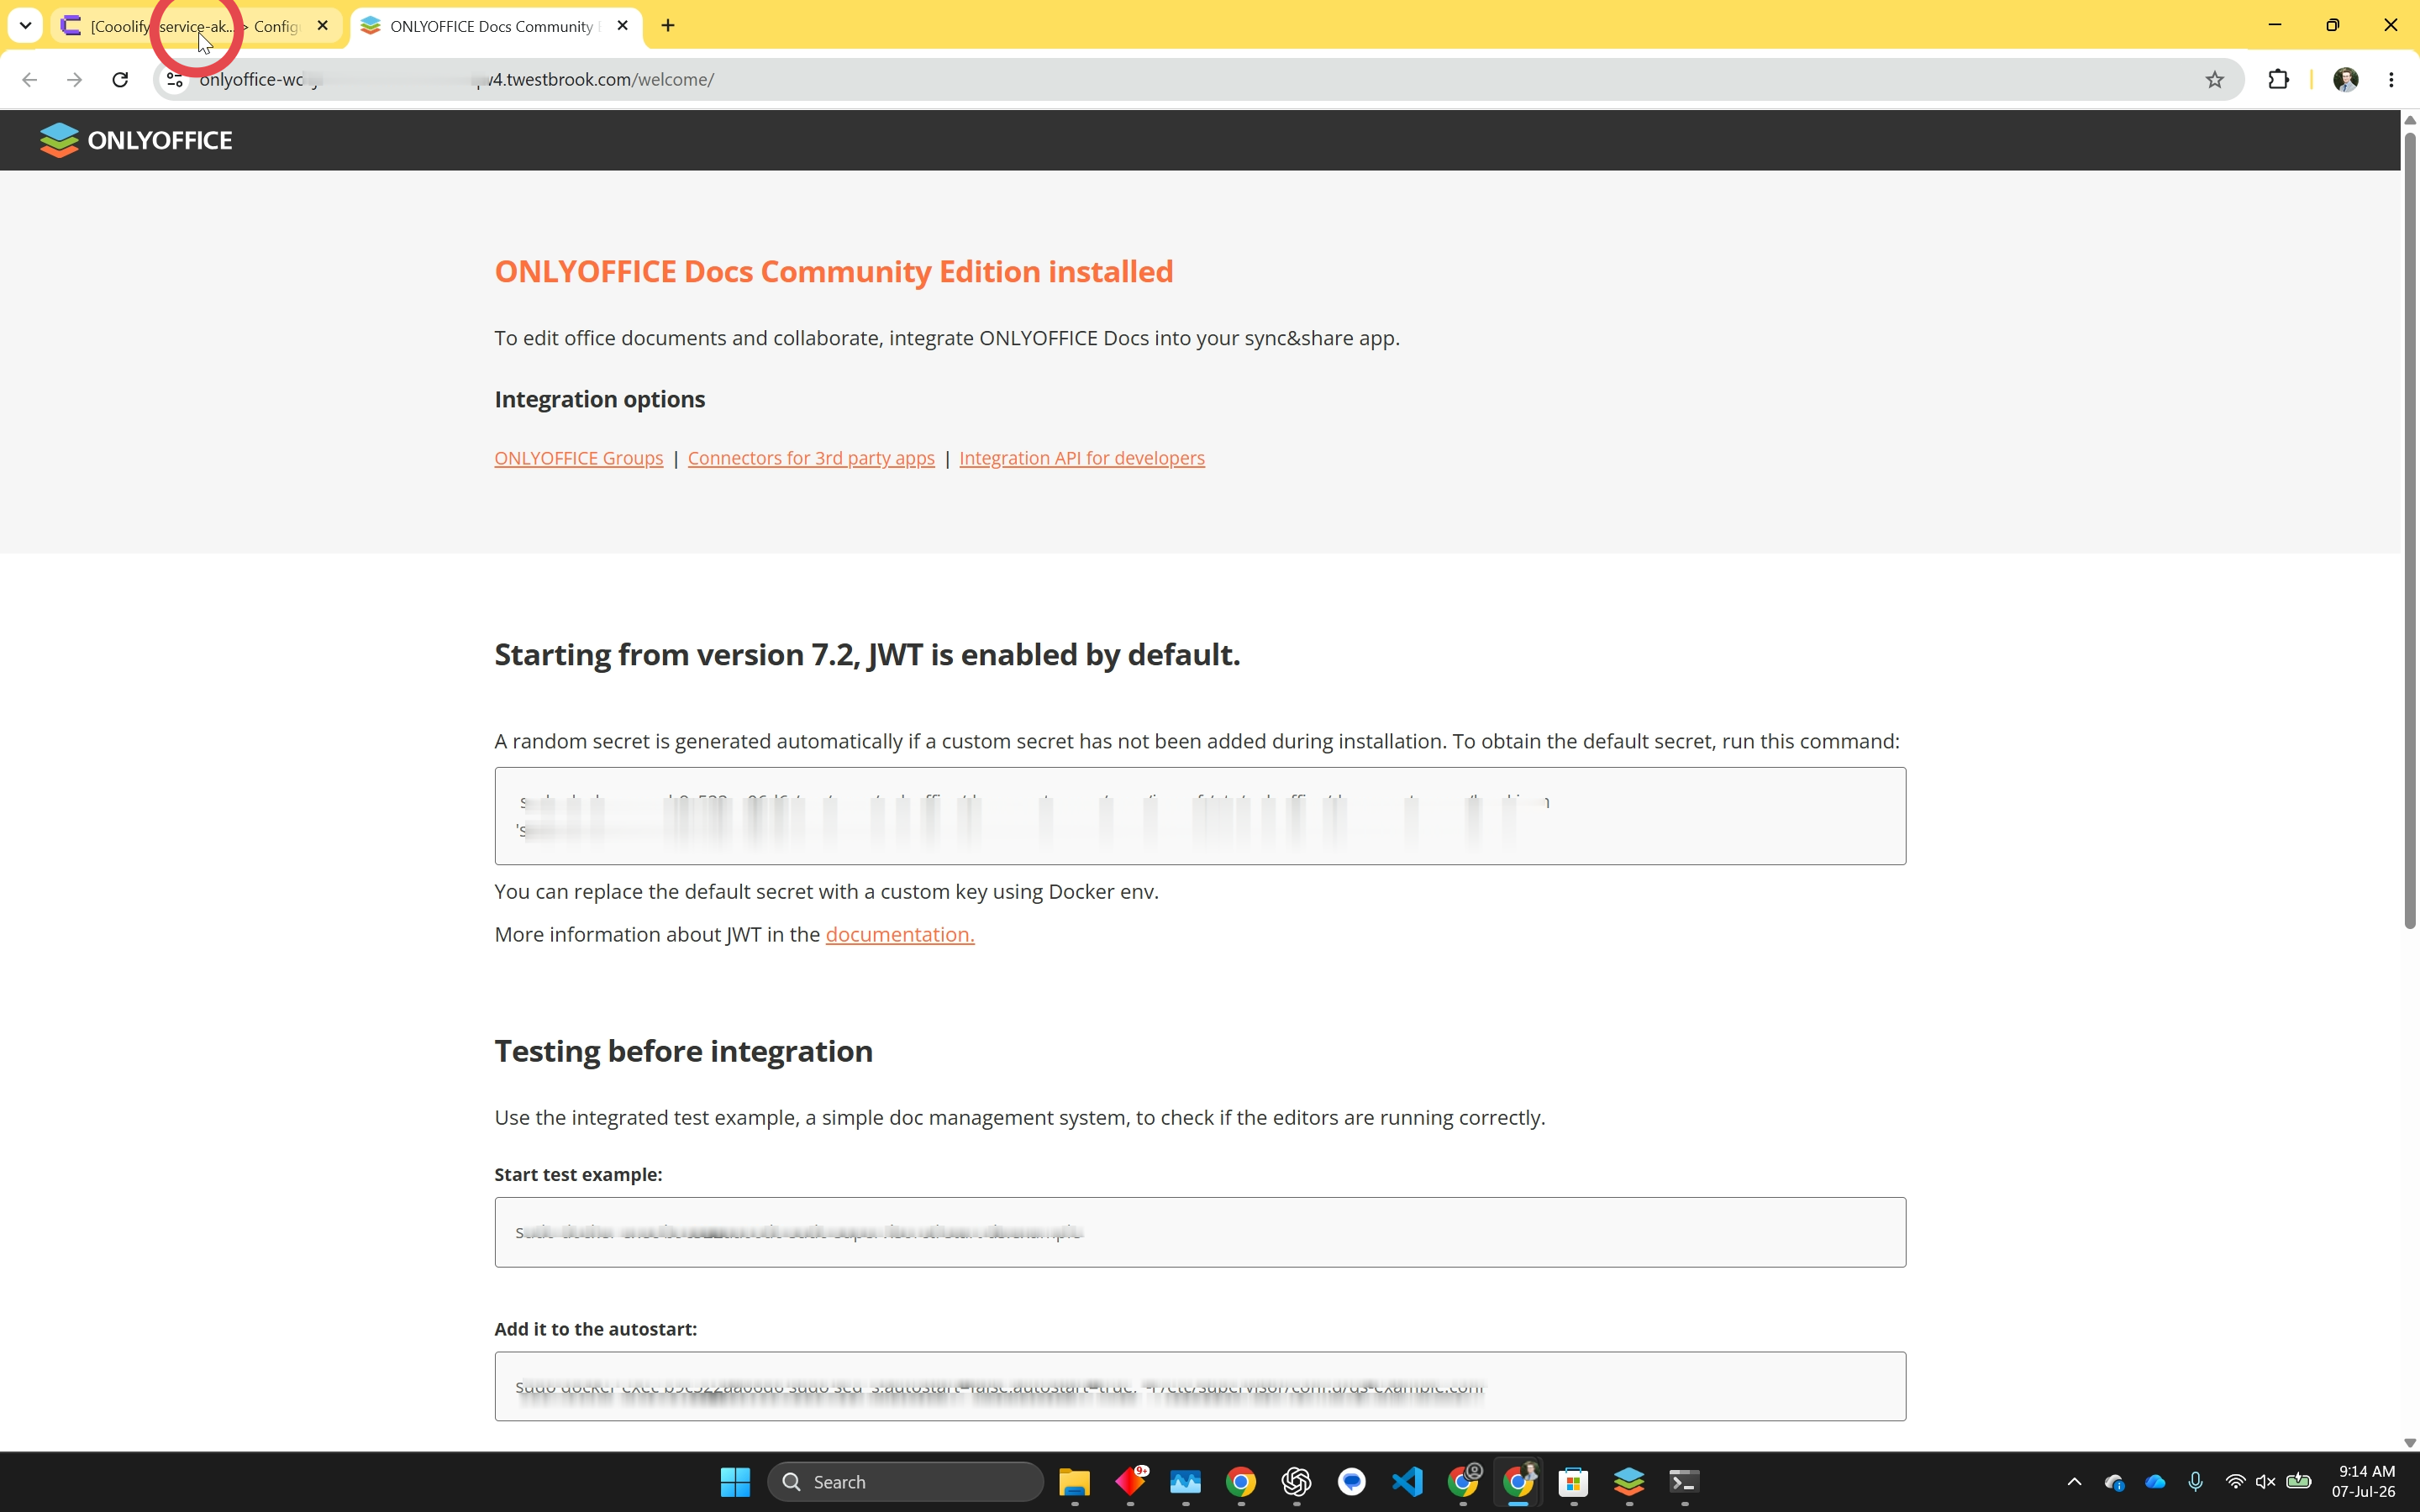
Return to the project’s resource list and open the existing seafile service.
¶ 4.1. Connect to the Seafile host
Open a terminal and connect over SSH to the server hosting Seafile. Continue from the server’s shell prompt.

¶ 4.2. Find the Seafile container
Run the command below to locate the running Seafile container. Note its container name for the next step.
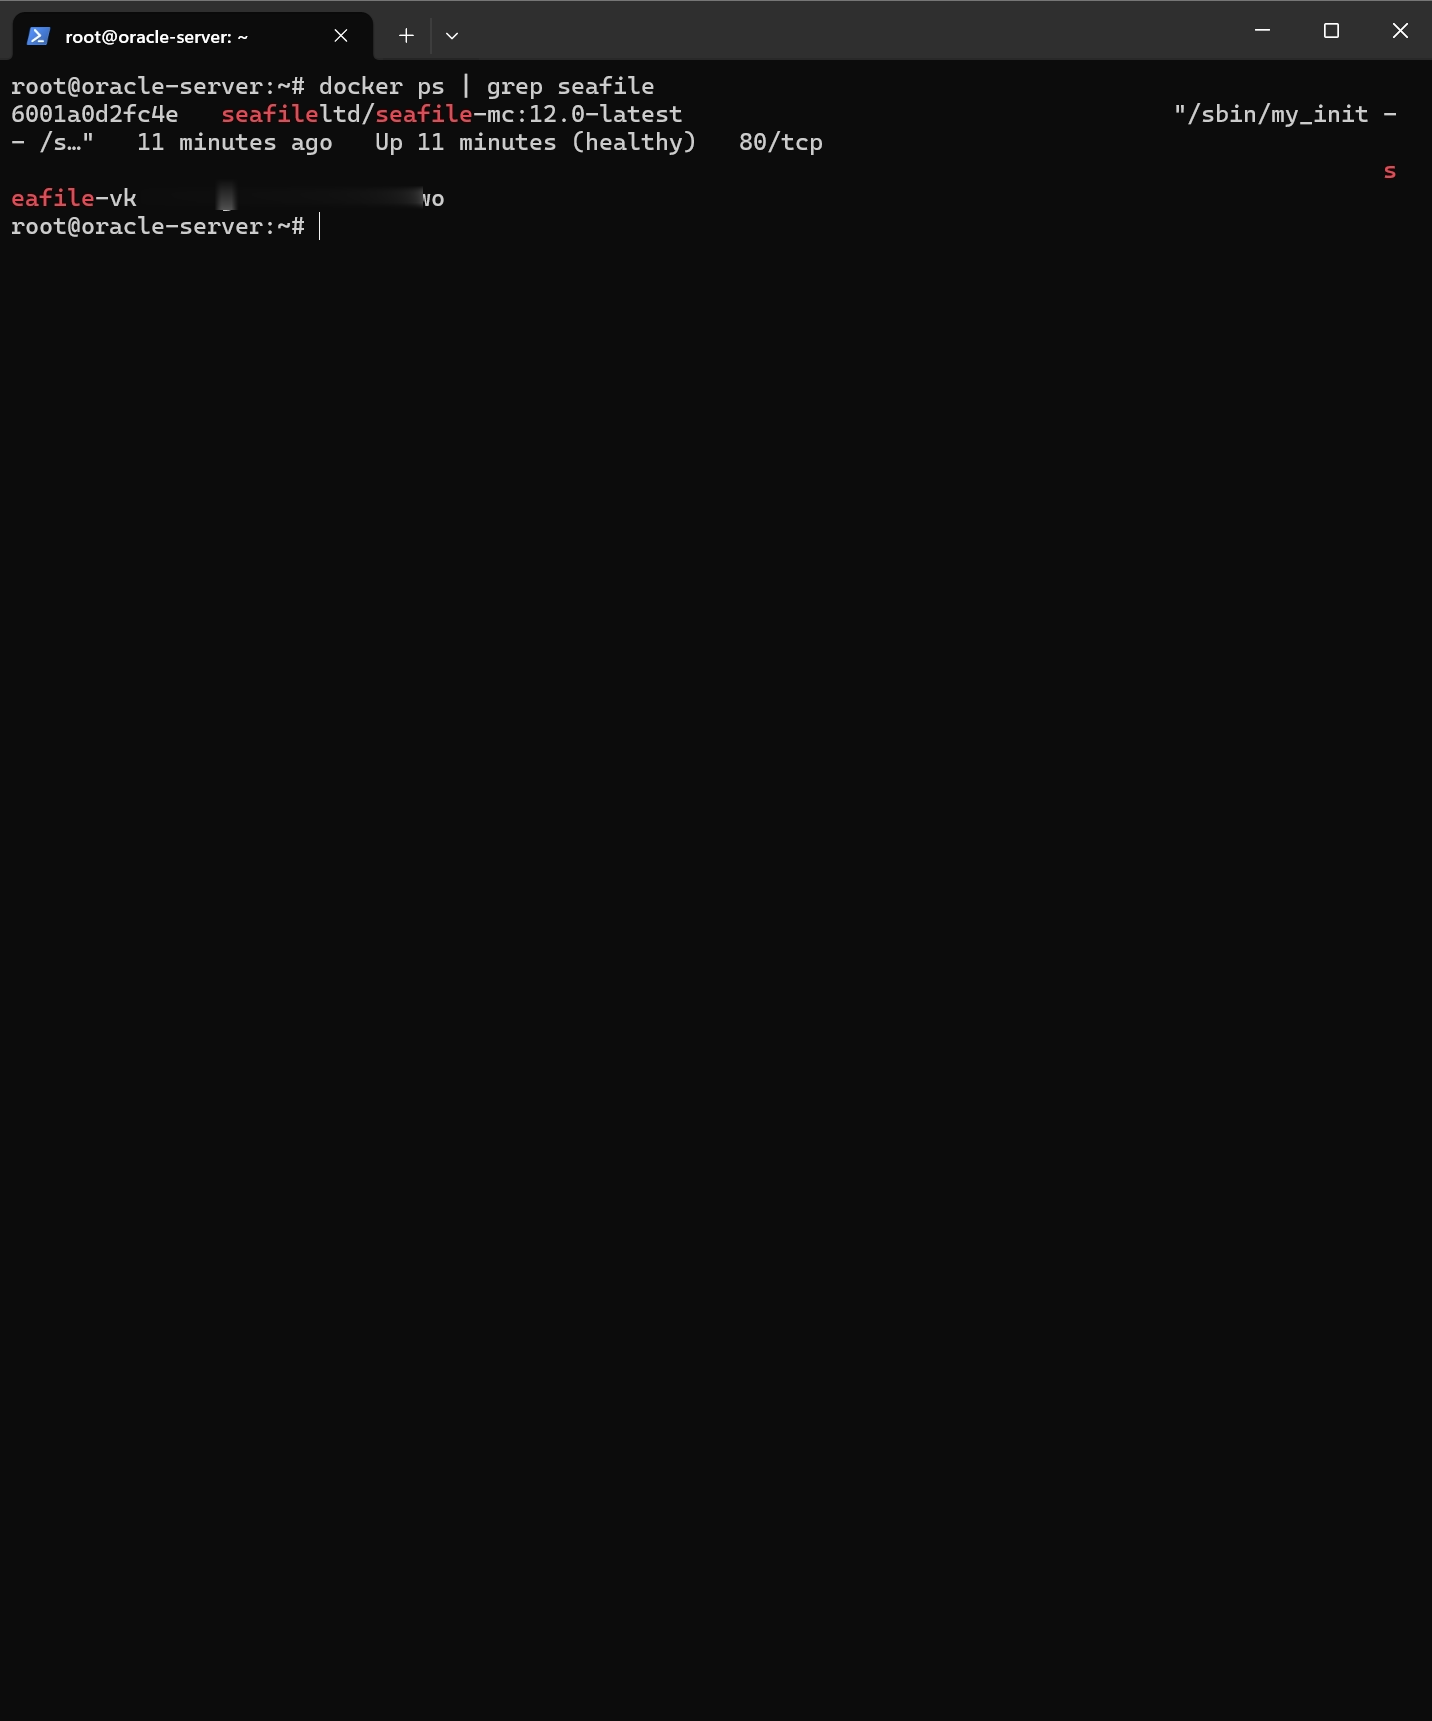
docker ps | grep seafile
¶ 4.3. Enter the Seafile container
Run the command below to open a shell inside the Seafile container. Replace the example container name with the name from your own deployment.
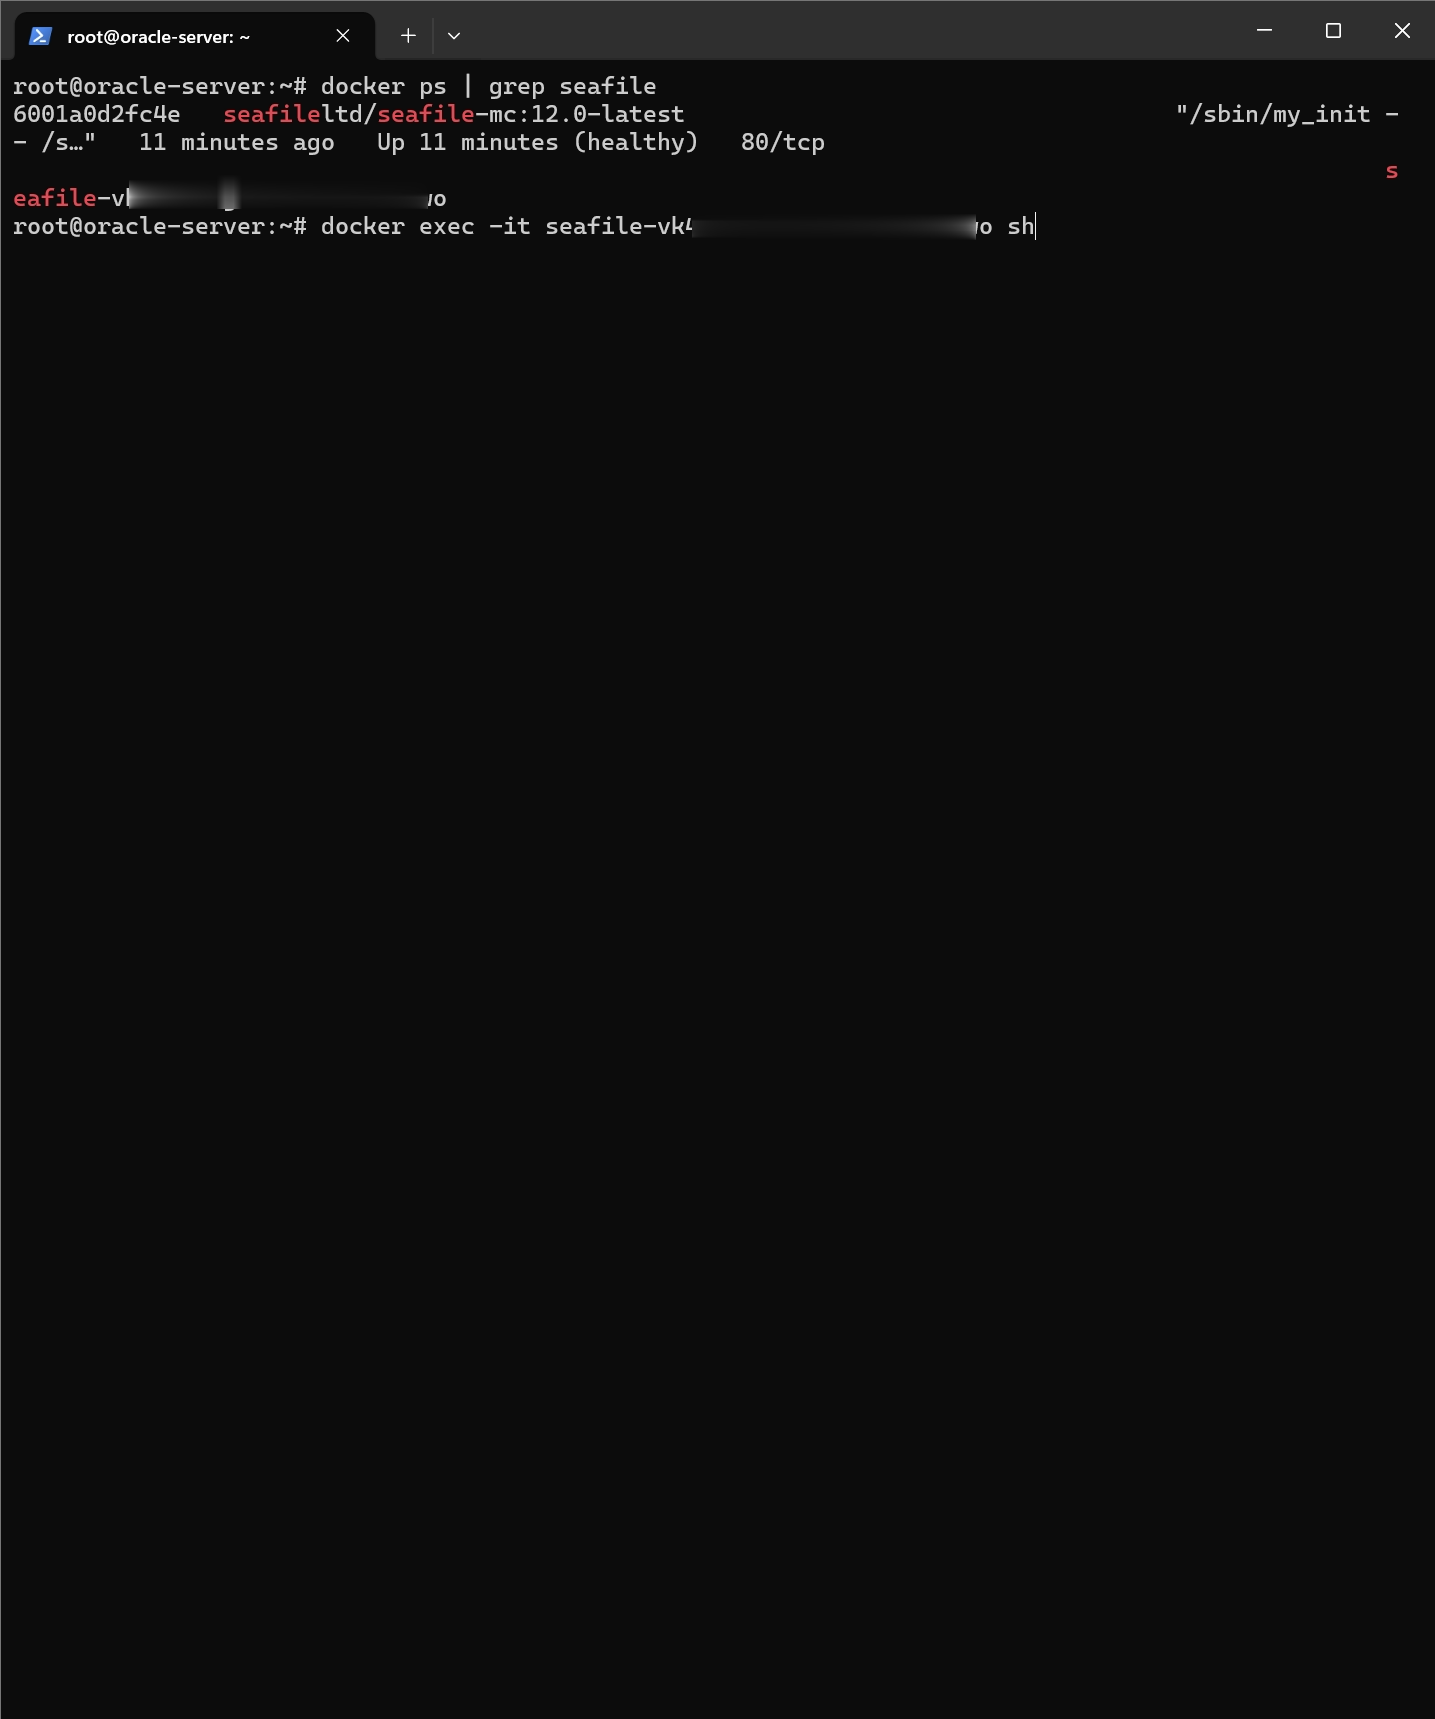
docker exec -it seafile-<container_name> sh
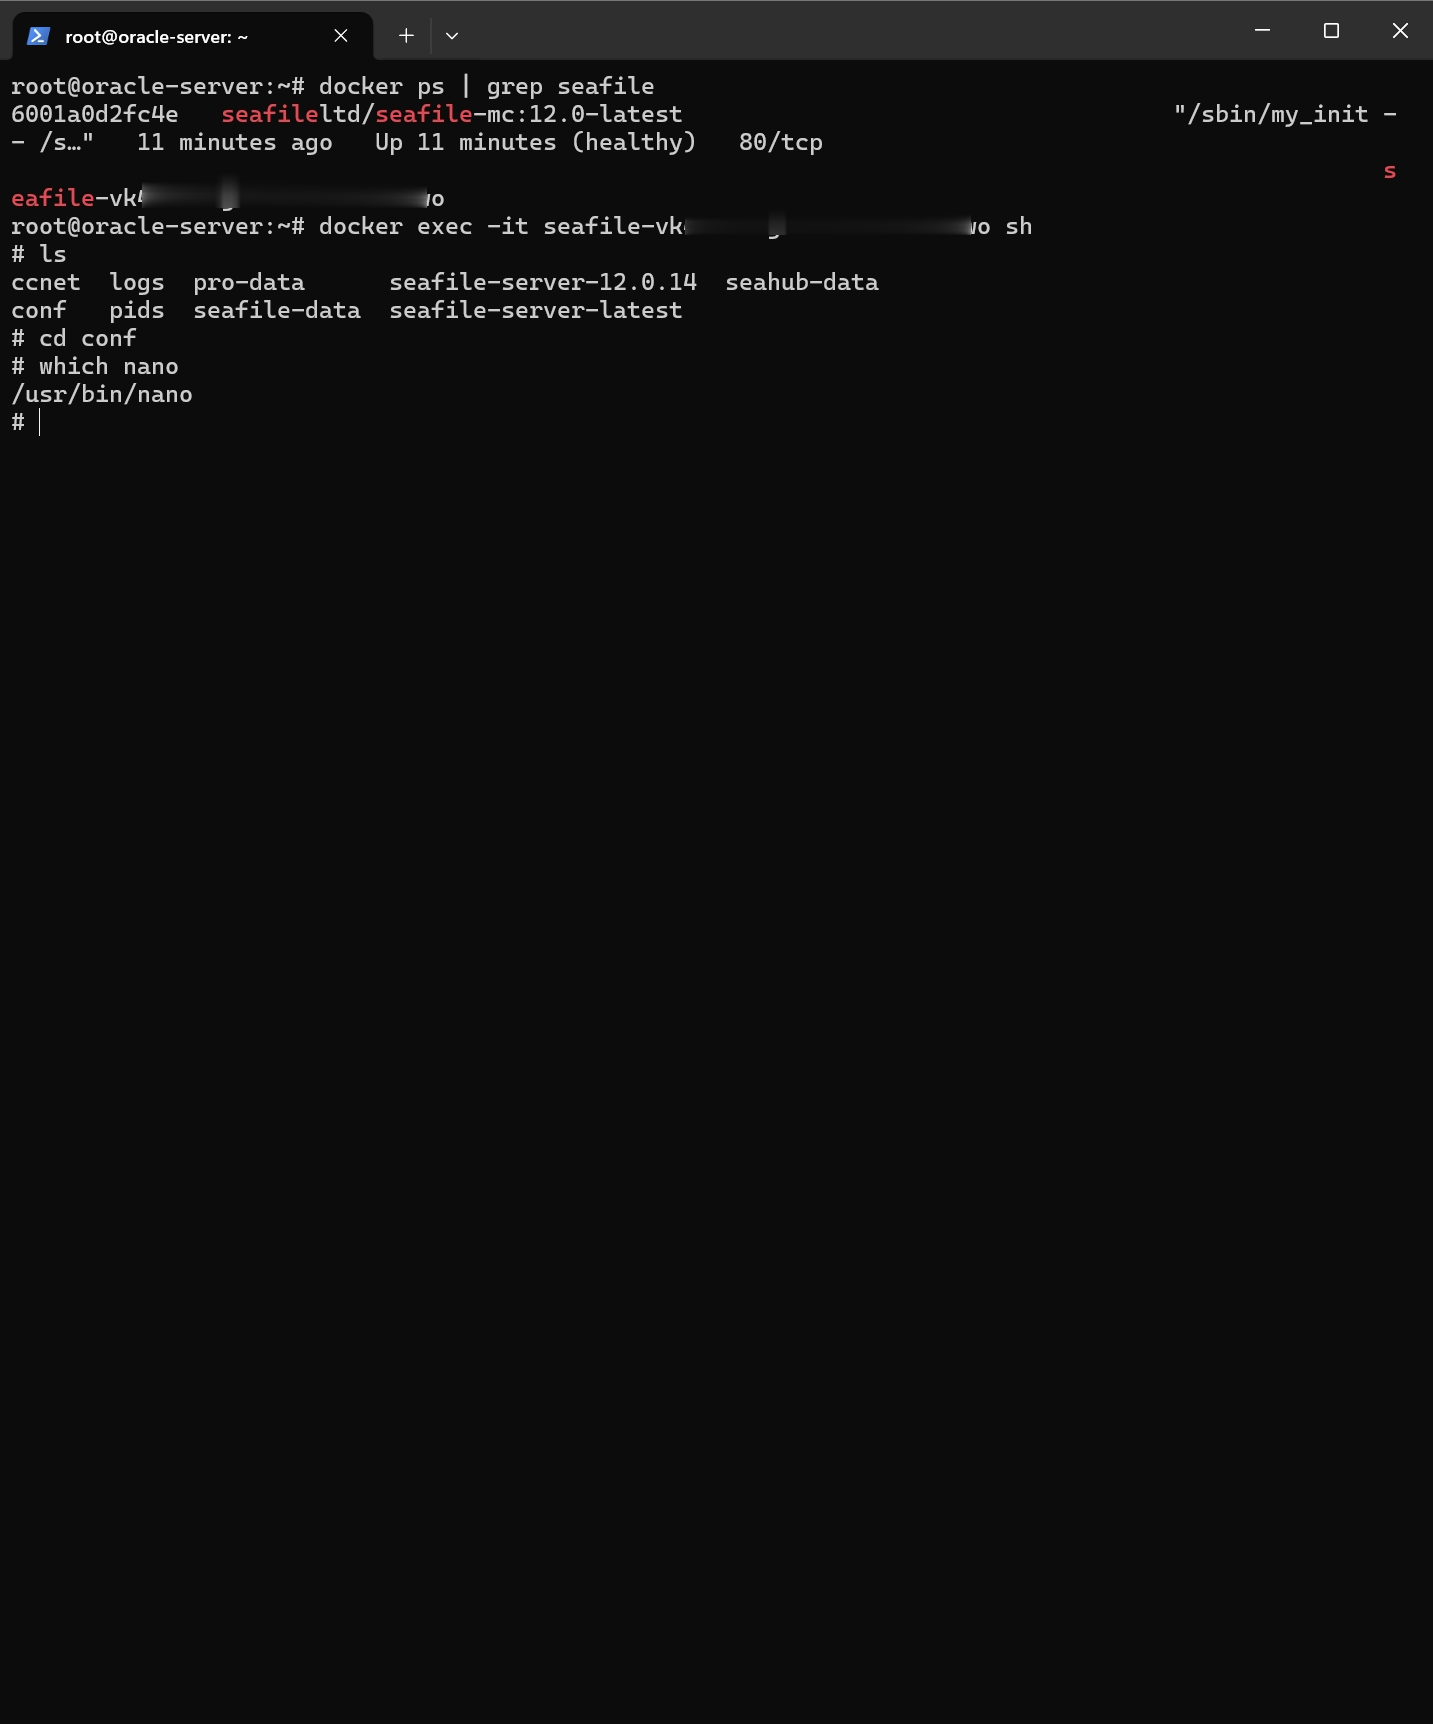
¶ 4.4. Check that nano is installed
Run which nano inside the container. A path such as /usr/bin/nano confirms that the editor is available.
Install nano if needed
Ifwhich nanodoes not return a path, install nano inside the container:apt update && apt upgrade -y && apt install nano
¶ 4.5. Open the Seahub settings file
Open seahub_settings.py in nano using the commands below. If you have already entered the conf directory, run only the nano command.
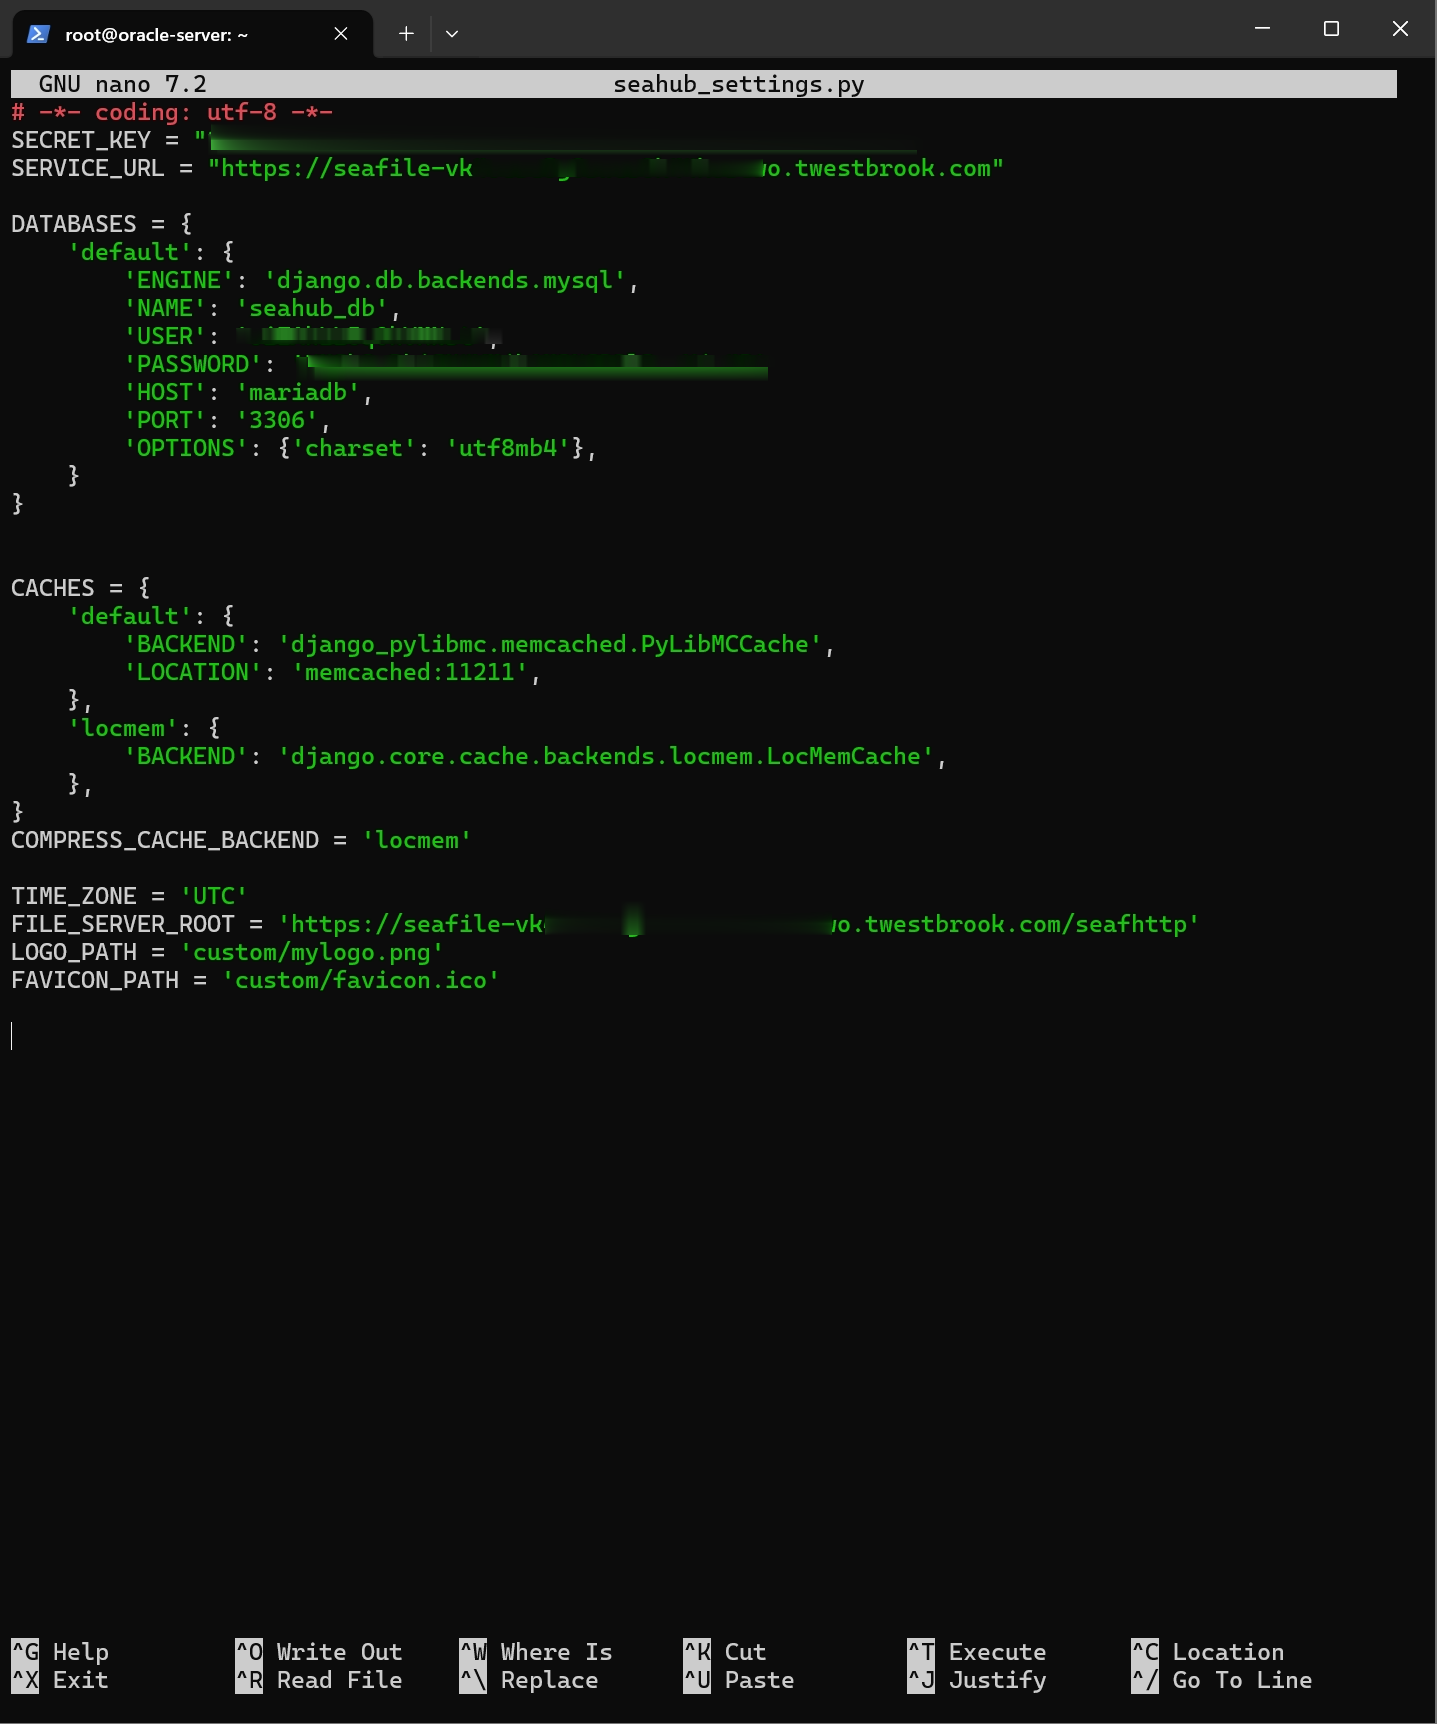
cd conf
nano seahub_settings.py
¶ 4.6. Add the ONLYOFFICE settings
Add the configuration below at the bottom of the file, replacing the example URL and JWT secret with your ONLYOFFICE values. Save with Ctrl+O, press Enter to confirm the filename, then exit with Ctrl+X.
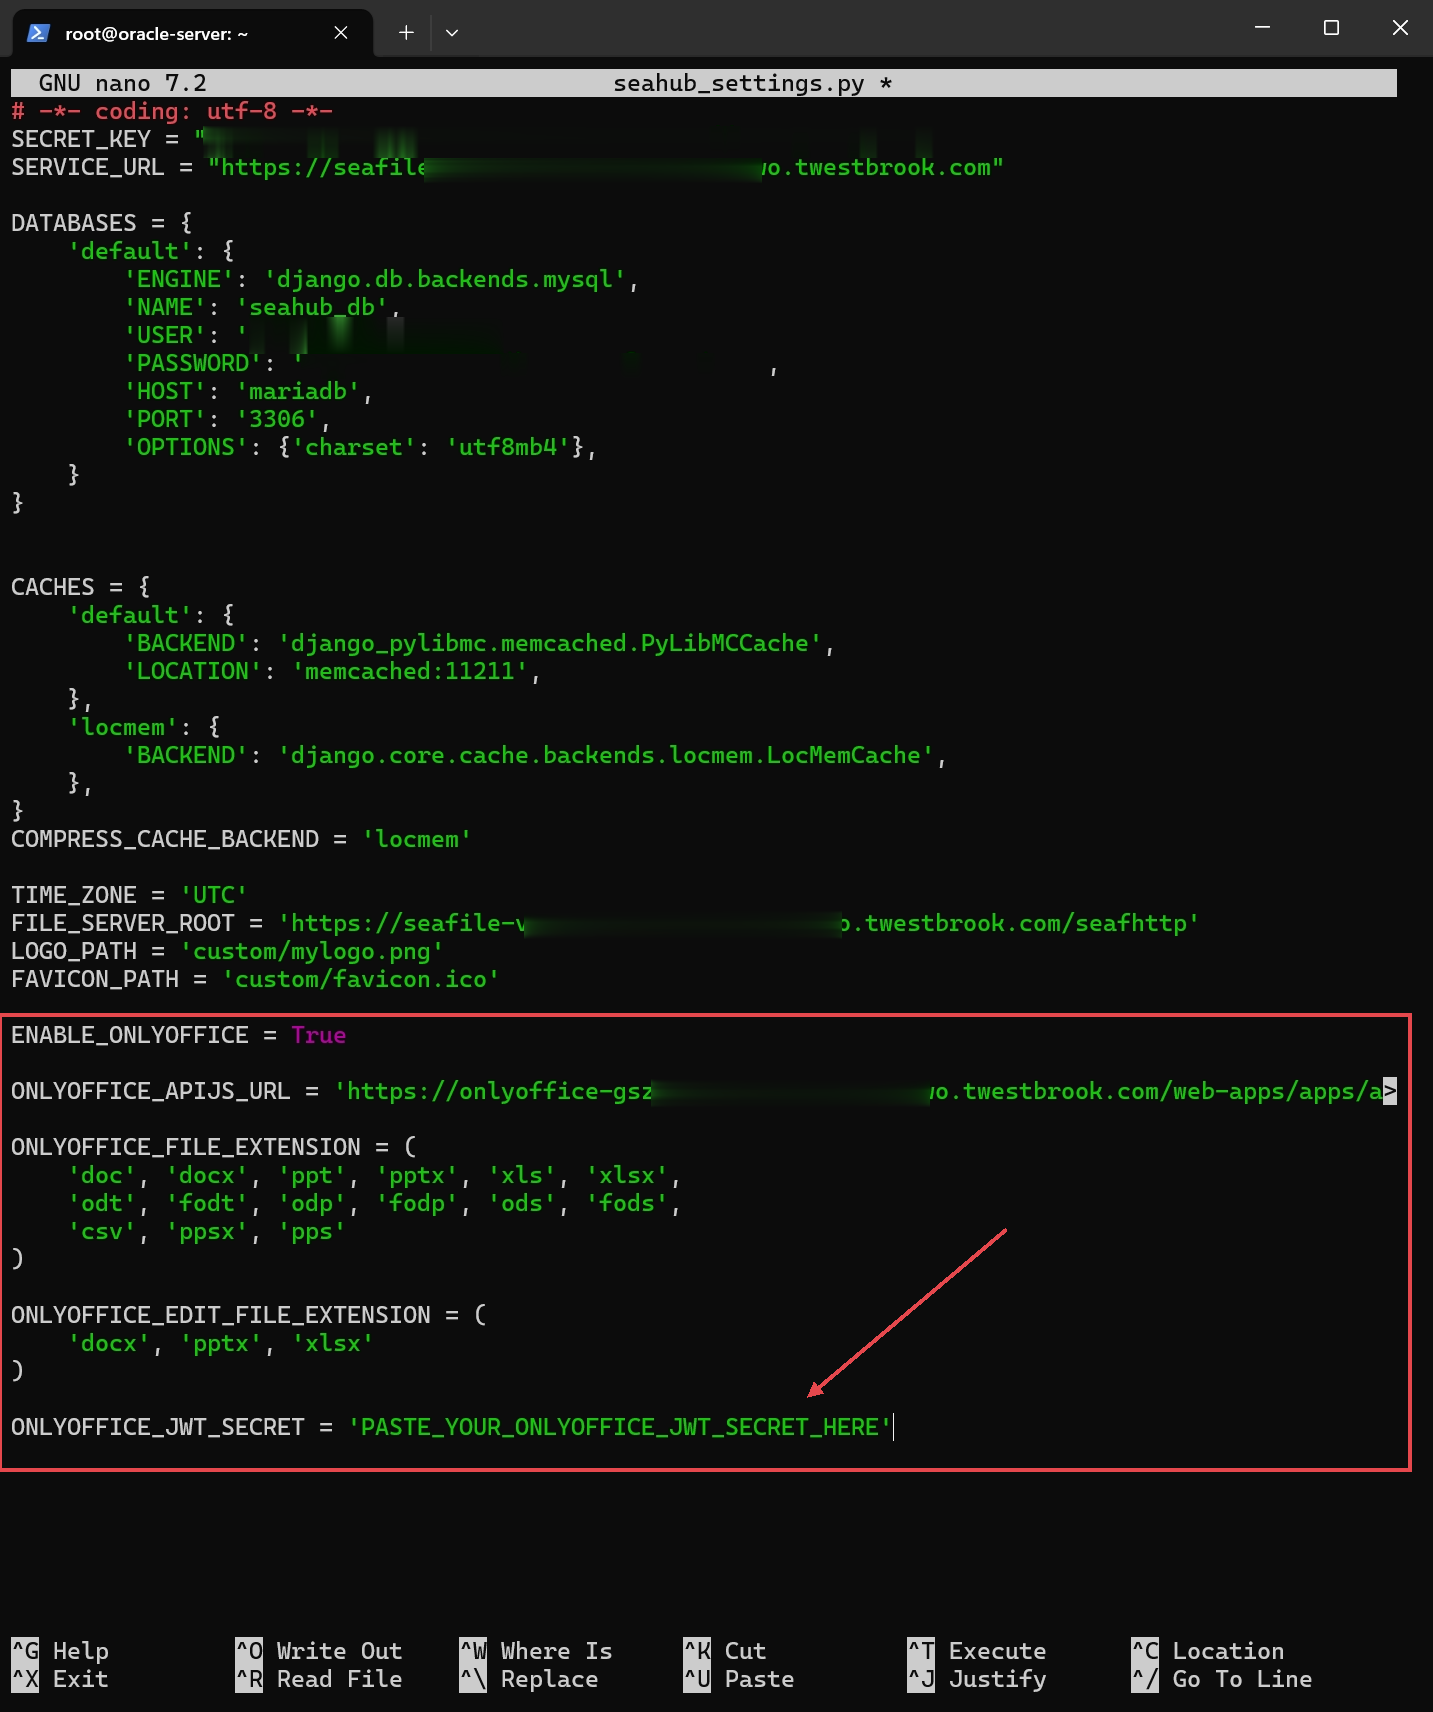
Use the complete API URL
Replace the example hostname with your ONLYOFFICE hostname, and keep/web-apps/apps/api/documents/api.jsat the end of the URL.
ENABLE_ONLYOFFICE = True

ONLYOFFICE_APIJS_URL = 'https://*onlyoffice-url*.example.com/web-apps/apps/api/documents/api.js'

ONLYOFFICE_FILE_EXTENSION = (
    'doc', 'docx', 'ppt', 'pptx', 'xls', 'xlsx',
    'odt', 'fodt', 'odp', 'fodp', 'ods', 'fods',
    'csv', 'ppsx', 'pps'
)

ONLYOFFICE_EDIT_FILE_EXTENSION = (
    'docx', 'pptx', 'xlsx'
)

ONLYOFFICE_JWT_SECRET = 'PASTE_YOUR_ONLYOFFICE_JWT_SECRET_HERE'
¶ 5. Return to the Seafile service
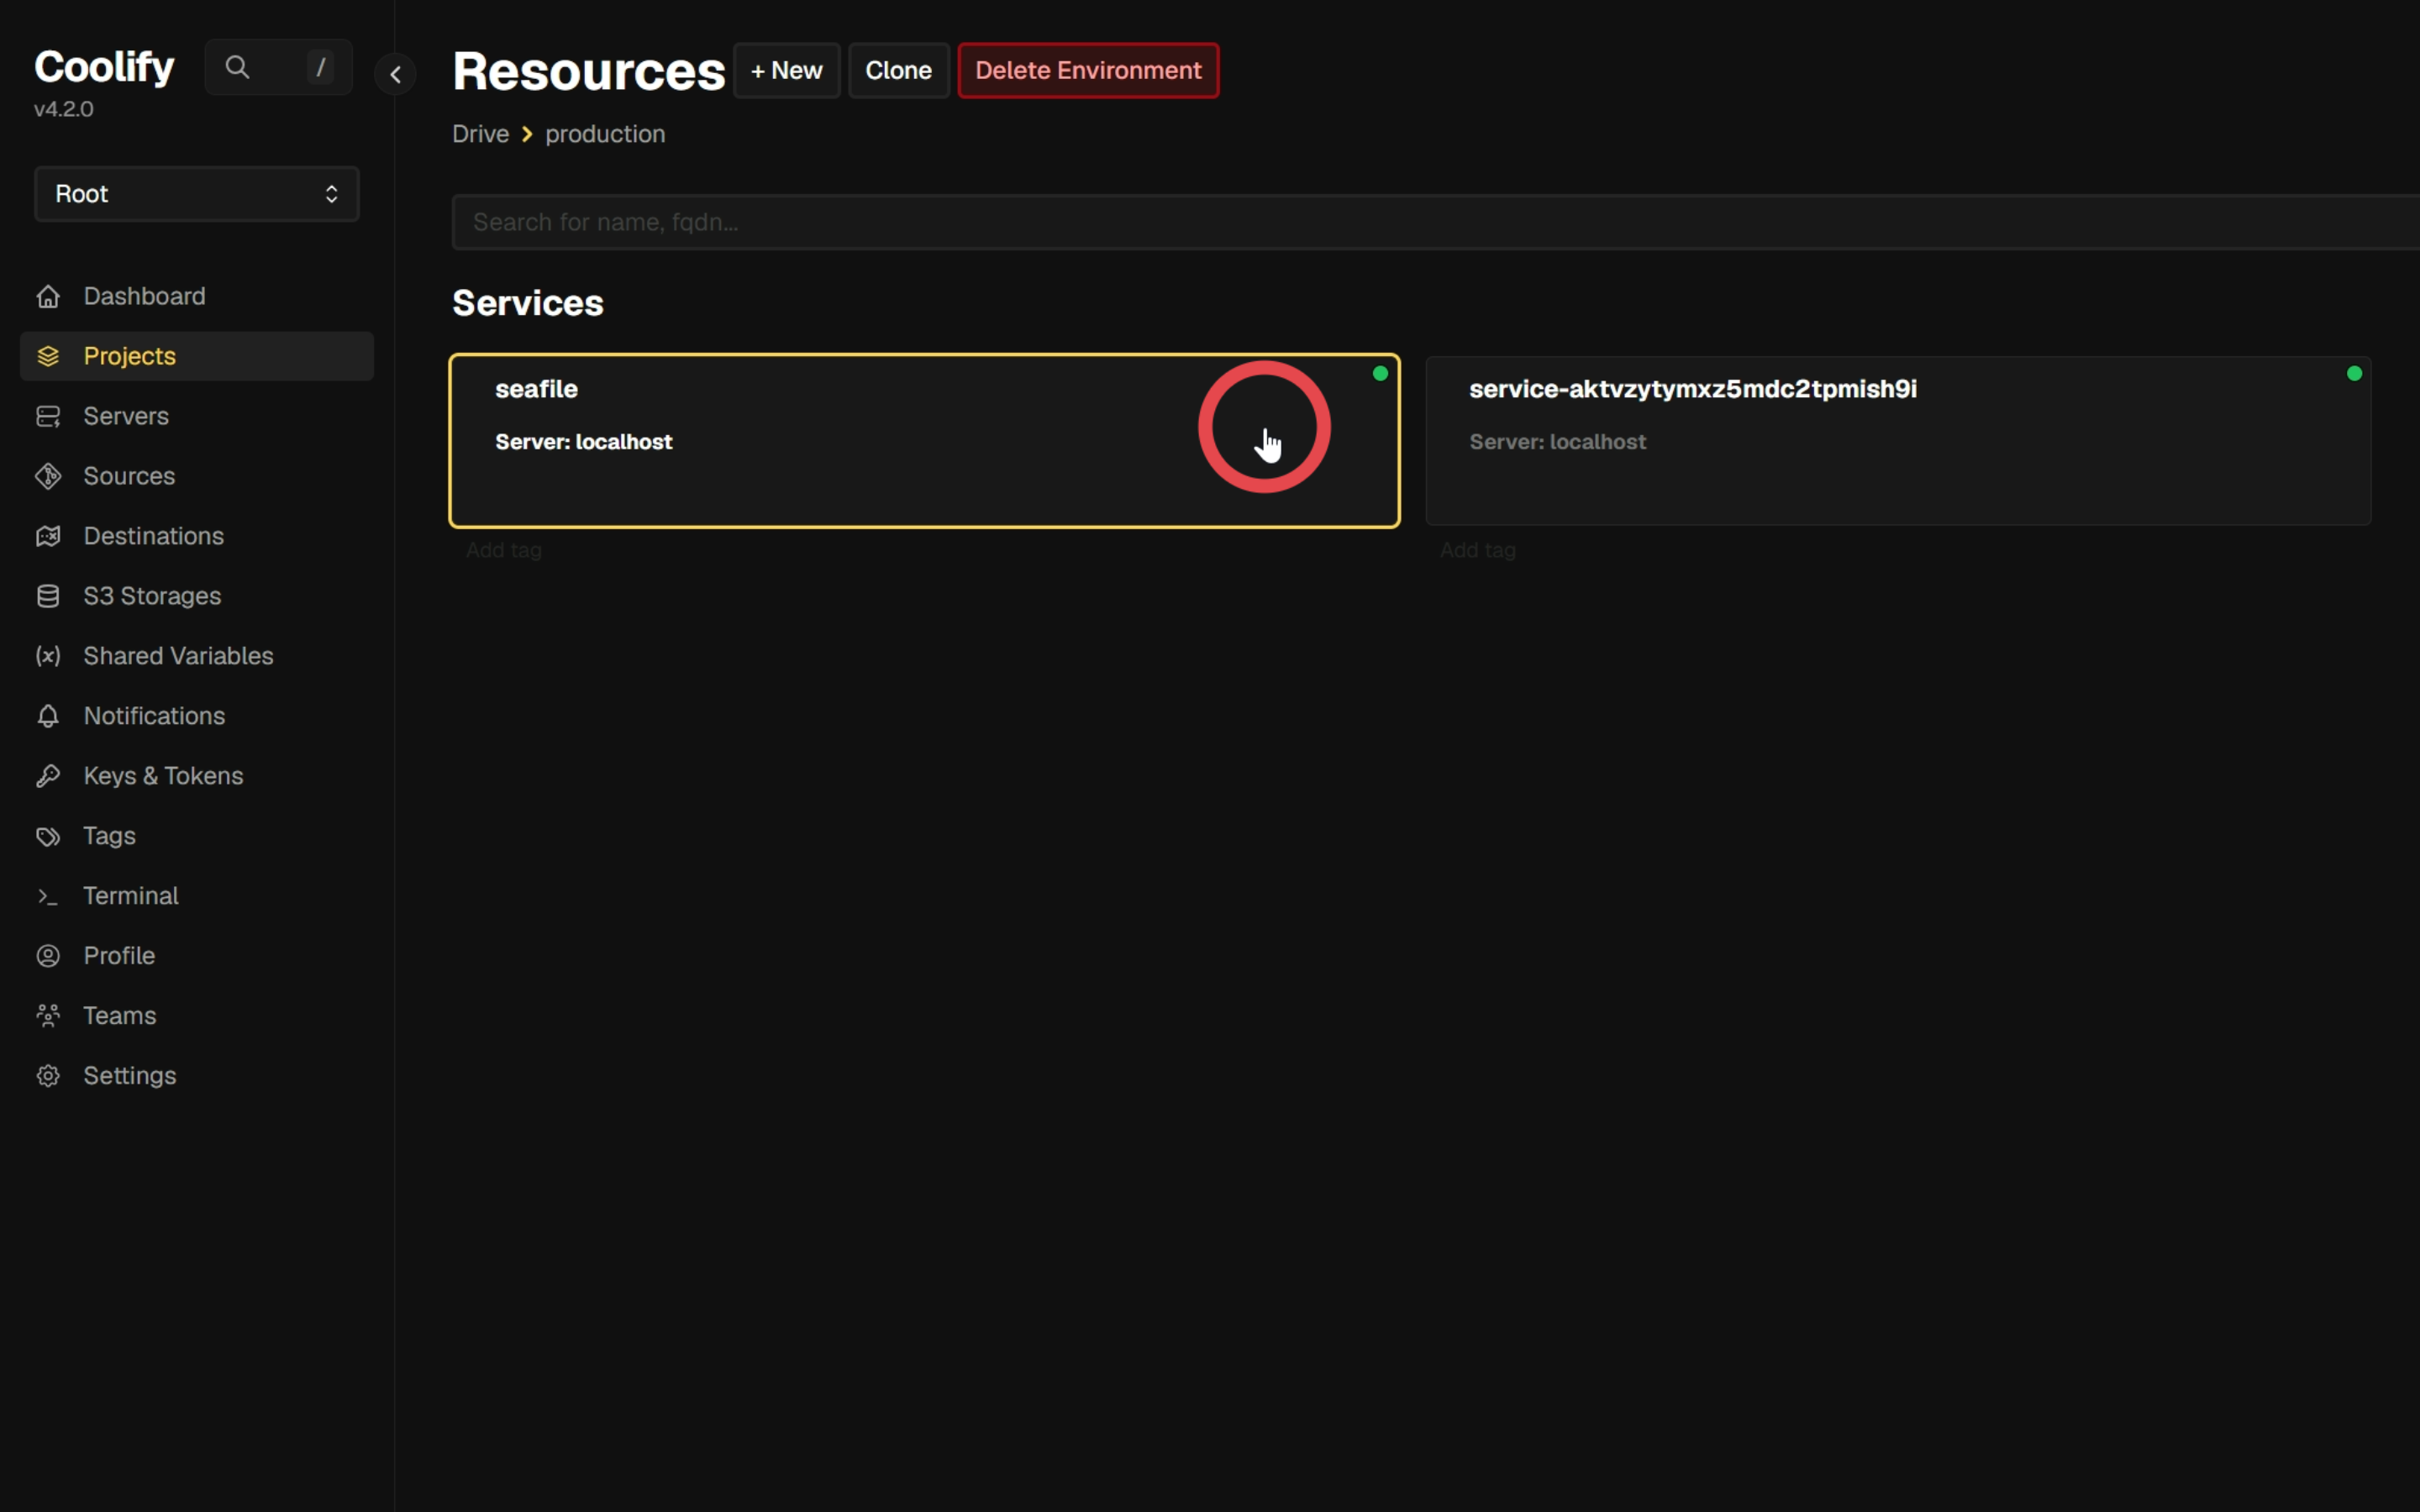
Switch back to Coolify and open the seafile service from the project’s resource list.
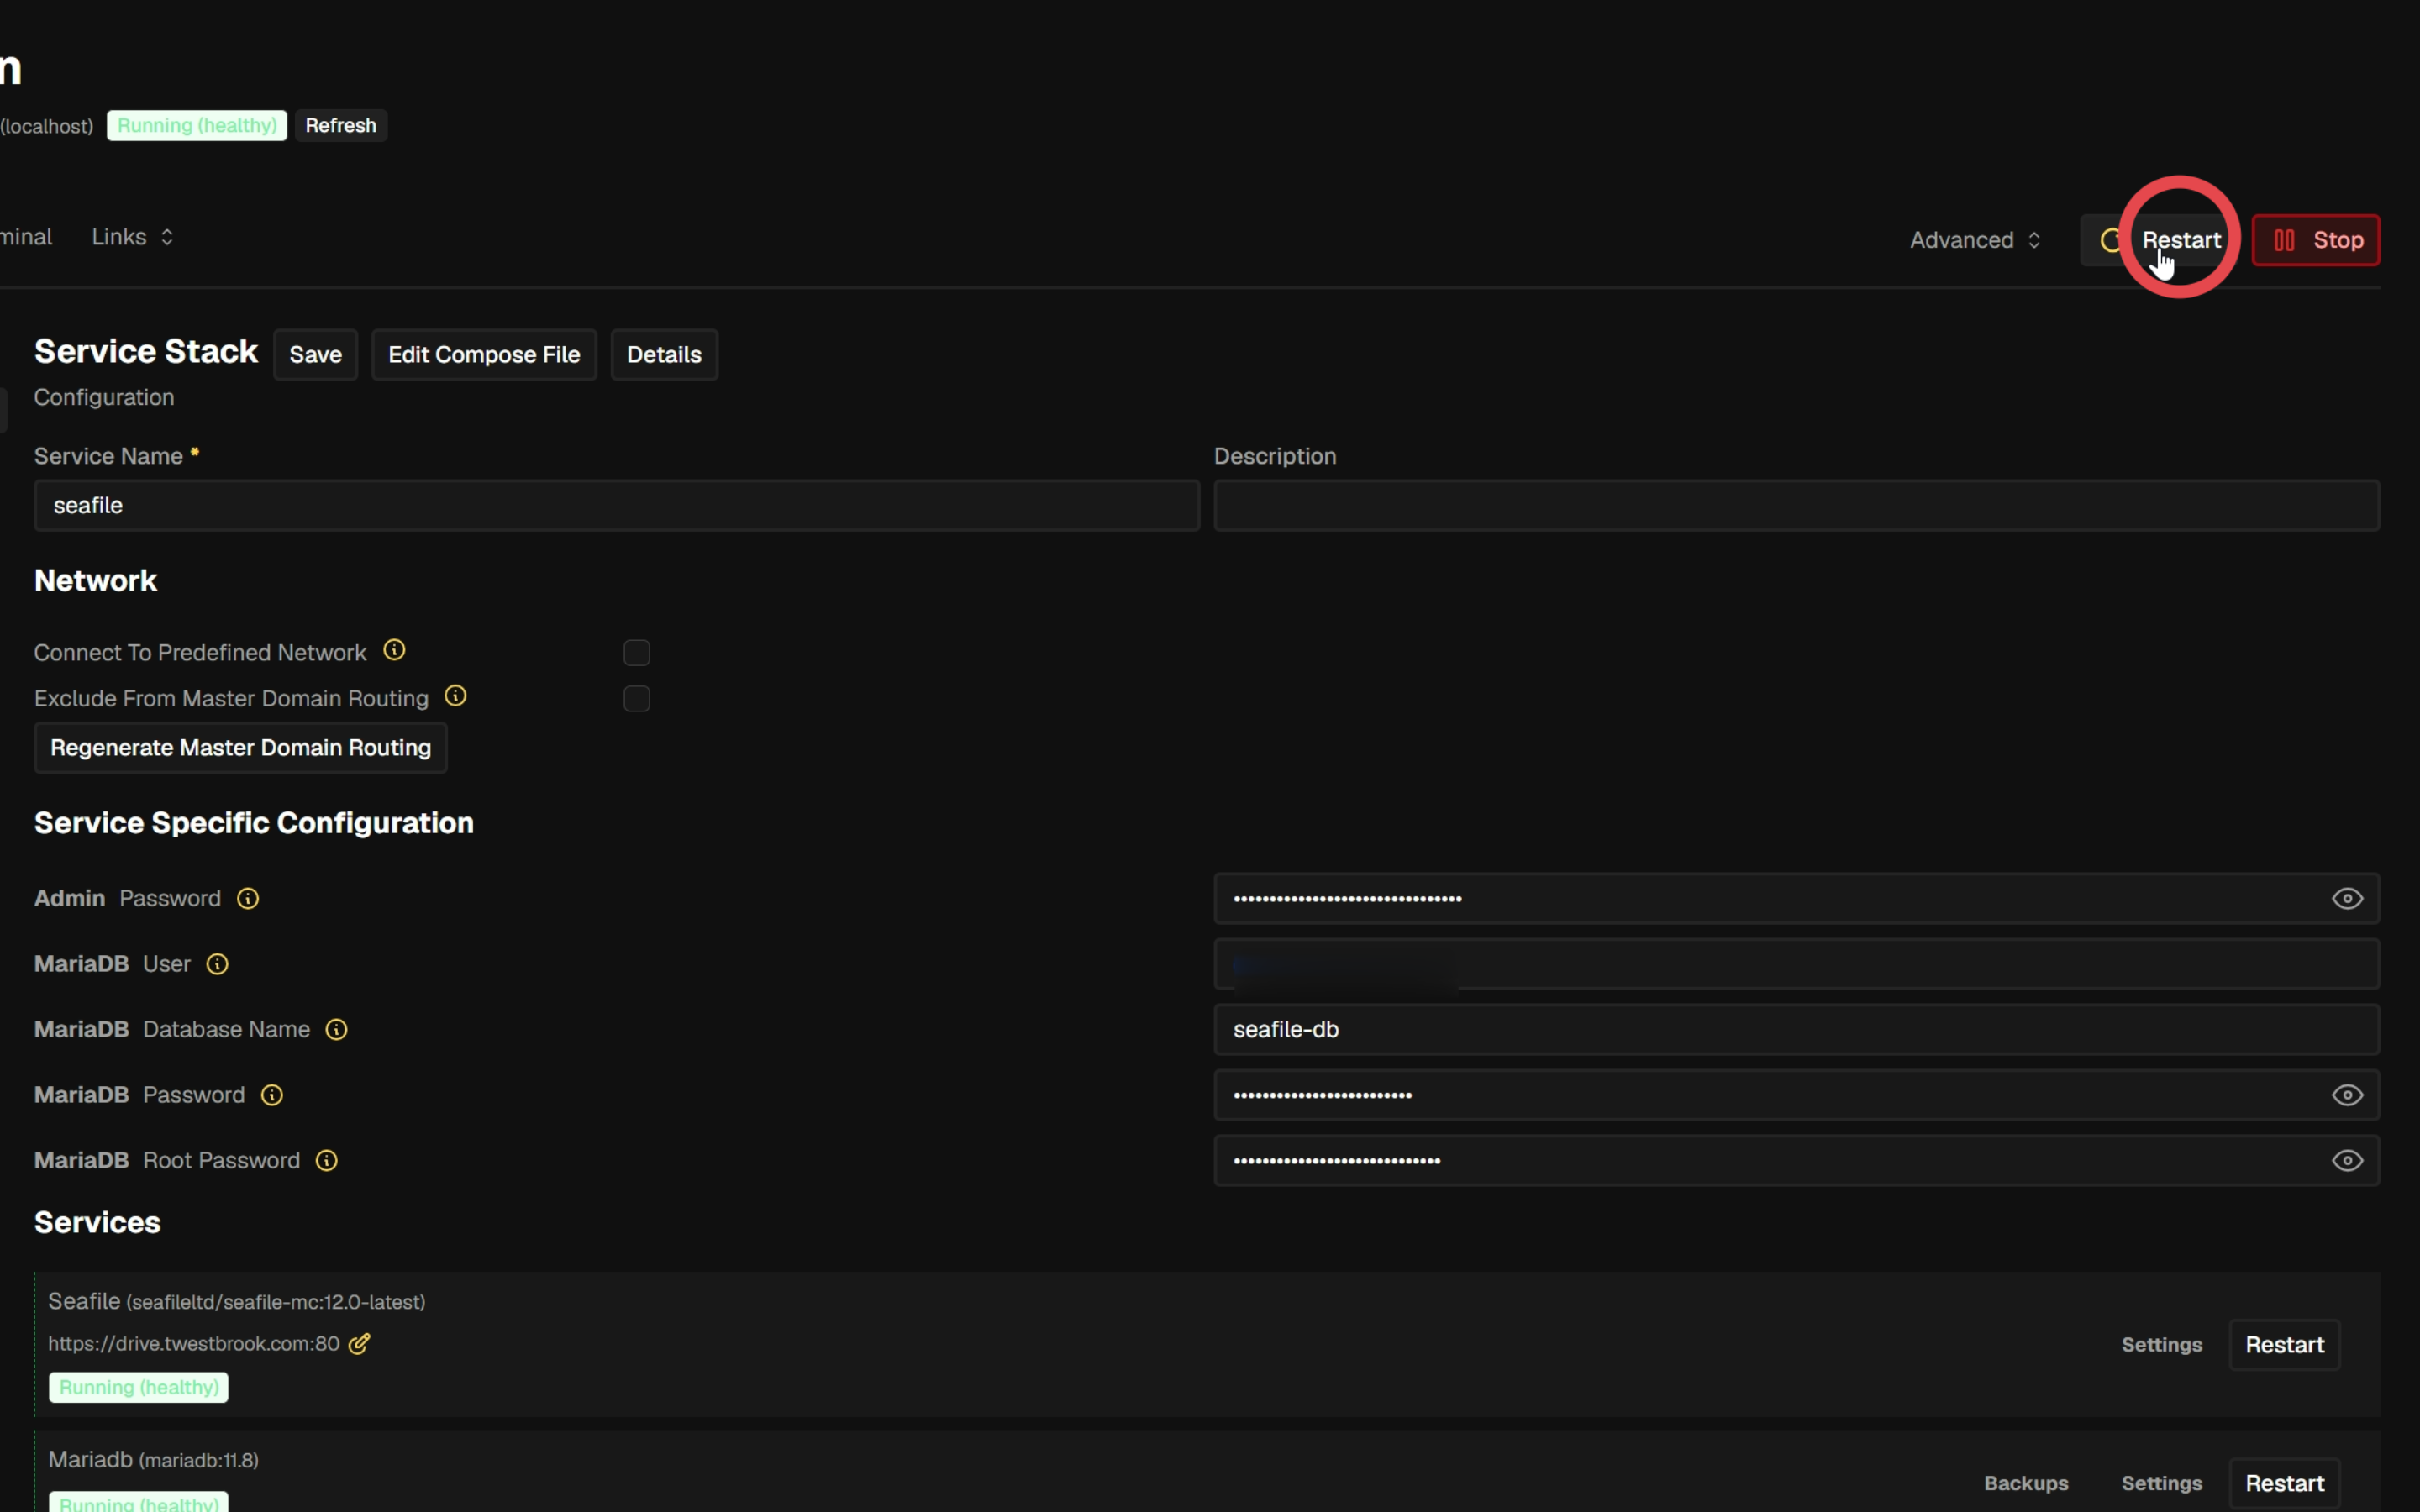
¶ 5.1. Restart the Seafile service
Click Restart on the Seafile configuration page to apply the saved settings.
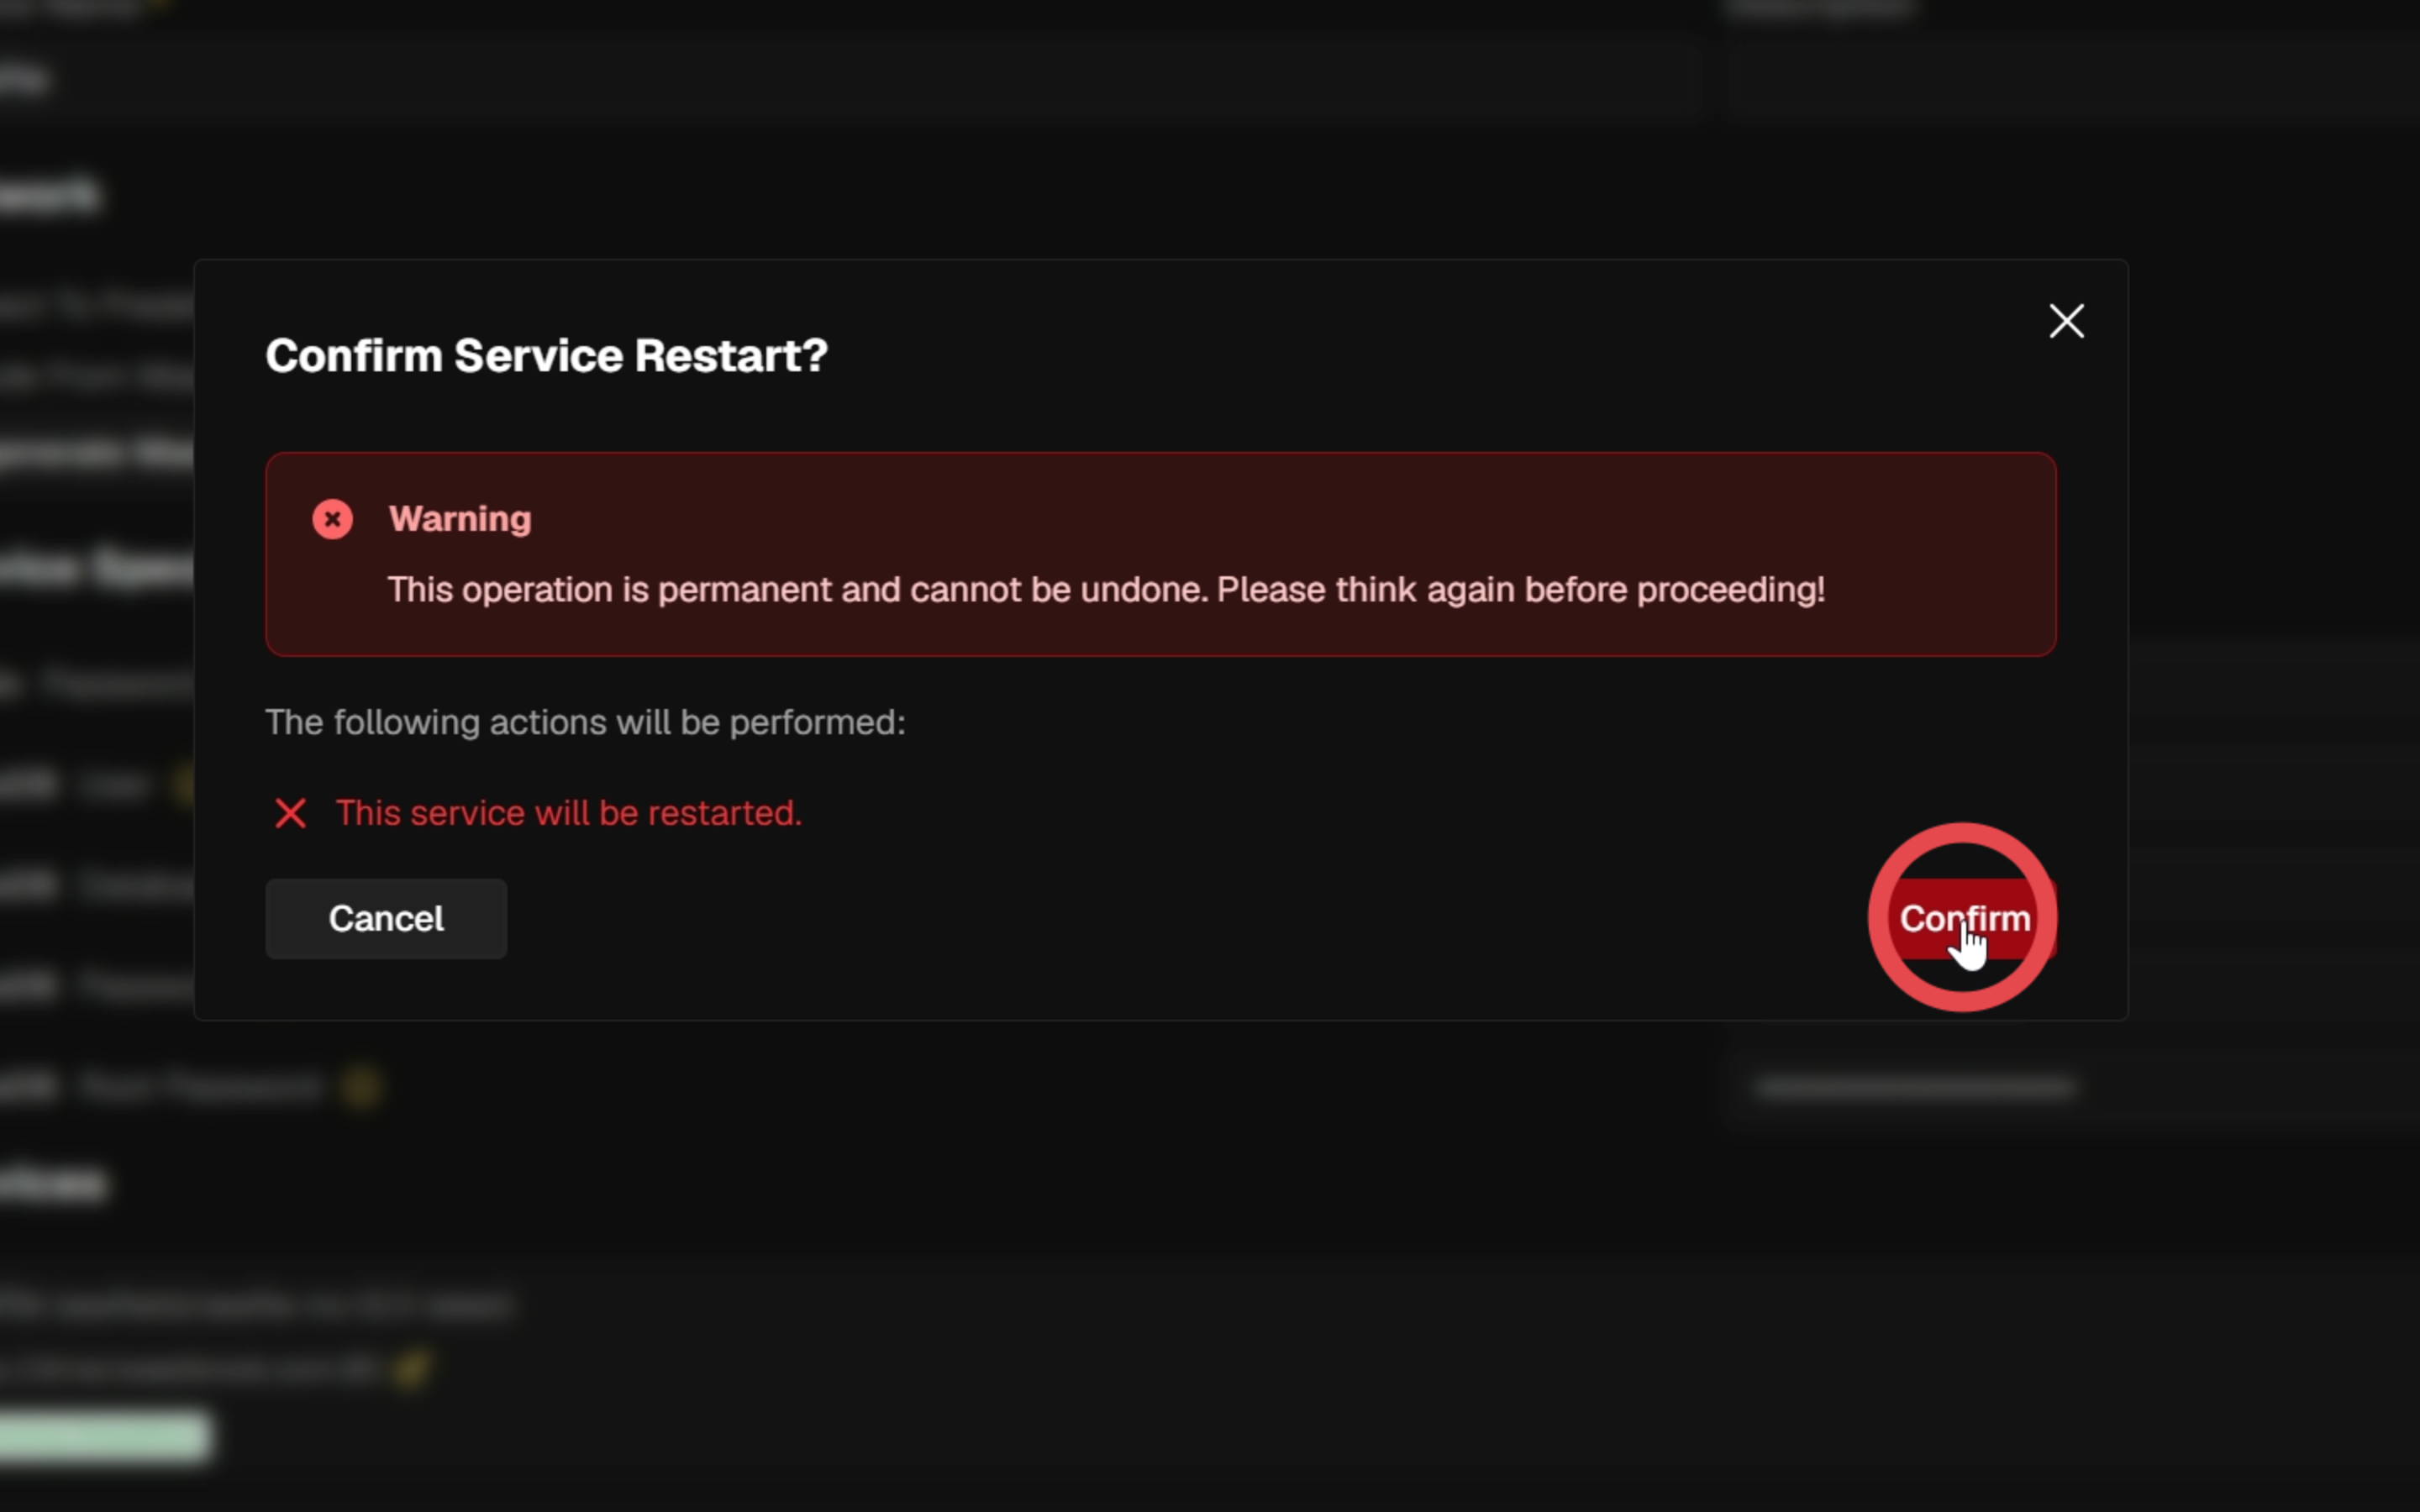
¶ 5.2. Confirm the restart
In the Confirm Service Restart? dialog, click Confirm. Wait for the service to return to Running (healthy) before continuing.
¶ 6. Open Seafile and test the integration
On the Seafile configuration page, open the Links menu.
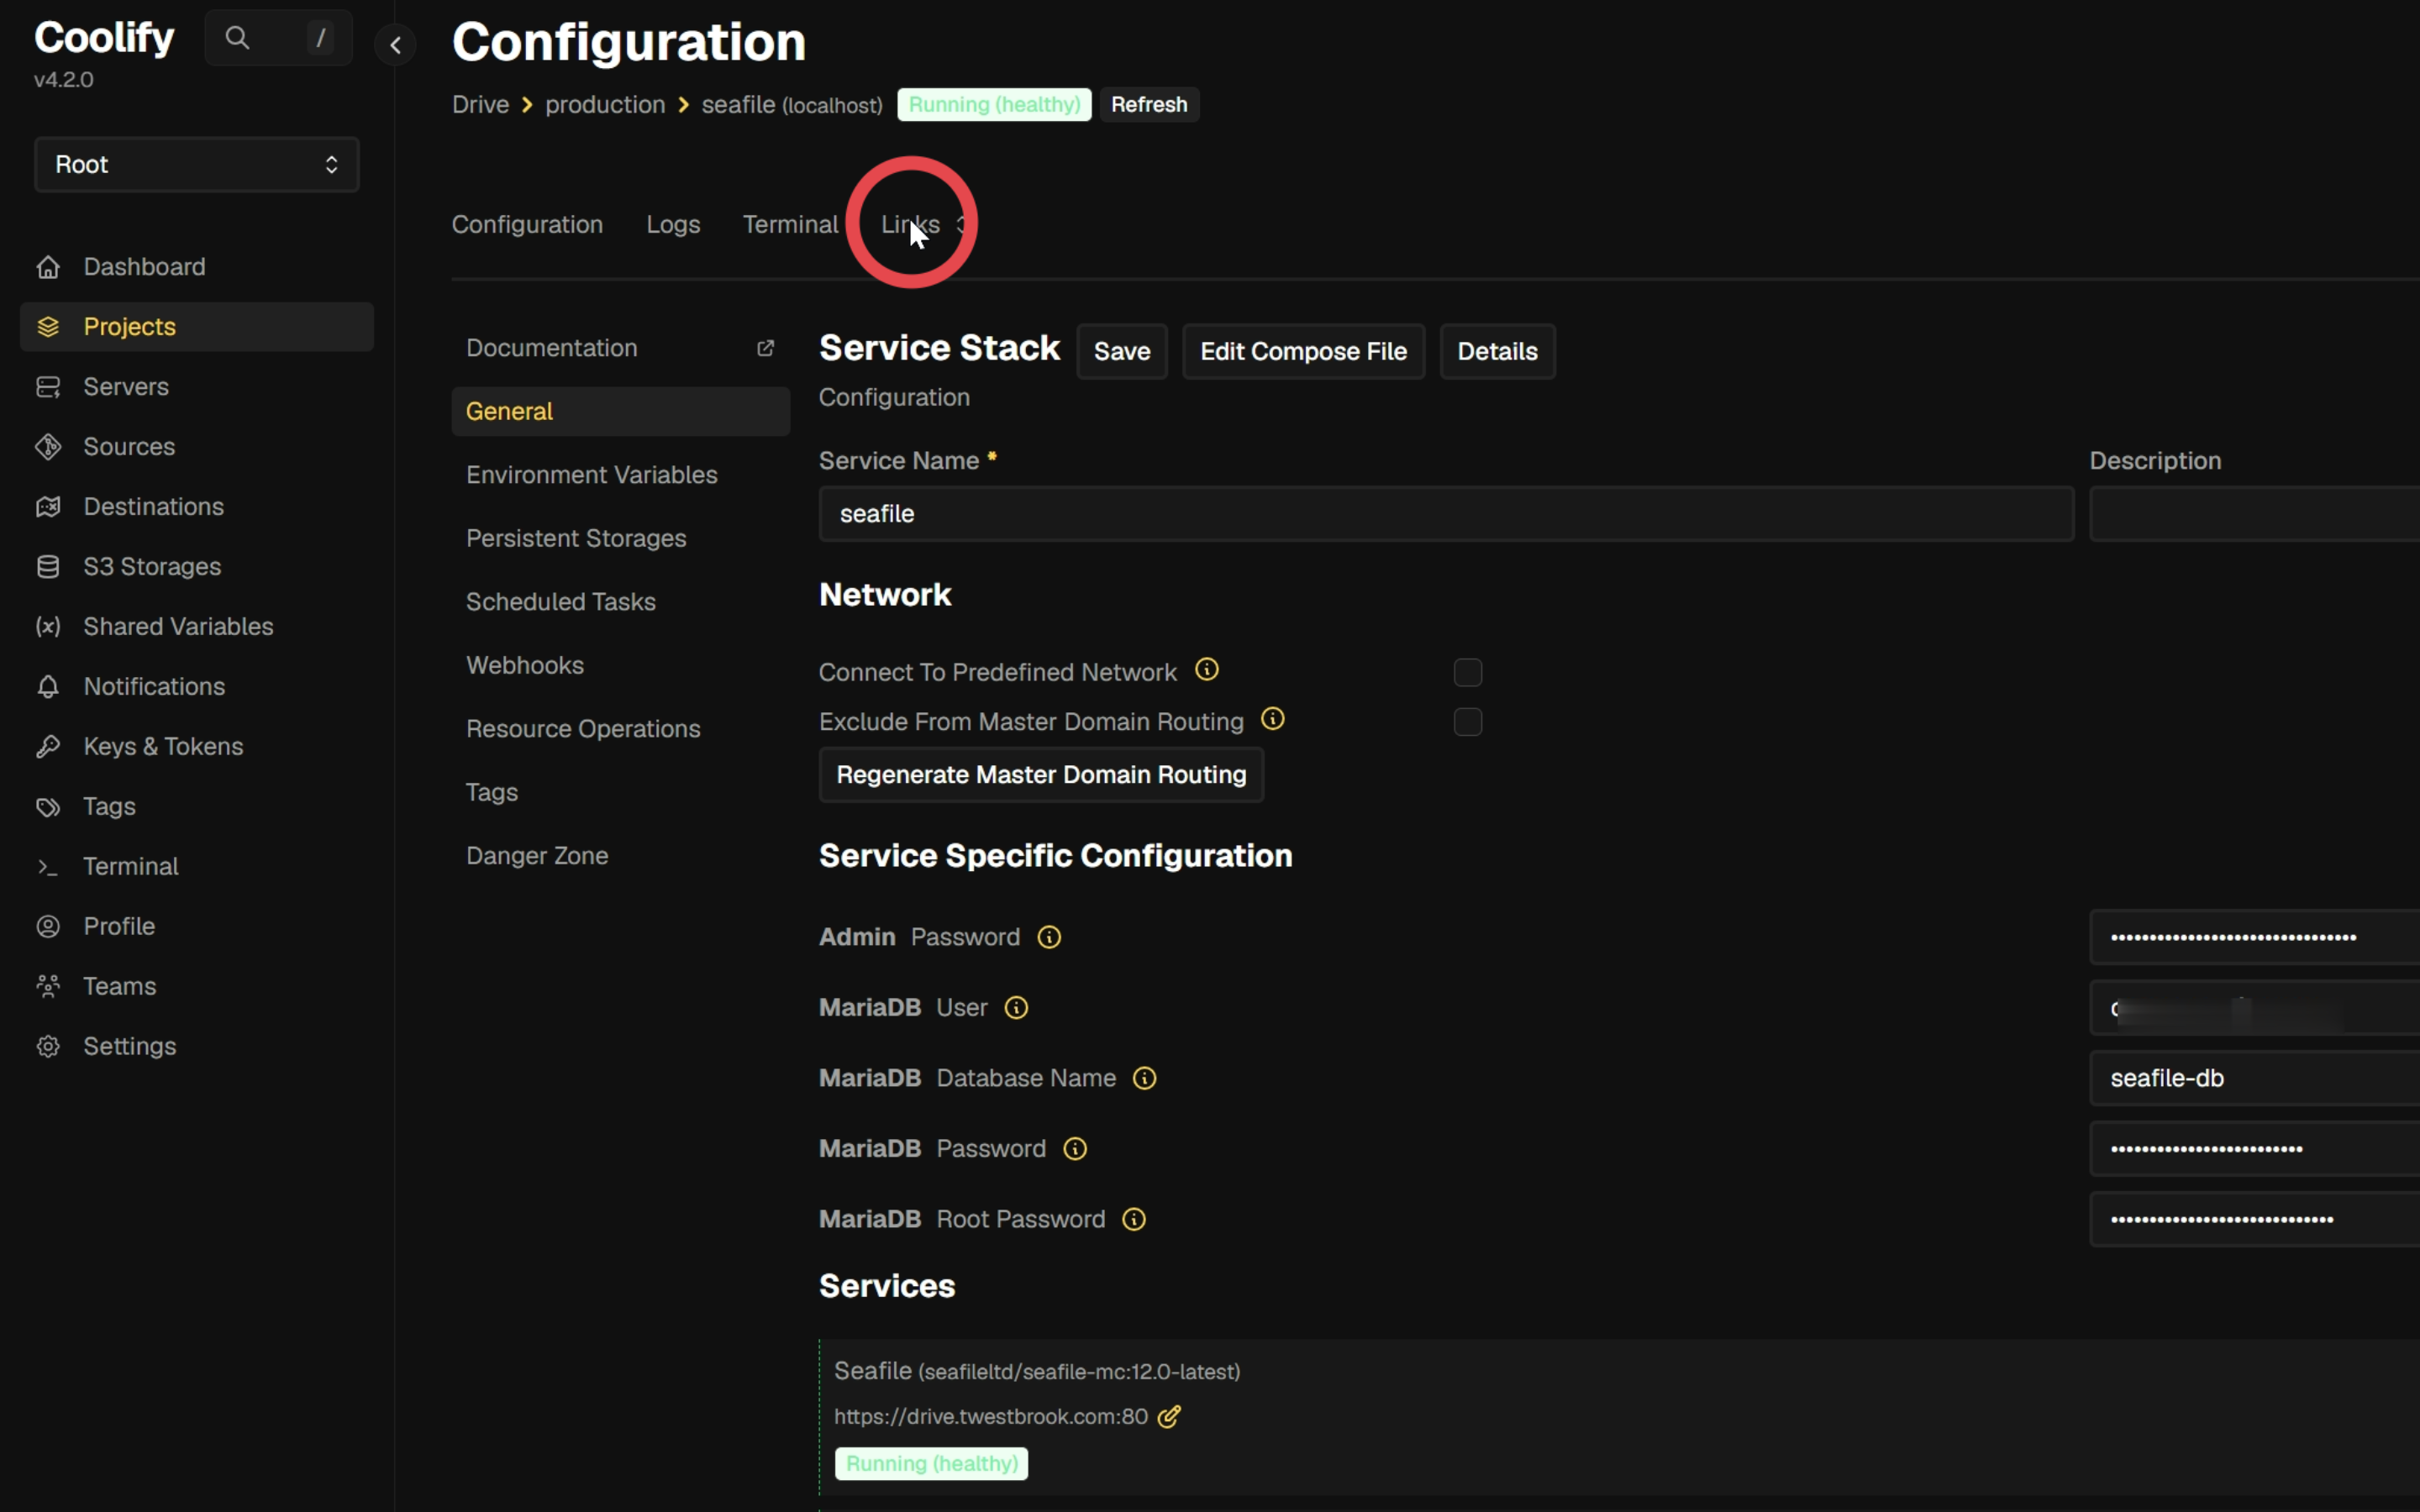
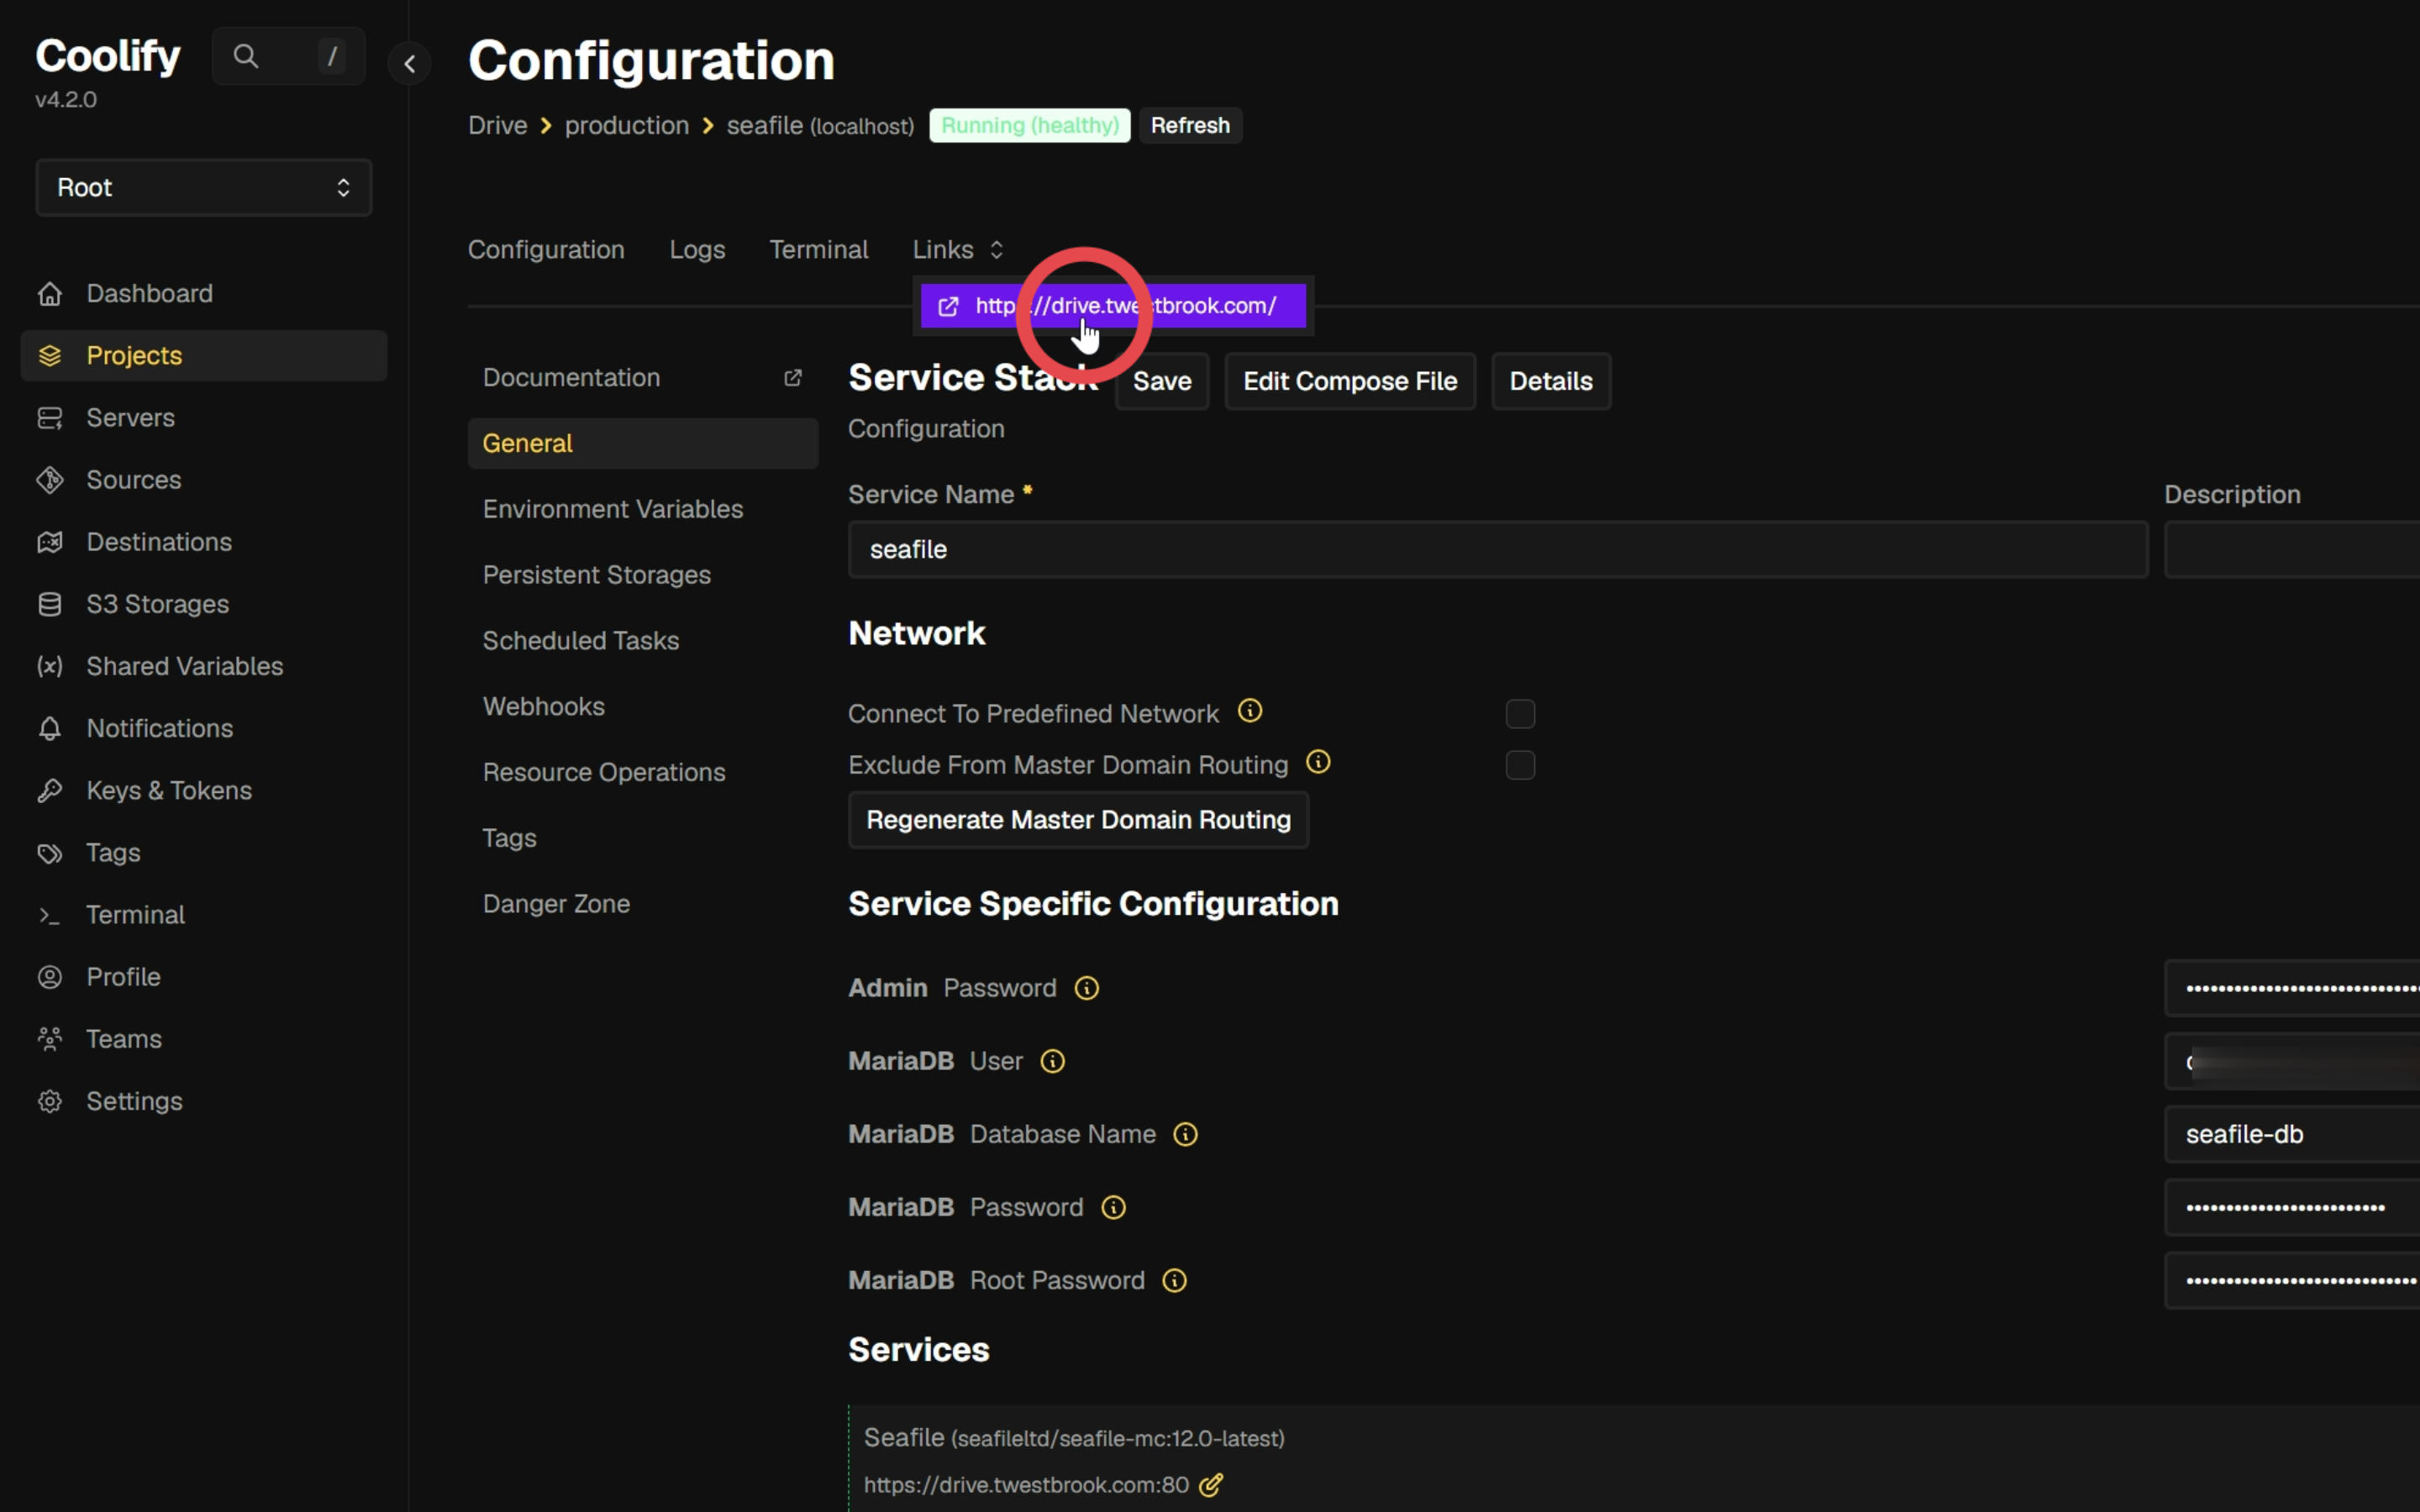
¶ 6.1. Visit the Seafile site
Click the Seafile URL to open its web interface. Sign in if prompted.
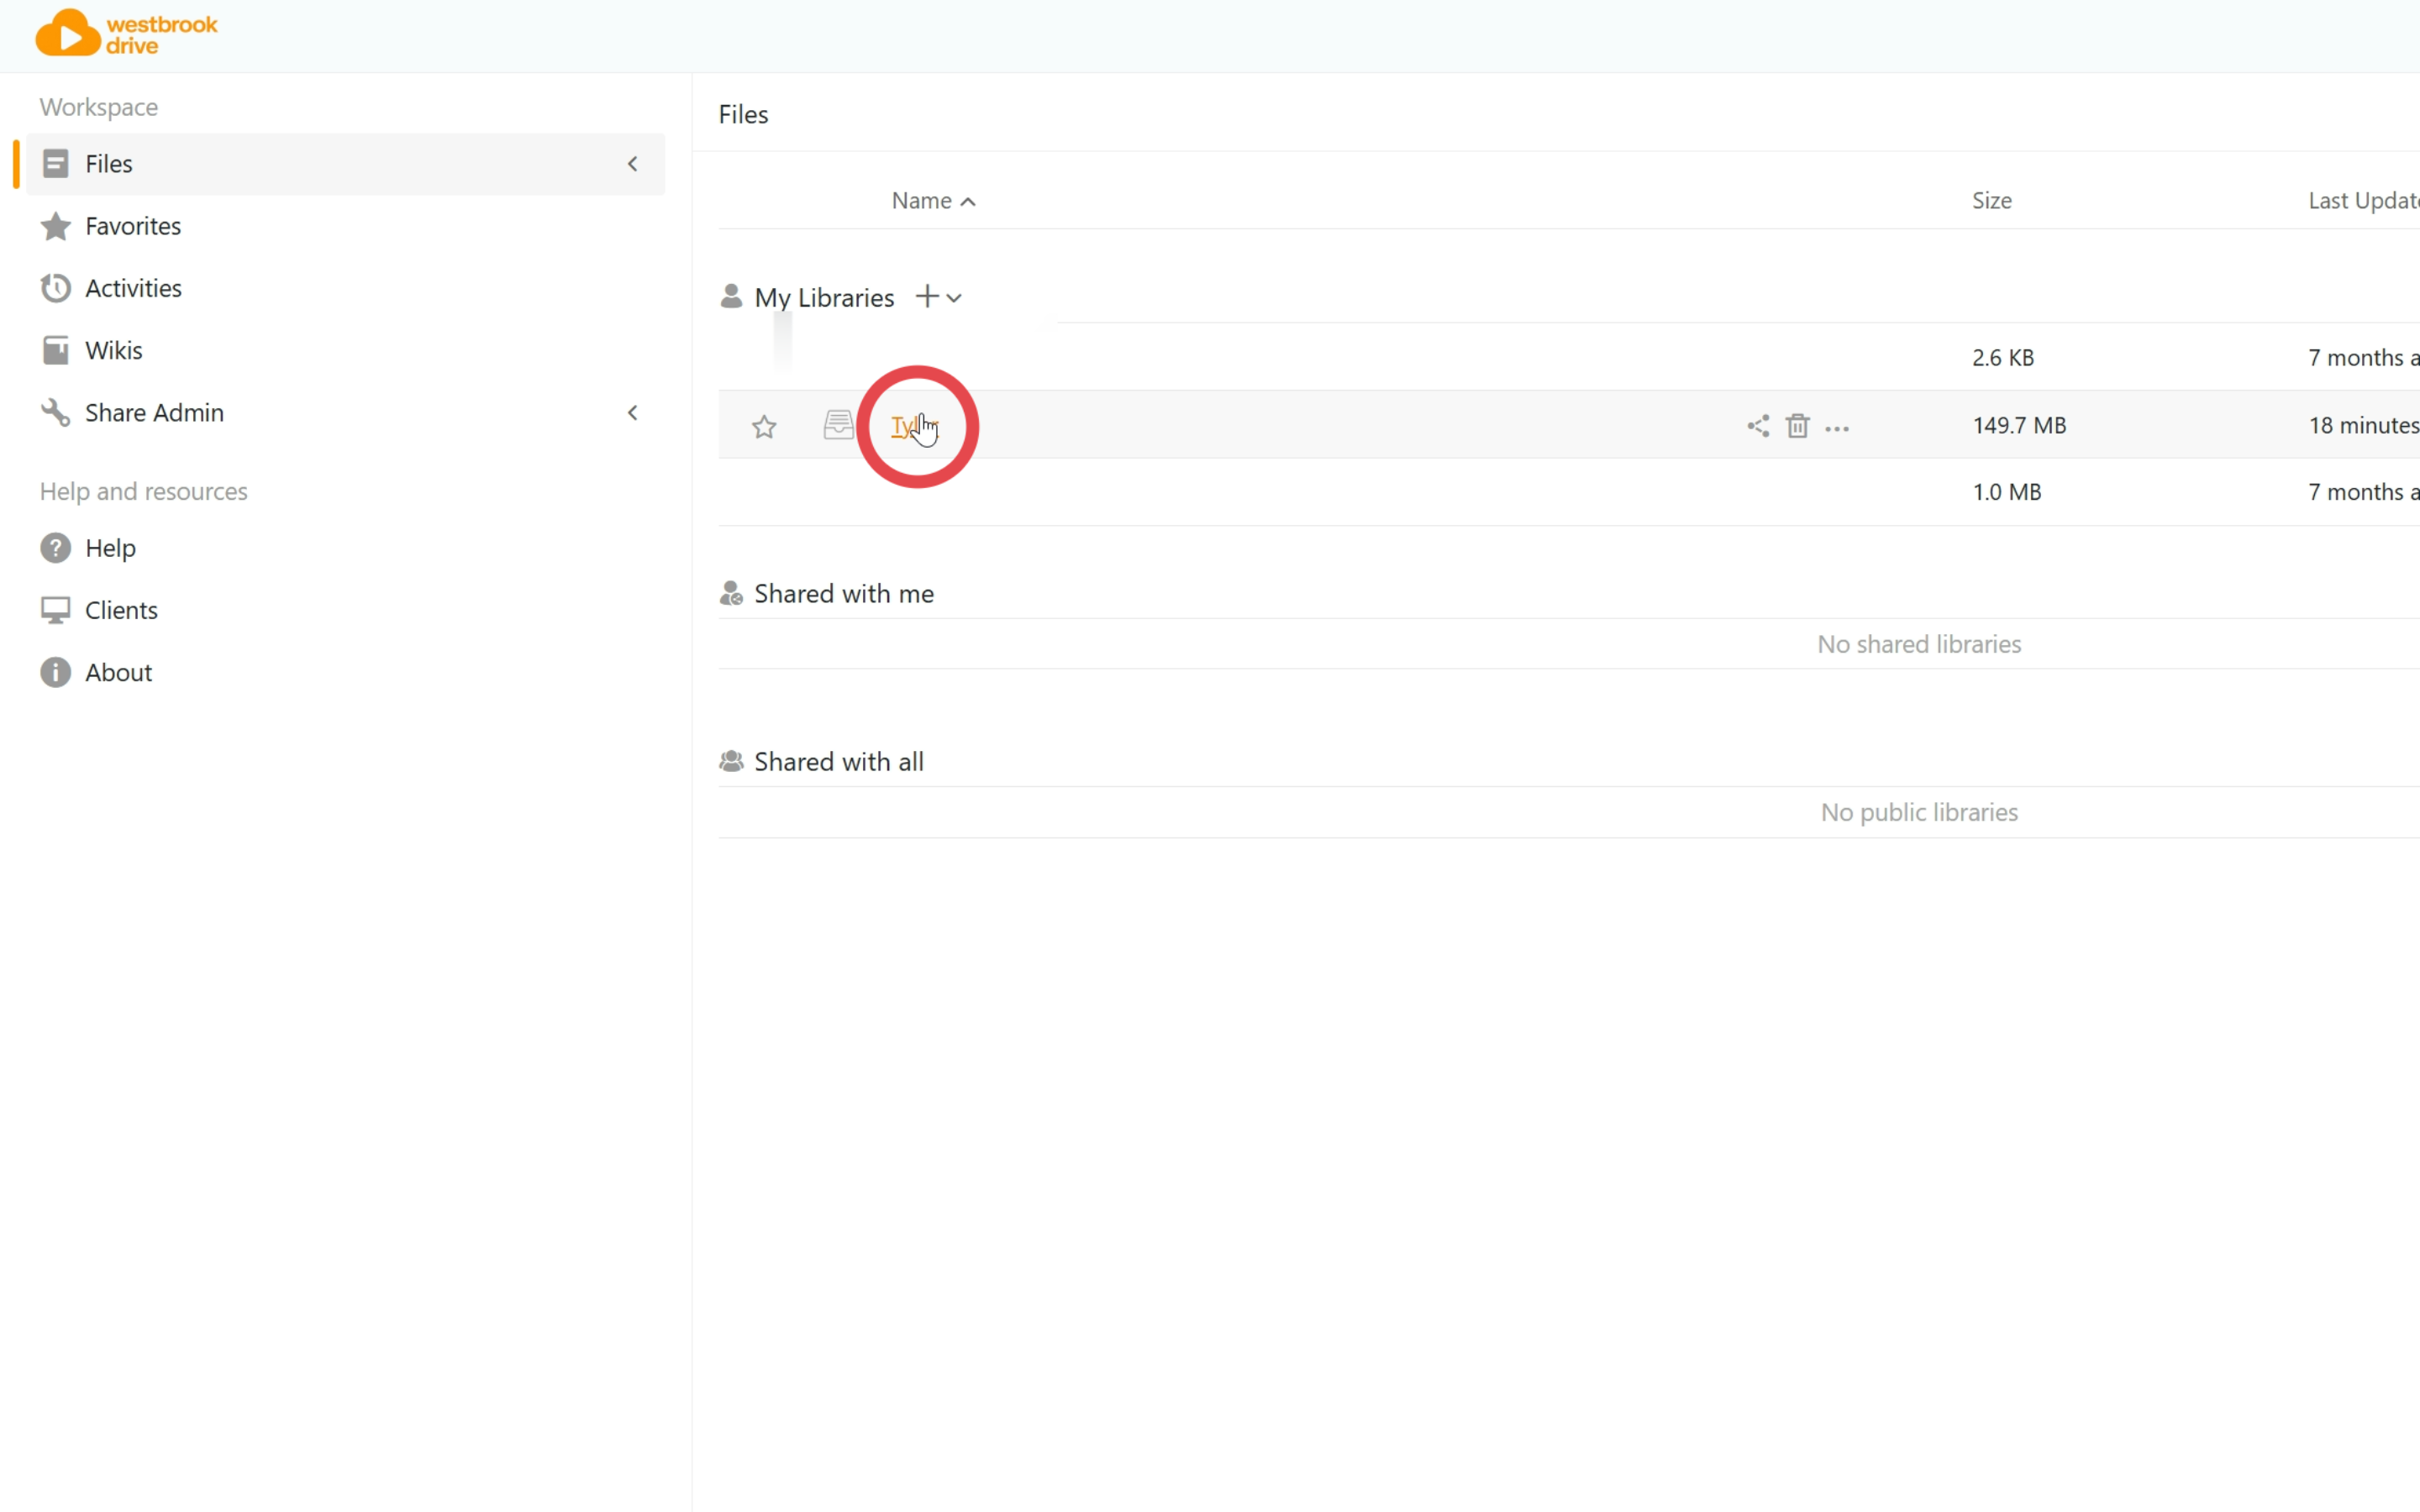
¶ 6.2. Open a document library
Select the library containing the document you want to use for the test.
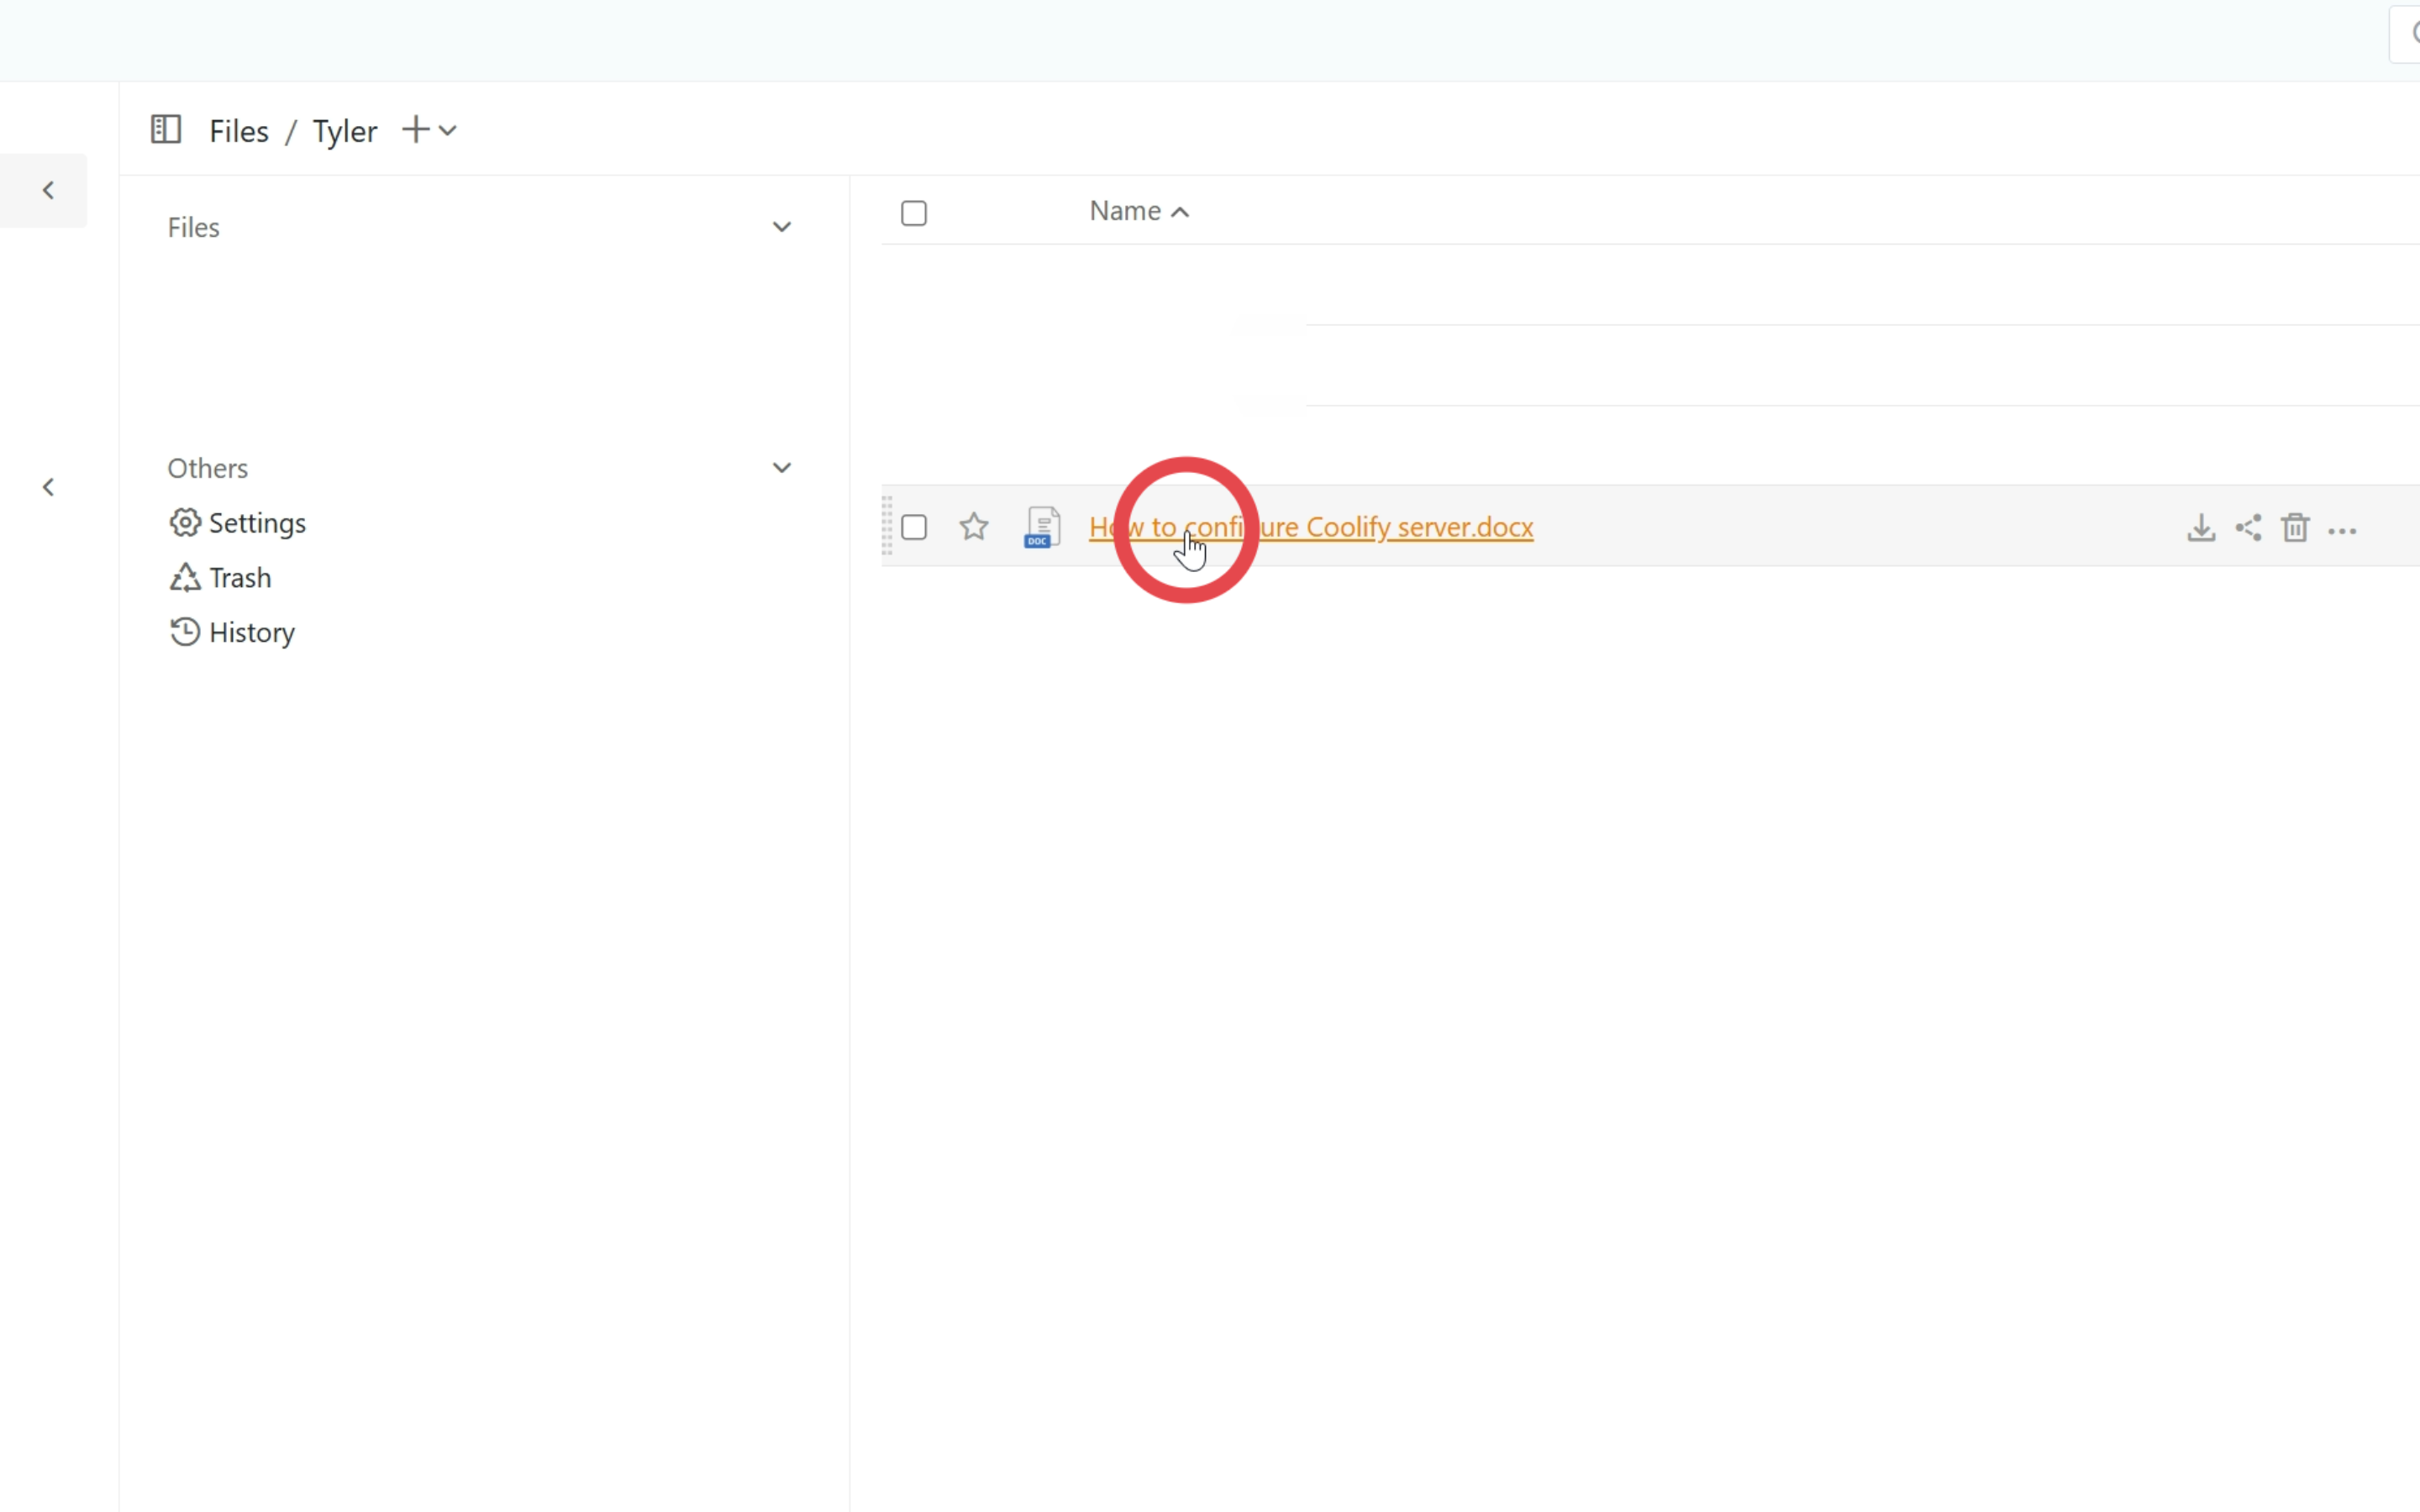
¶ 6.3. Open the test document
Click a supported document to open it. The recording uses How to configure Coolify server.docx.
¶ 6.4. Verify that the editor opens
Confirm that the document loads in the ONLYOFFICE editor and that its editing toolbar appears. This completes the guide’s check that Seafile can open documents with ONLYOFFICE.